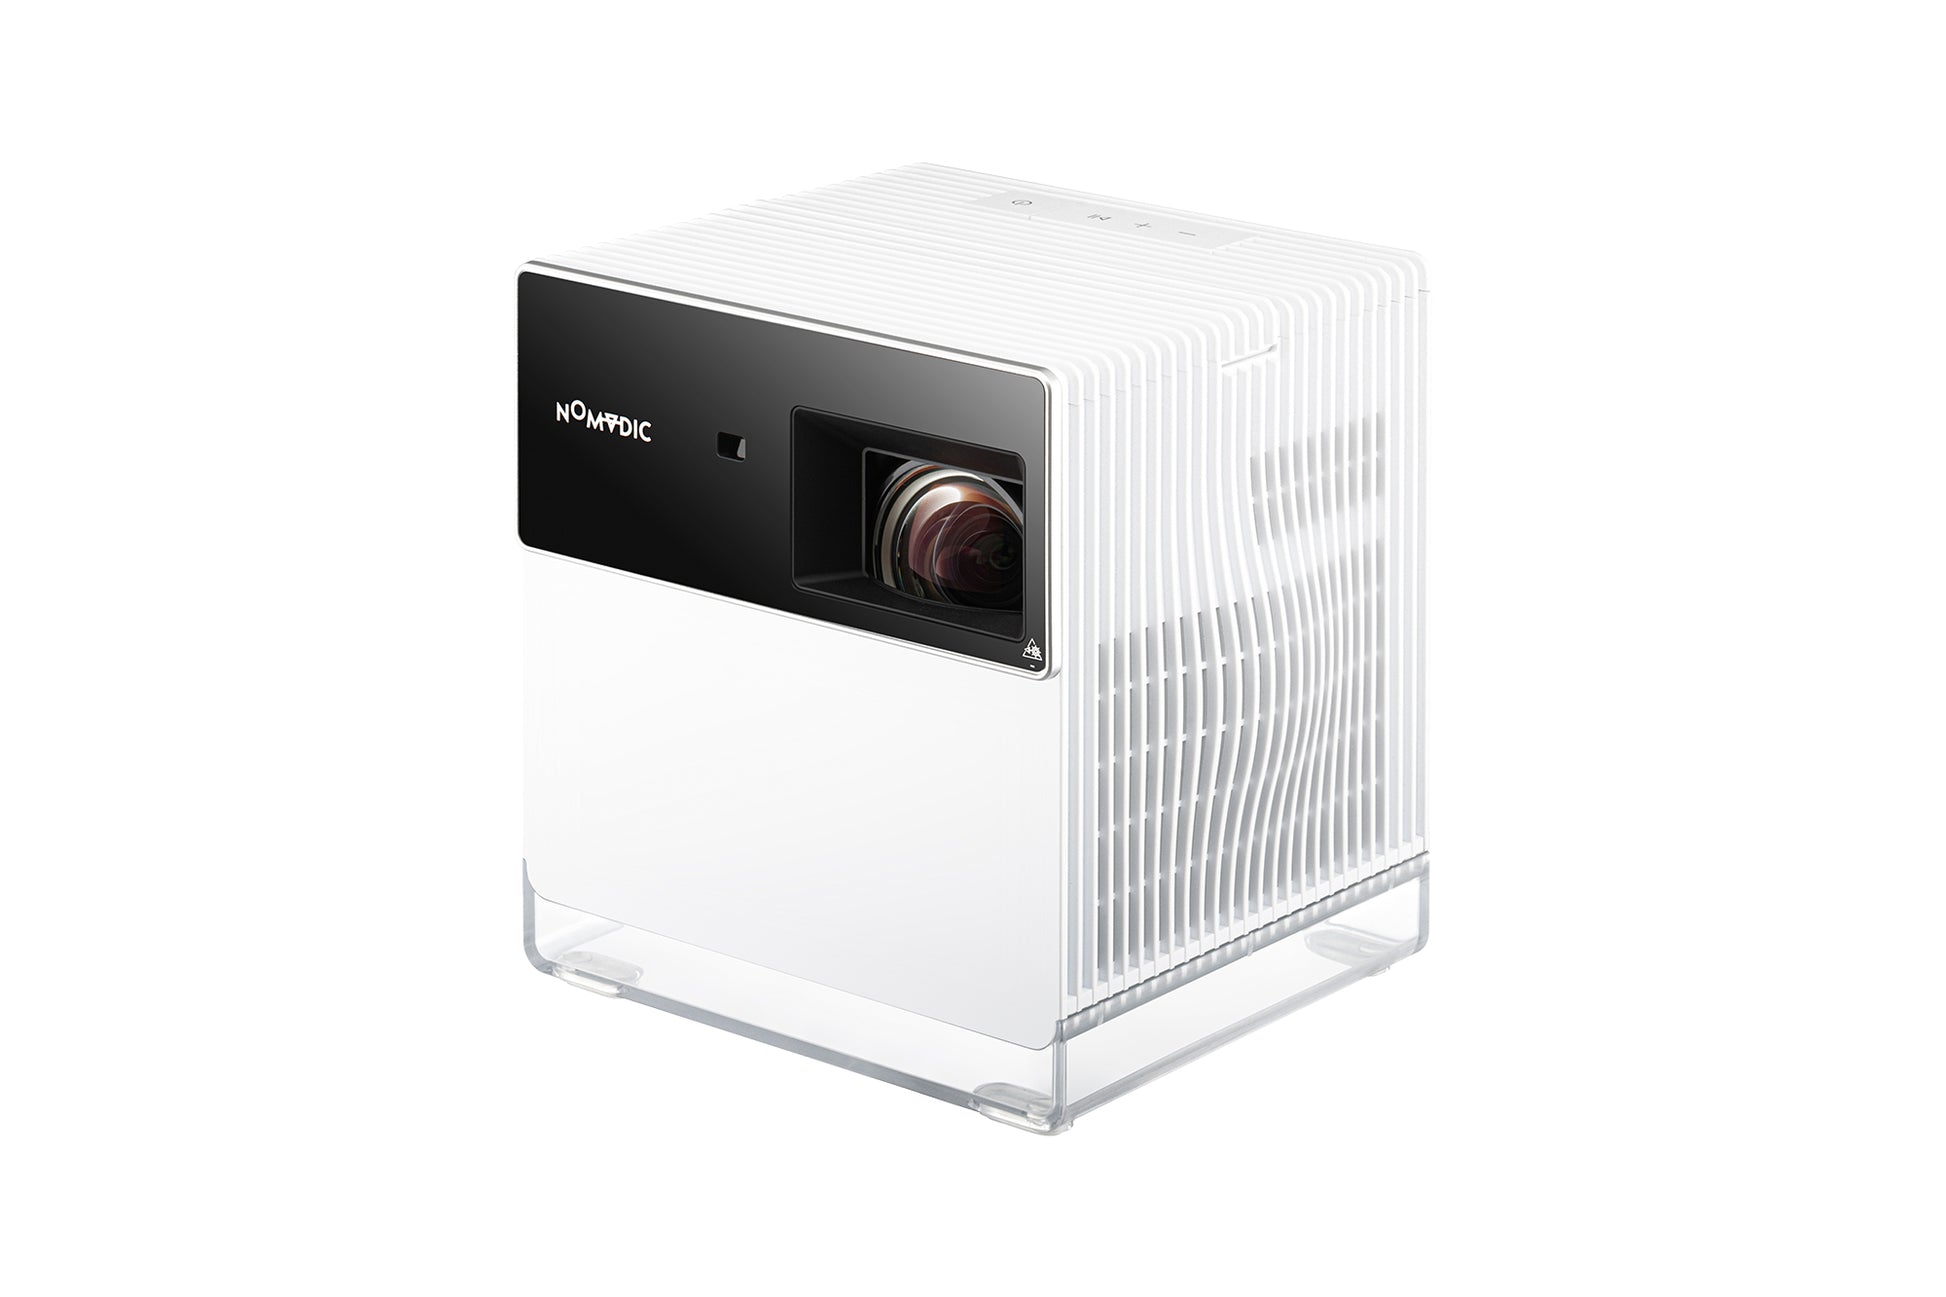


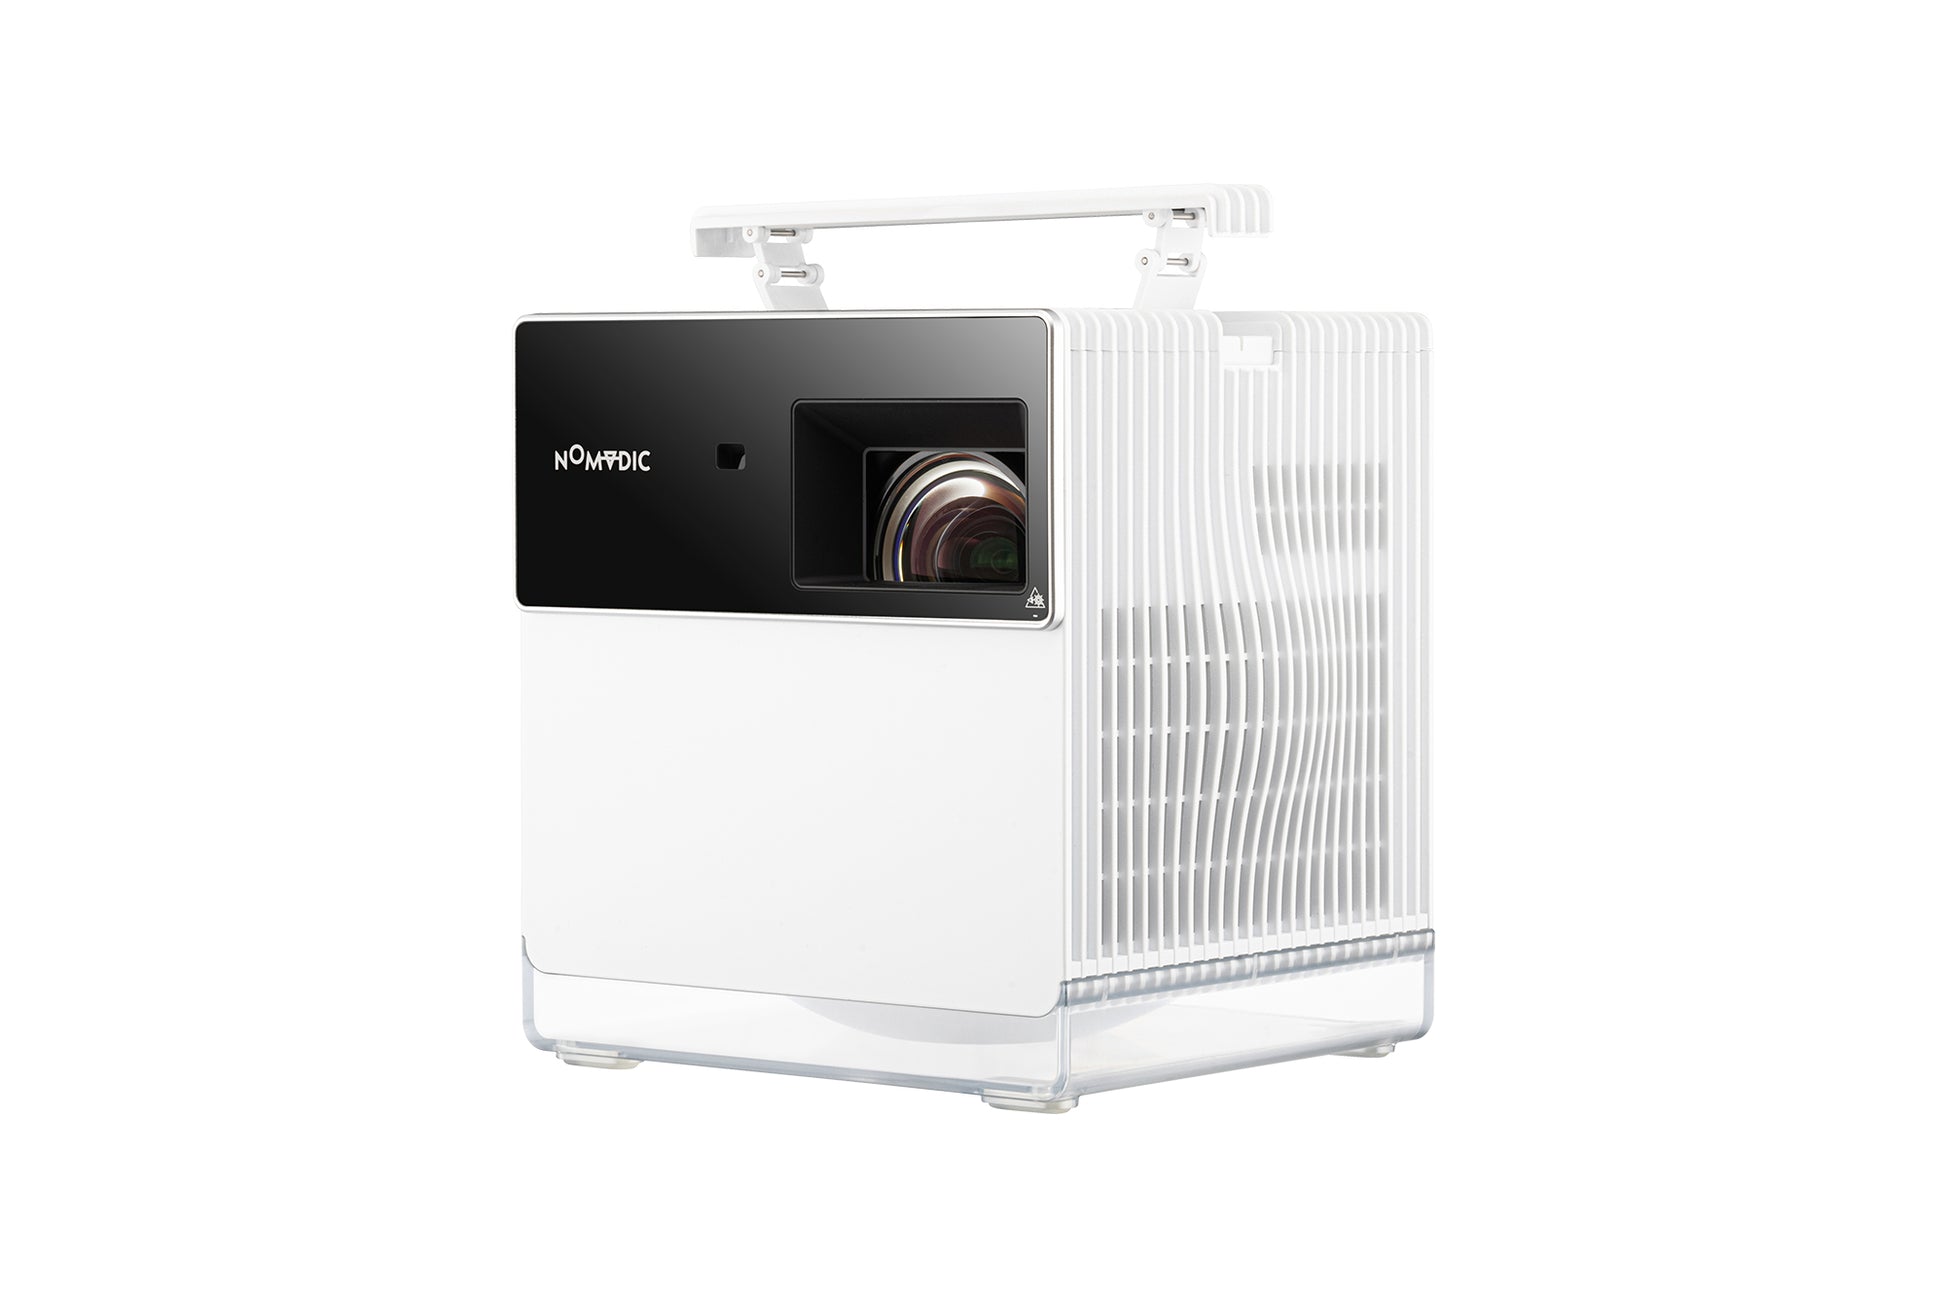


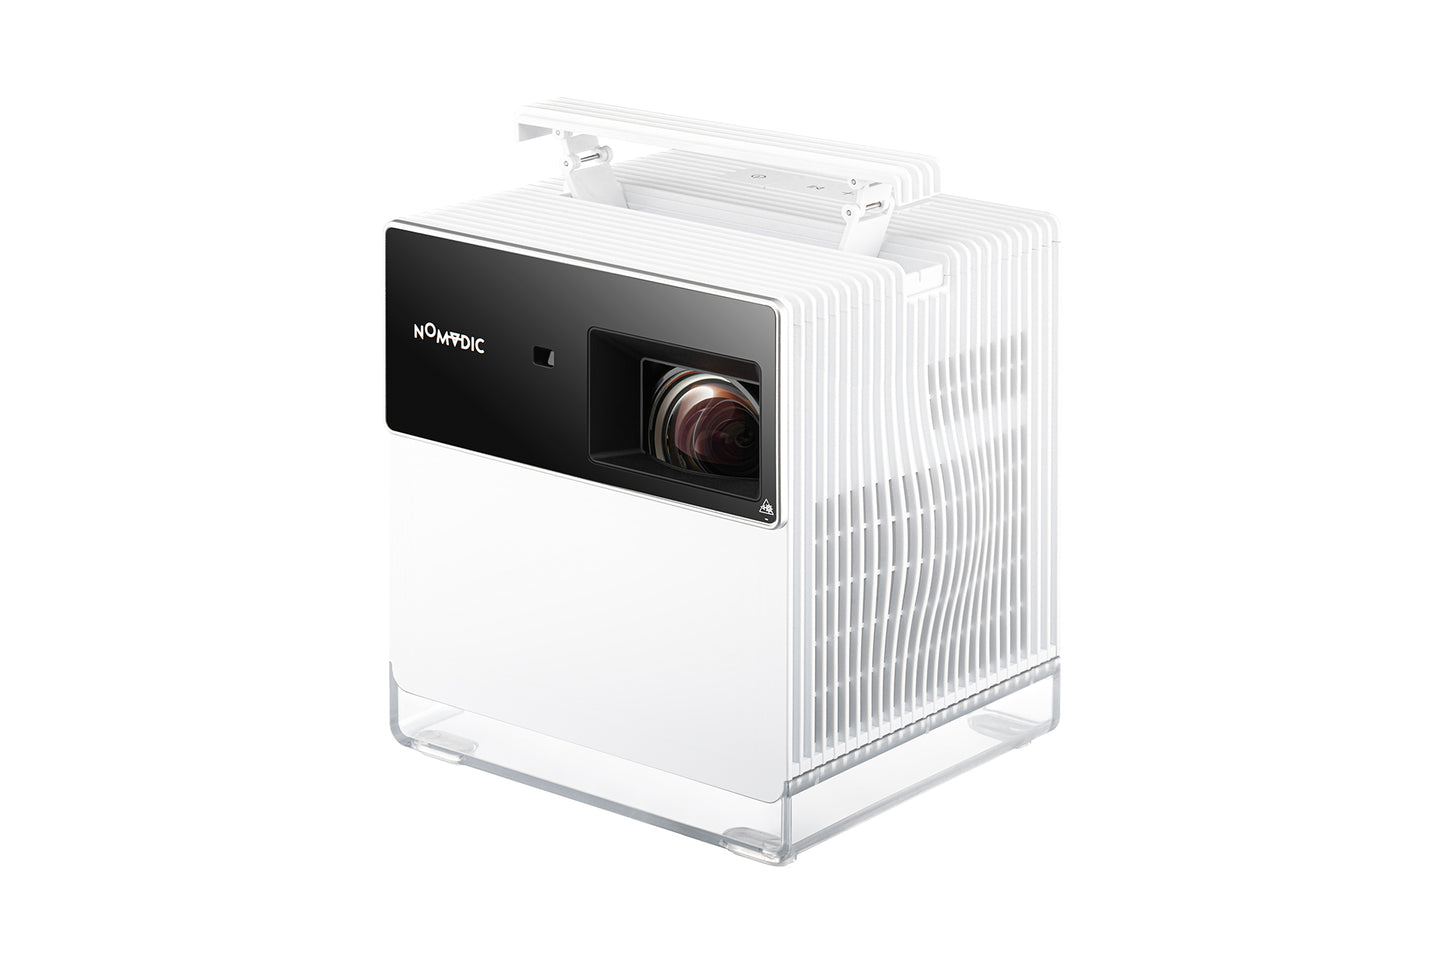
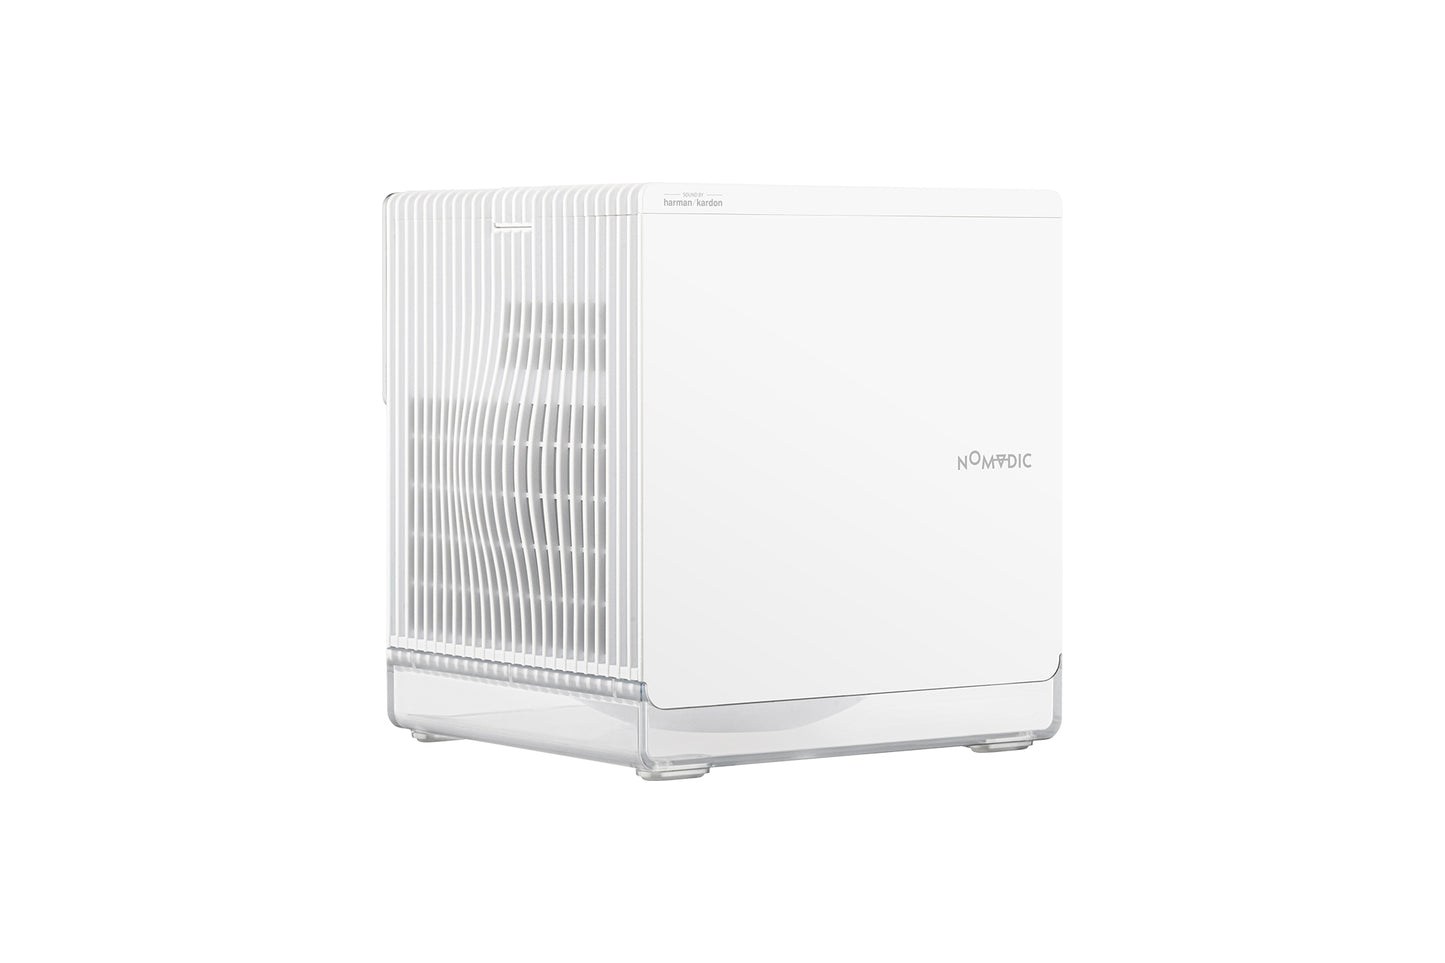
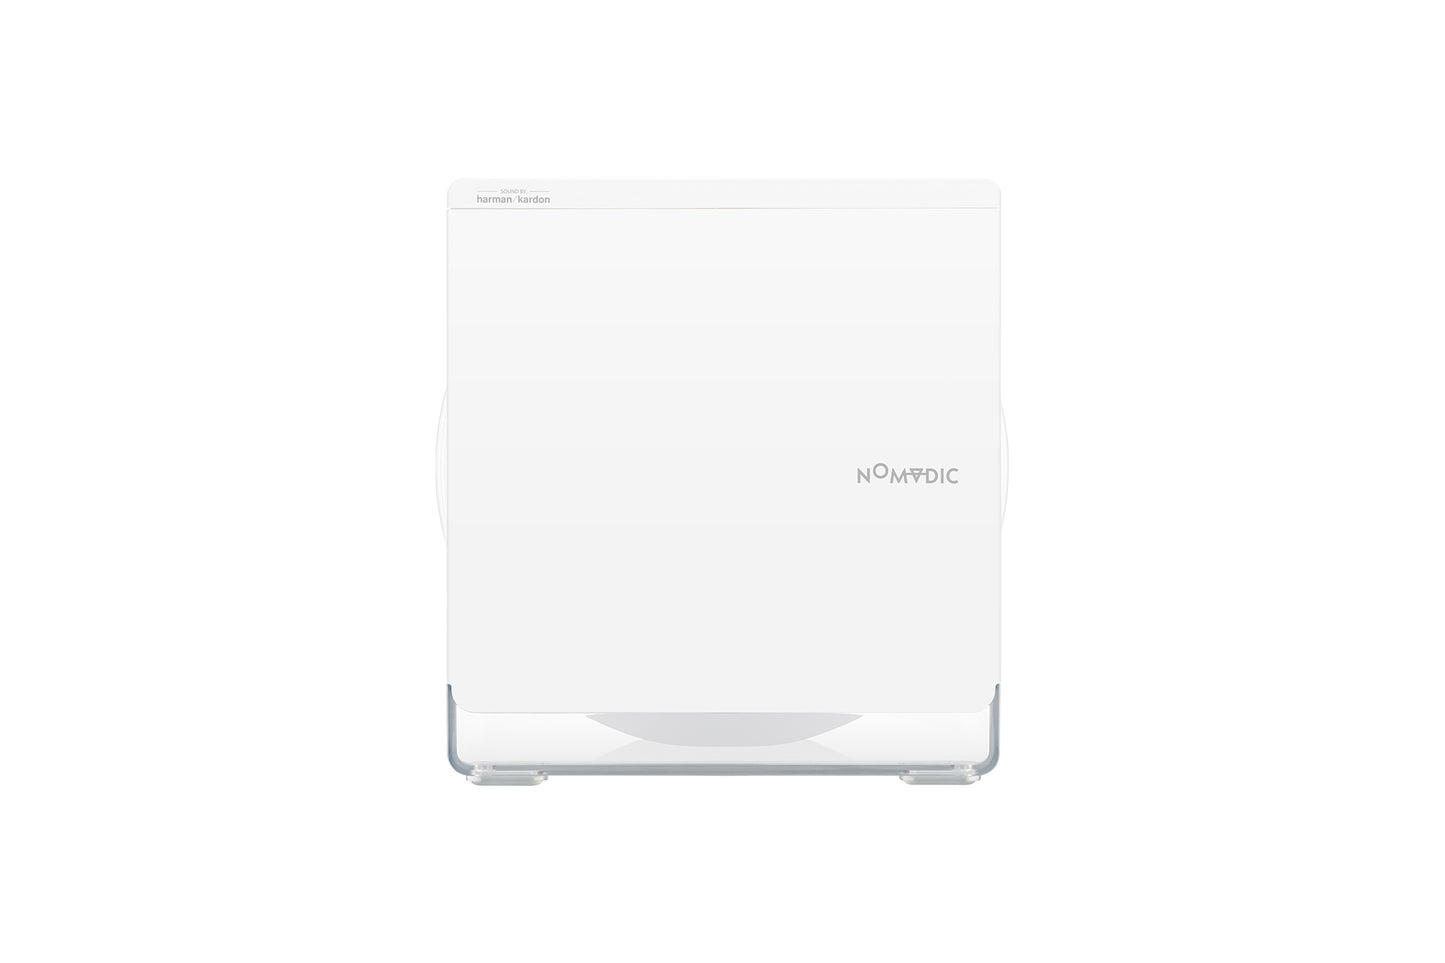
P1000 4K Short-Throw Gaming Projector
Regular price
$1,399.00
Sale price
$1,399.00
Regular price
$1,699.00
Unit price
per
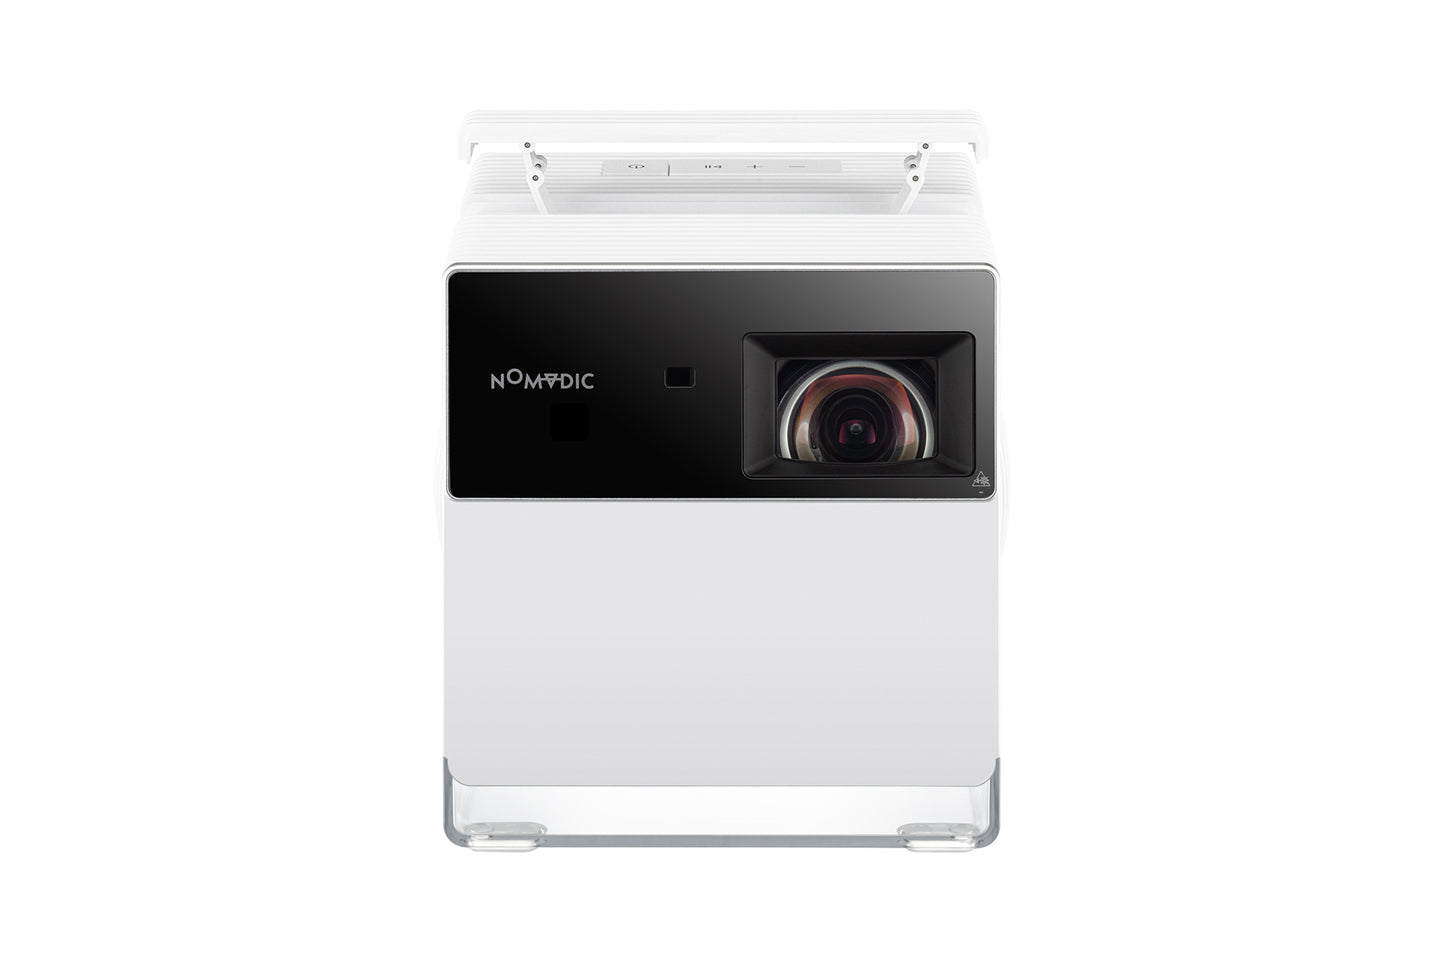
- 4K native UHD resolution with 2300 ANSI lumens brightness & 125% REC.709 color gamut
- 2x contrast ratio outperforming 90% of video projectors, powered by 0.65” TI DMD chip
- Unleash your gaming experience with 4.2 ms unbeatable low input lag under 1080p, 240hz
- Auto focus, auto H/V keystone correction & 4 corner adjustment
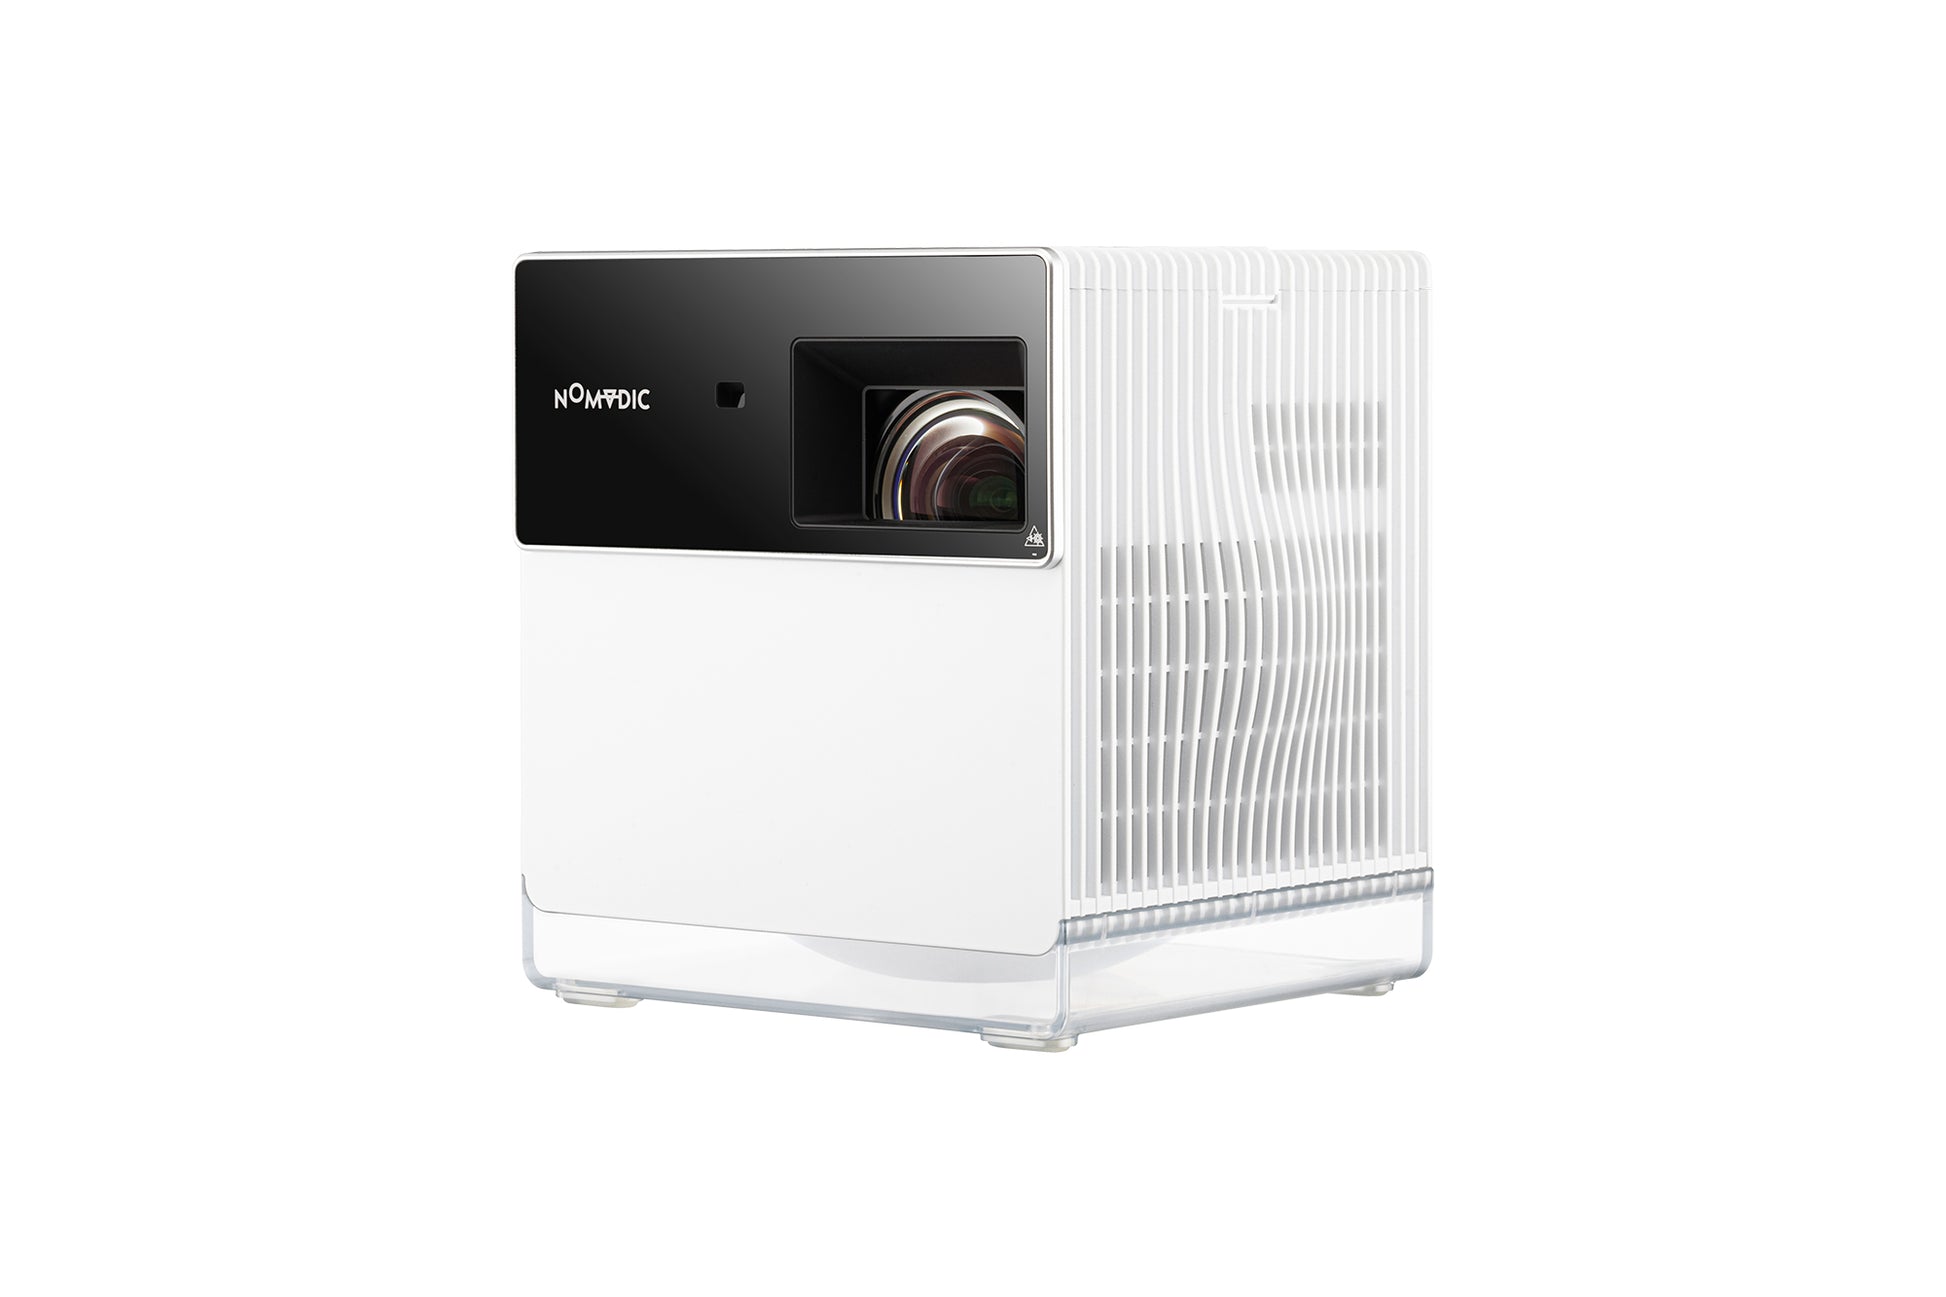
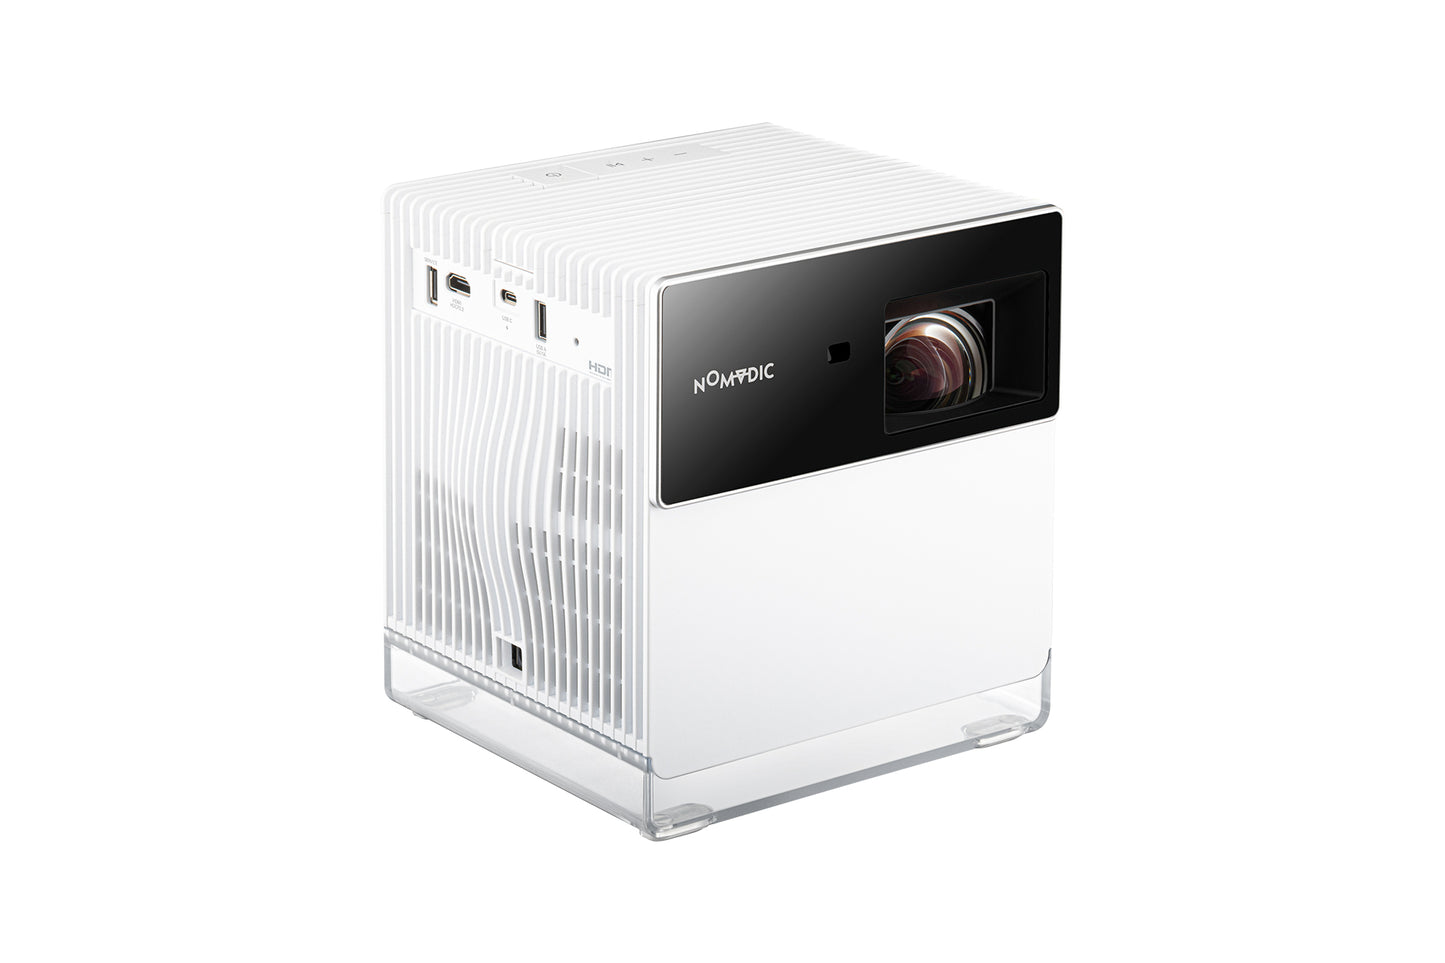
- P1000 features 1.2x optical zoom and projects 100” large screen from just 1.5m away
Couldn't load pickup availability


Member Exclusive Benefits
Hassle-Free Warranty


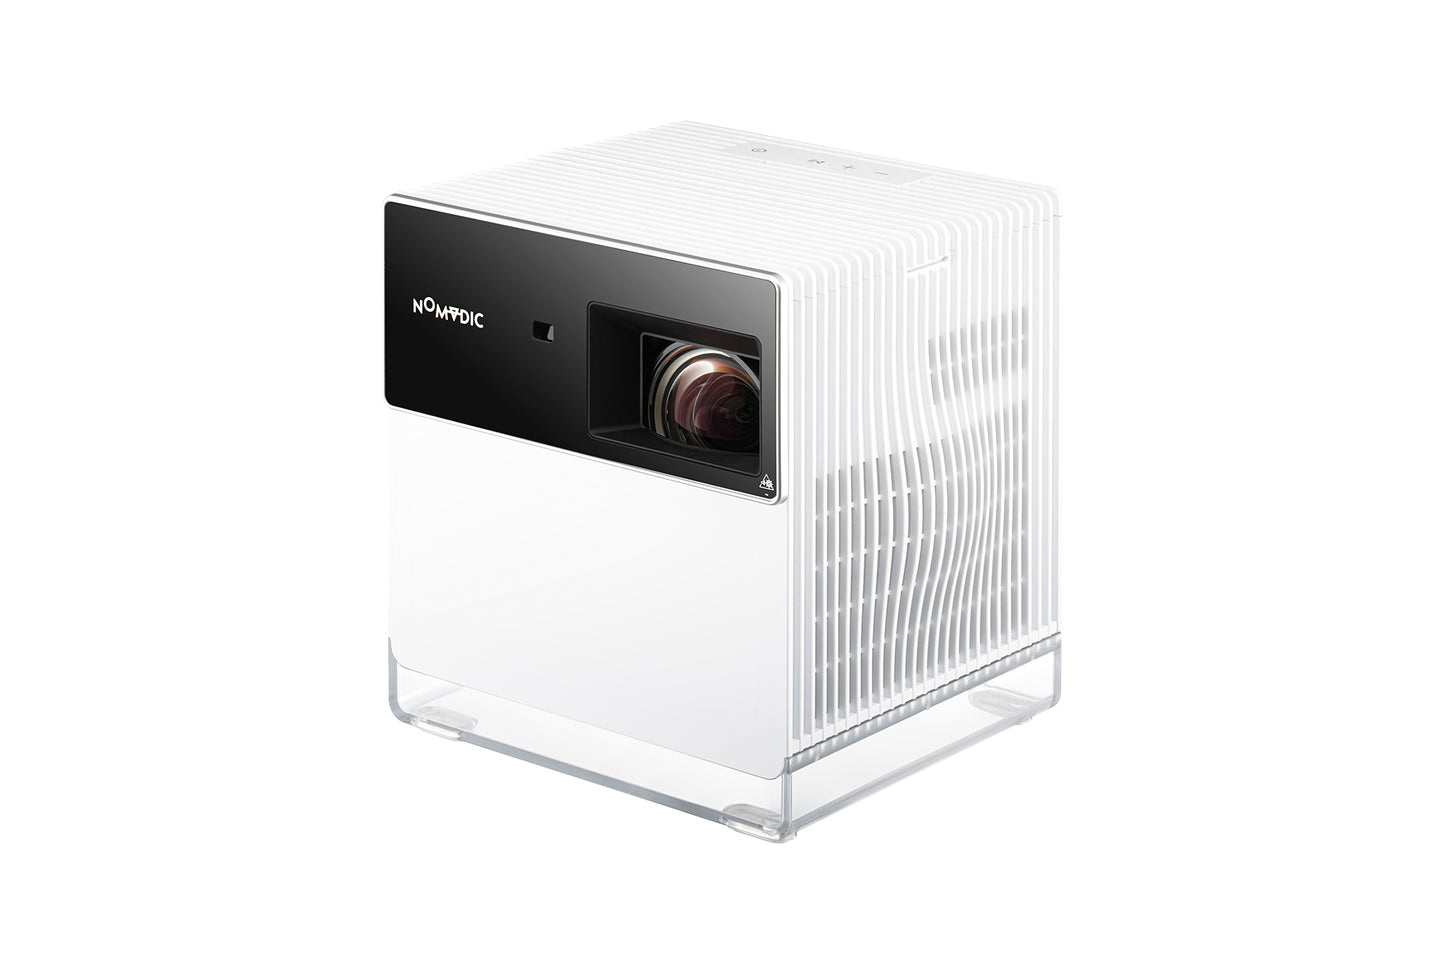
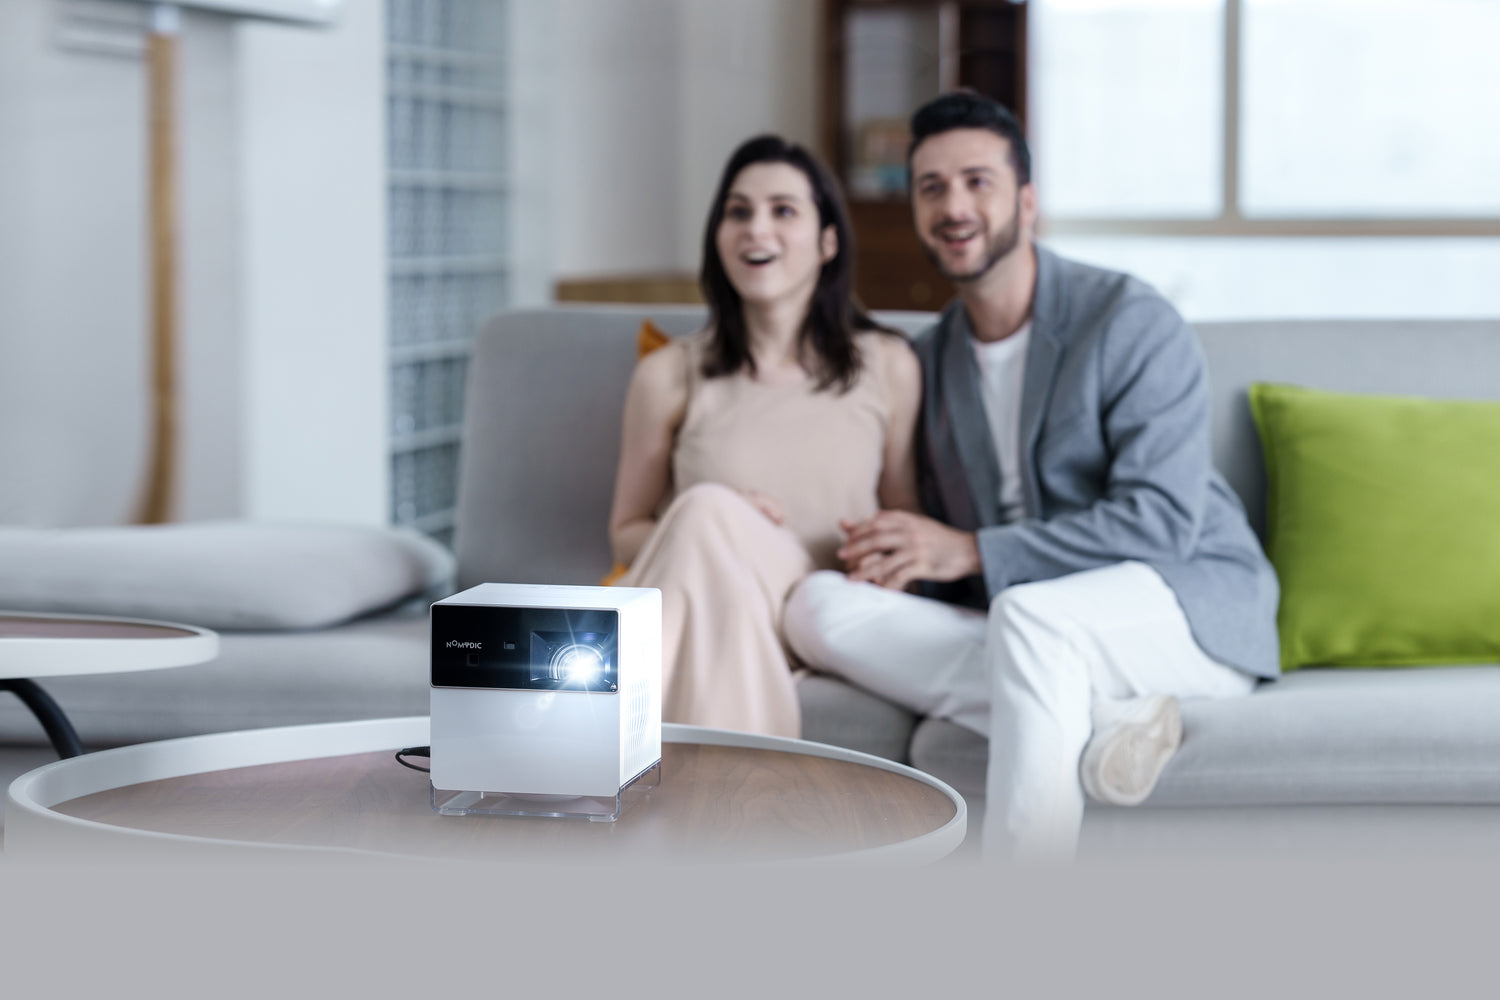
Create Your Own Home Theater

Crystal-Clear Picture Quality
P1000 features true-to-life 4K UHD resolution, making it the perfect choice for movies, games, and TV shows with outstanding clarity and contrast.


Bright, Vivid and Accurate Colors
With 2300 ANSI lumens and a wide color gamut of 125% Rec. 709, the P1000 projector delivers bright, vivid, and accurate colors that bring your content to life.


Exceptional Clarity and Detail
Featuring 0.65" Texas Instruments DMD chip, the P1000 outperforms the 0.47" chip by achieving a contrast ratio twice as good, ensuring darker scenes darker. Get ready to immerse yourself in the darkest scenes with unprecedented depth and richness.


Unleash the way you play
4.2ms Ultra-Low-Latency Designed for Gamers
Get ready to level up your gameplay with the P1000 specifically designed for you. The P1000 boasts a remarkable, ultra-low input lag of just 4.2 ms at 1080p and 240 Hz. Unleash your full gaming potential with the P1000 and conquer every virtual battlefield with unrivaled precision and speed.


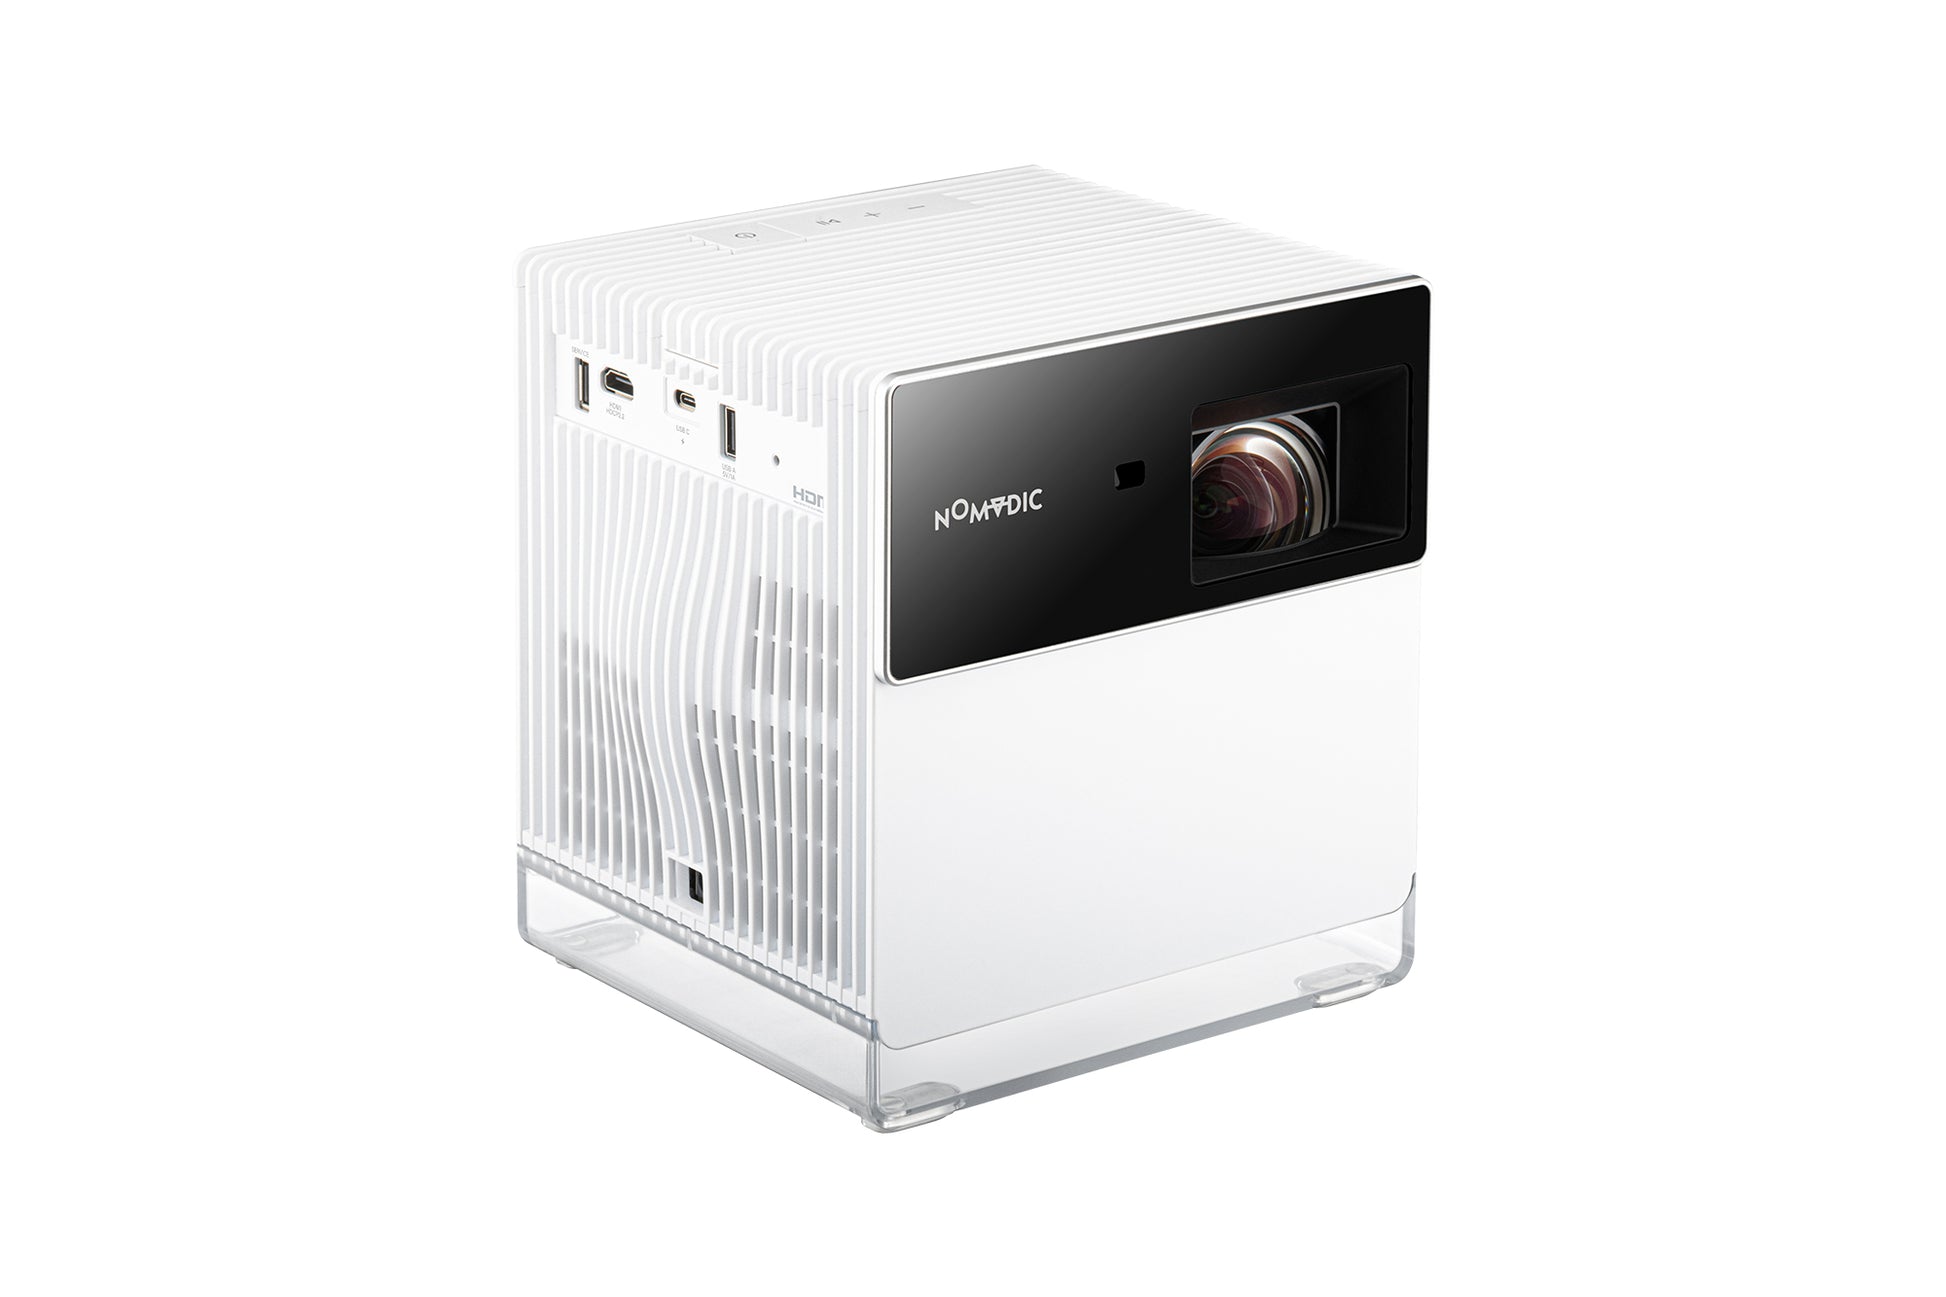
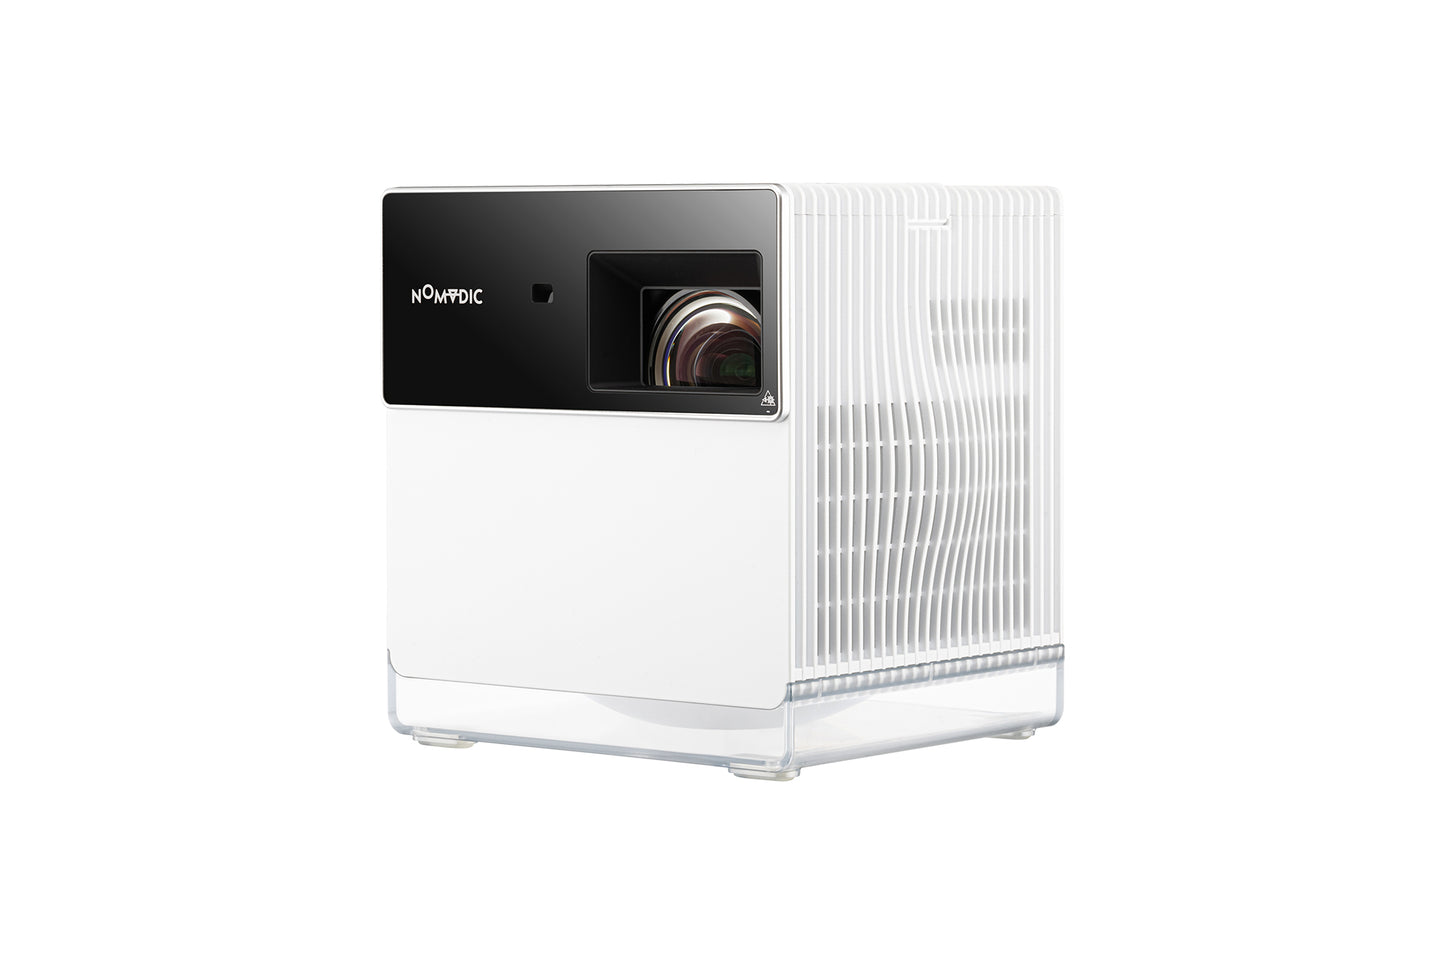
Flexible Placement Options, Without Compromising
P1000 features 1.2x optical zoom and 0.68-0.83 flexible short throw ratio that allows you to adjust the image size without moving the projector, losing resolution or compromising on brightness.
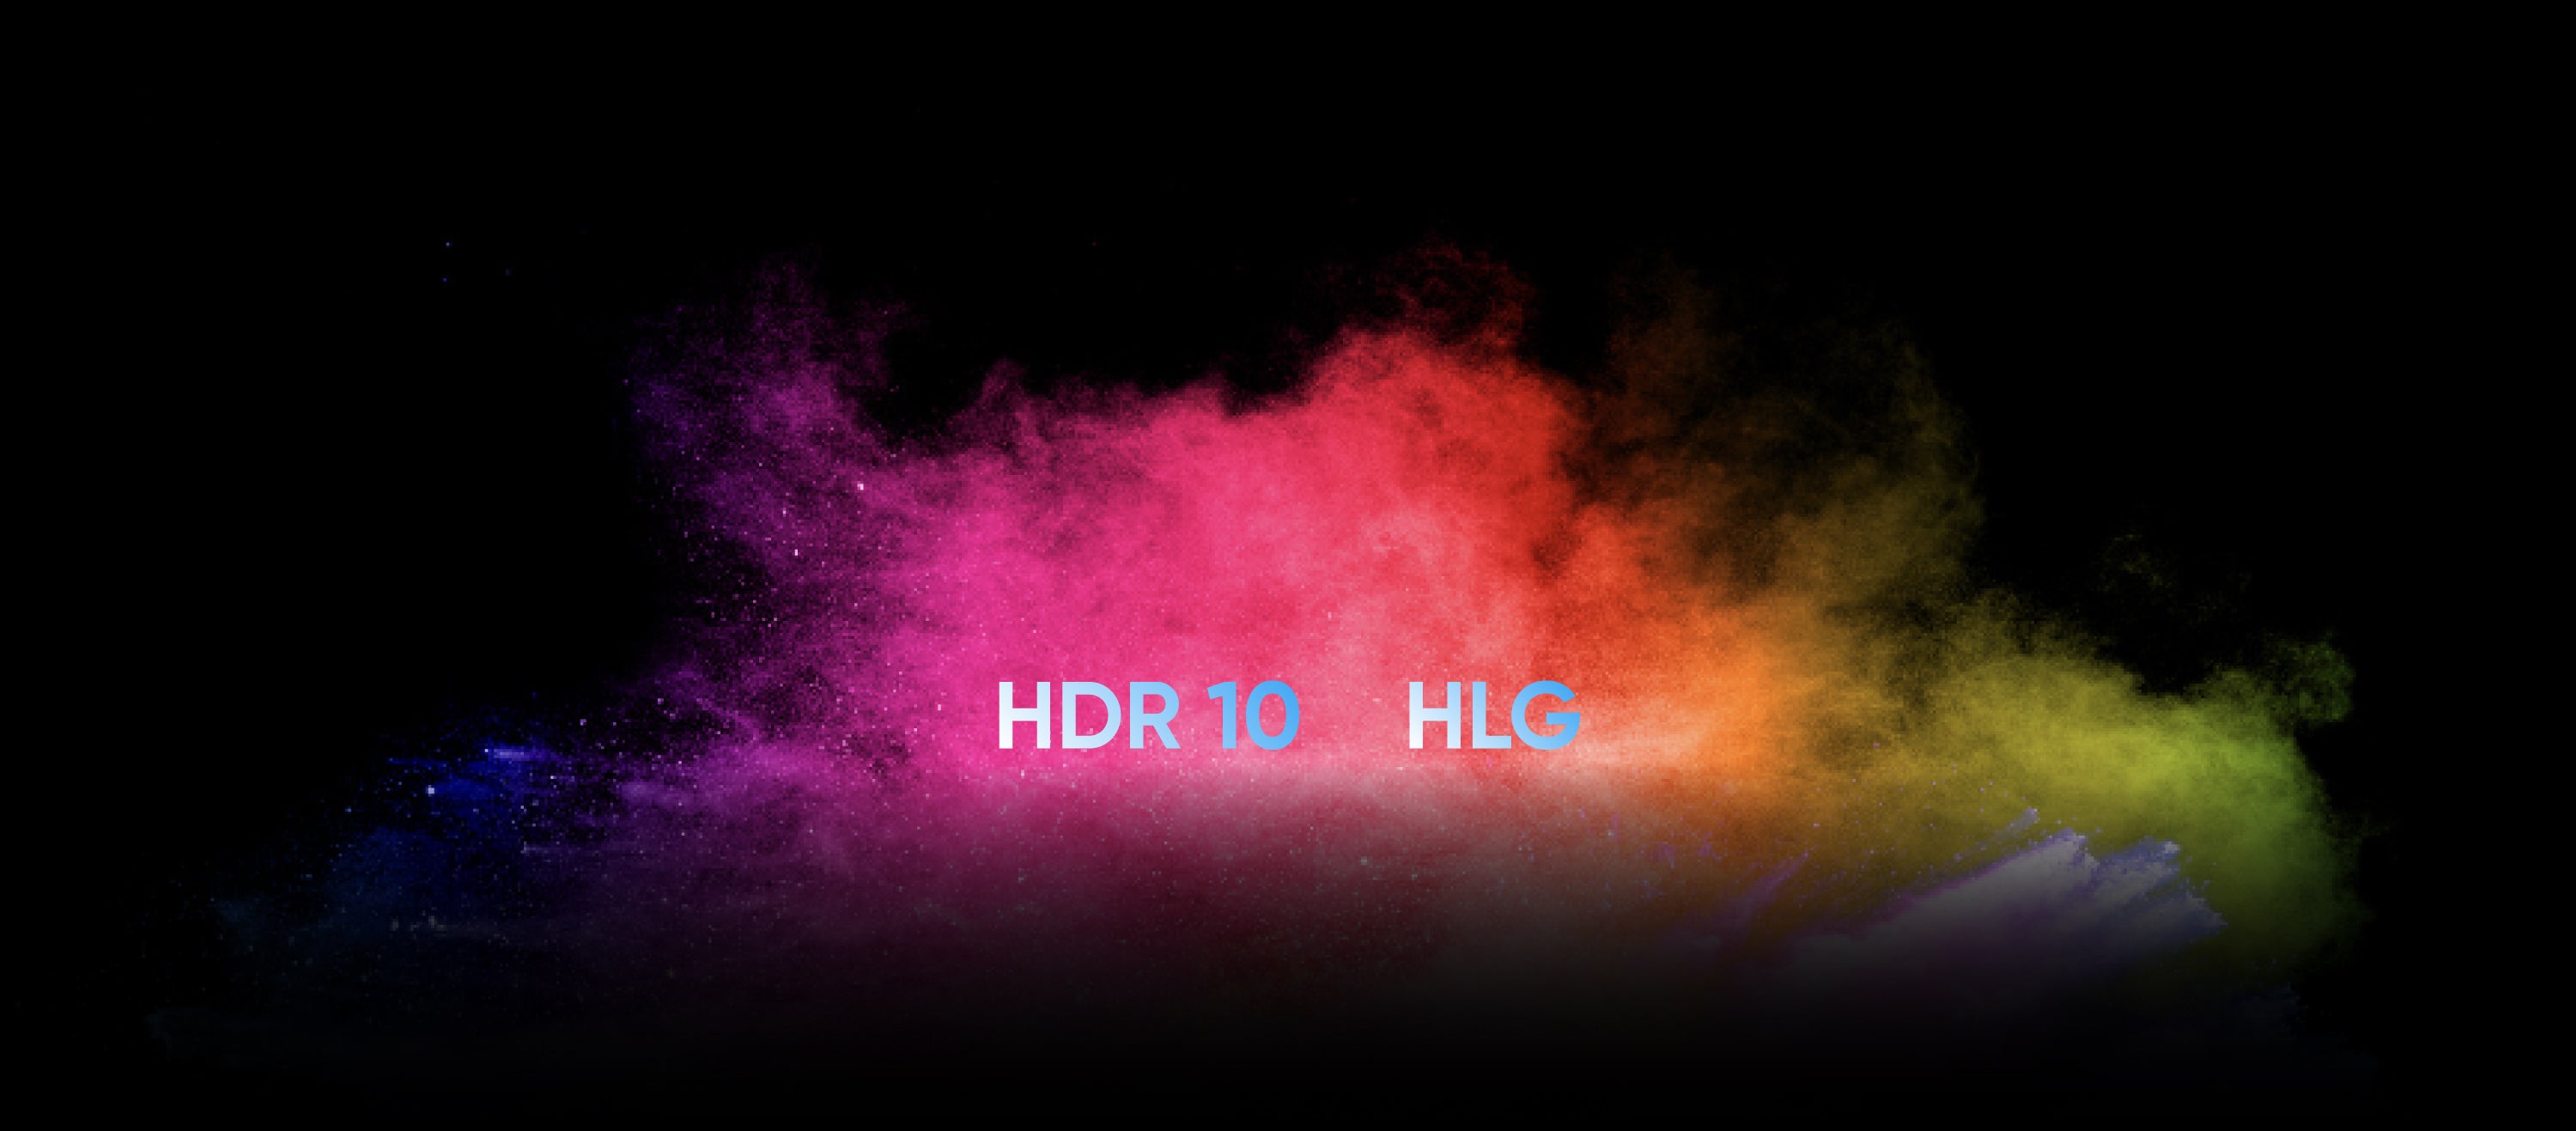

Superior Color and Contrast with HDR10/HLG Support
Elevate your visual journey with the P1000, where every frame becomes a breathtaking work of art. The P1000 projector supports HDR10 and HLG, ensuring every image is rich, vibrant, and full of detail.


Immersive, Endless Gaming Time
Powered by 3 LED light source, P1000 gives you an immersive, authentic visuals that meets 125% Rec. 709 and a 30,000-hour life span, that is 4 hours per day for more than 20 years!
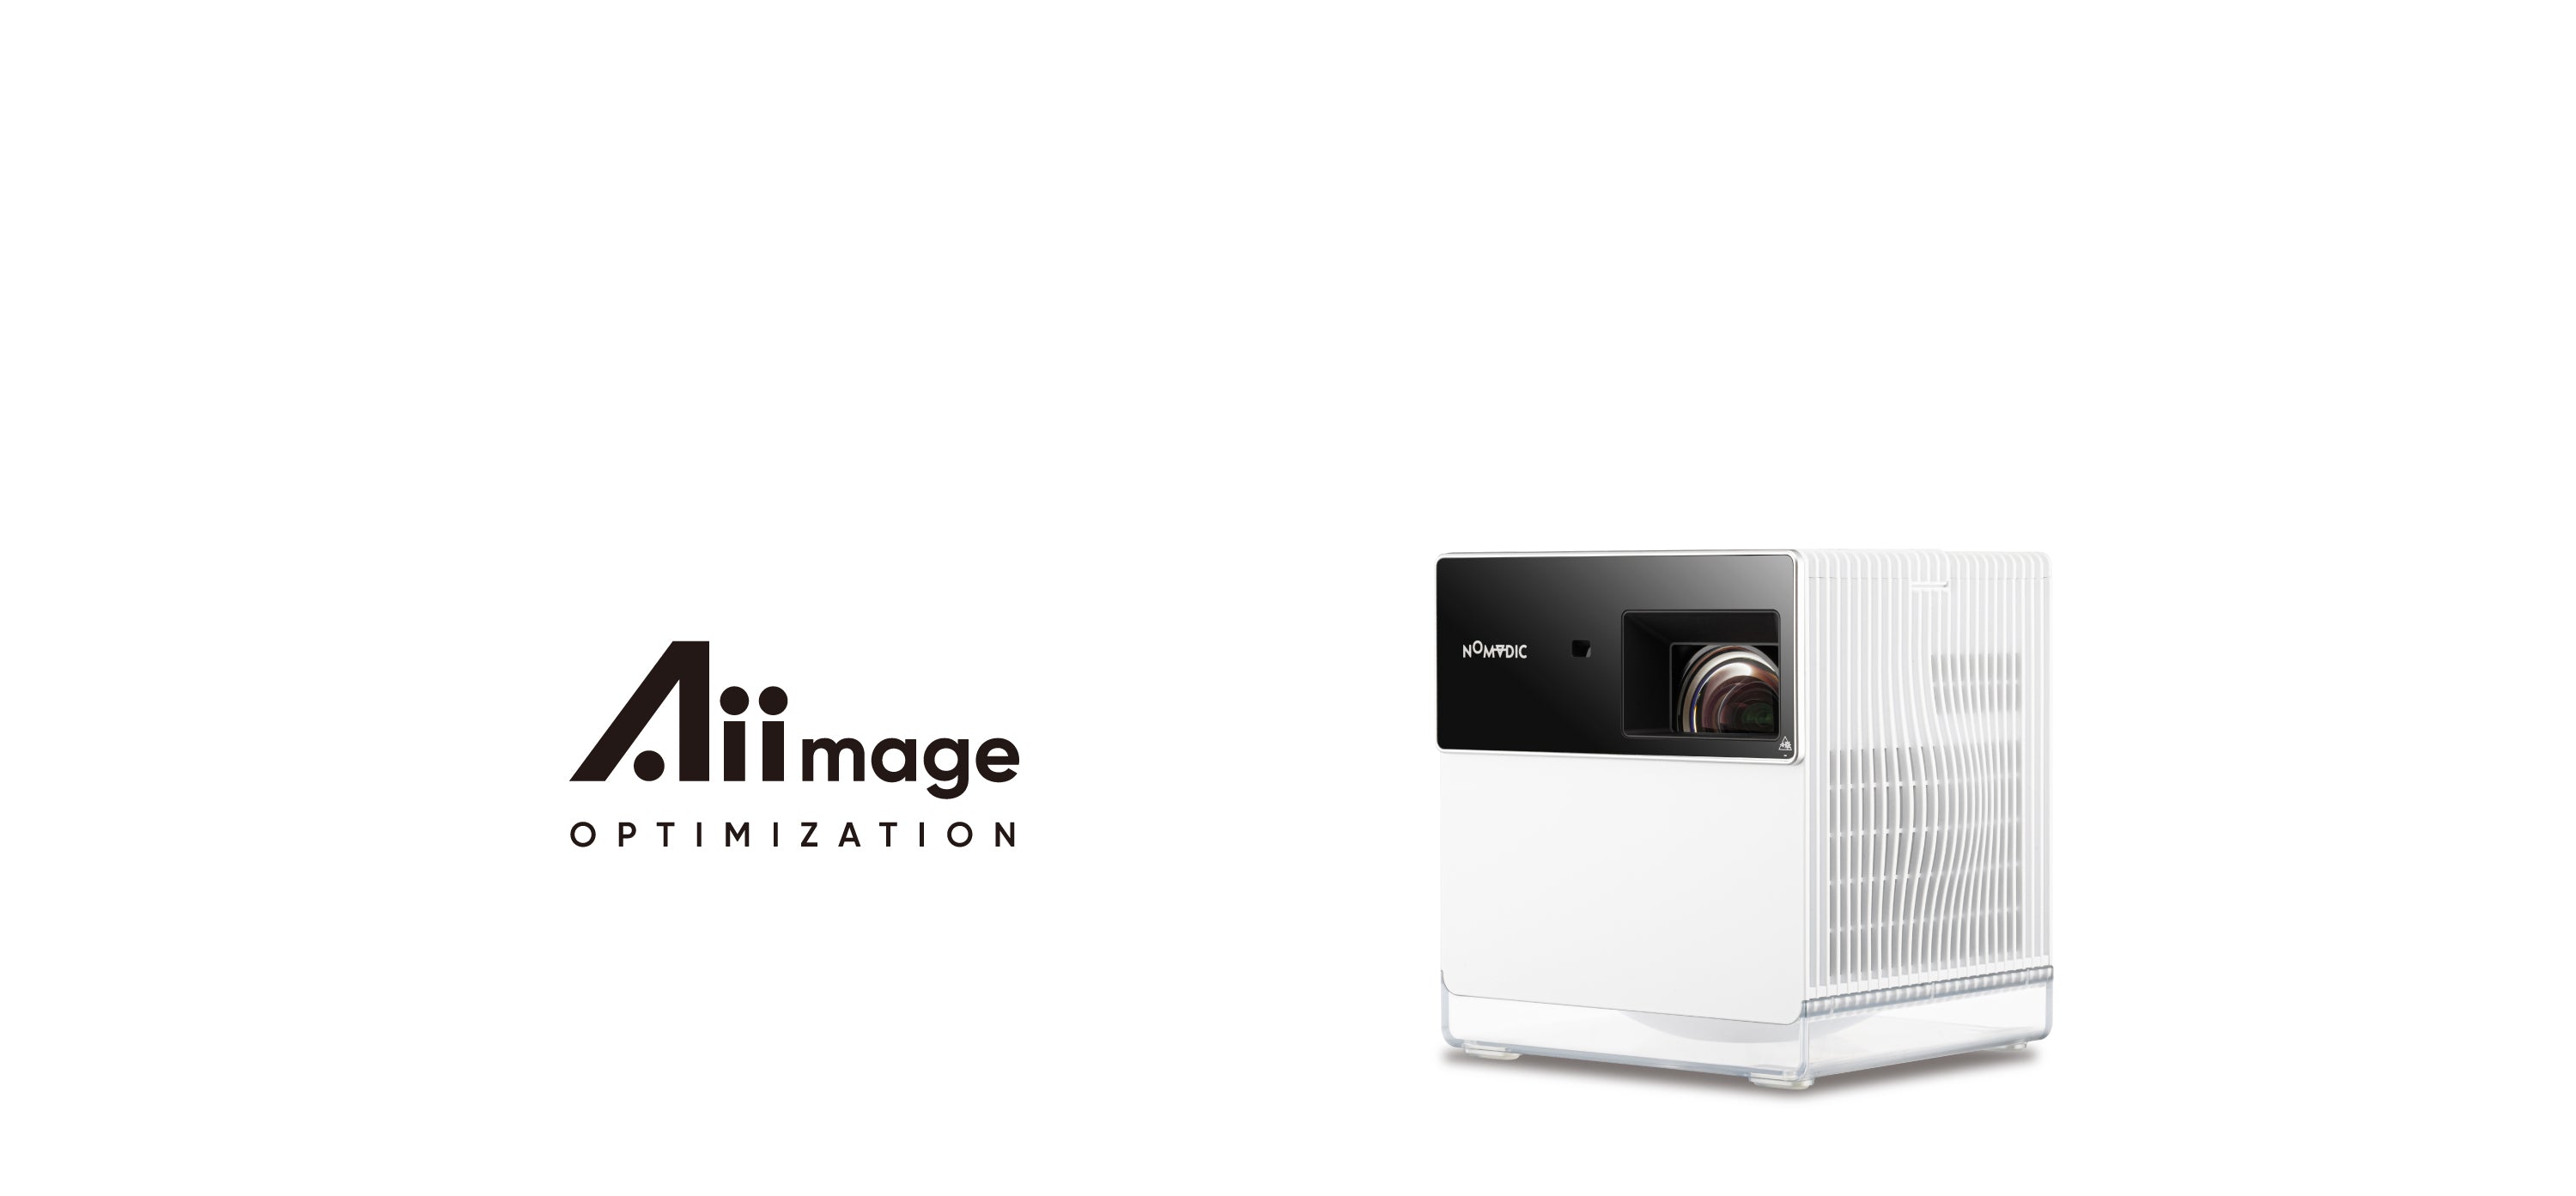

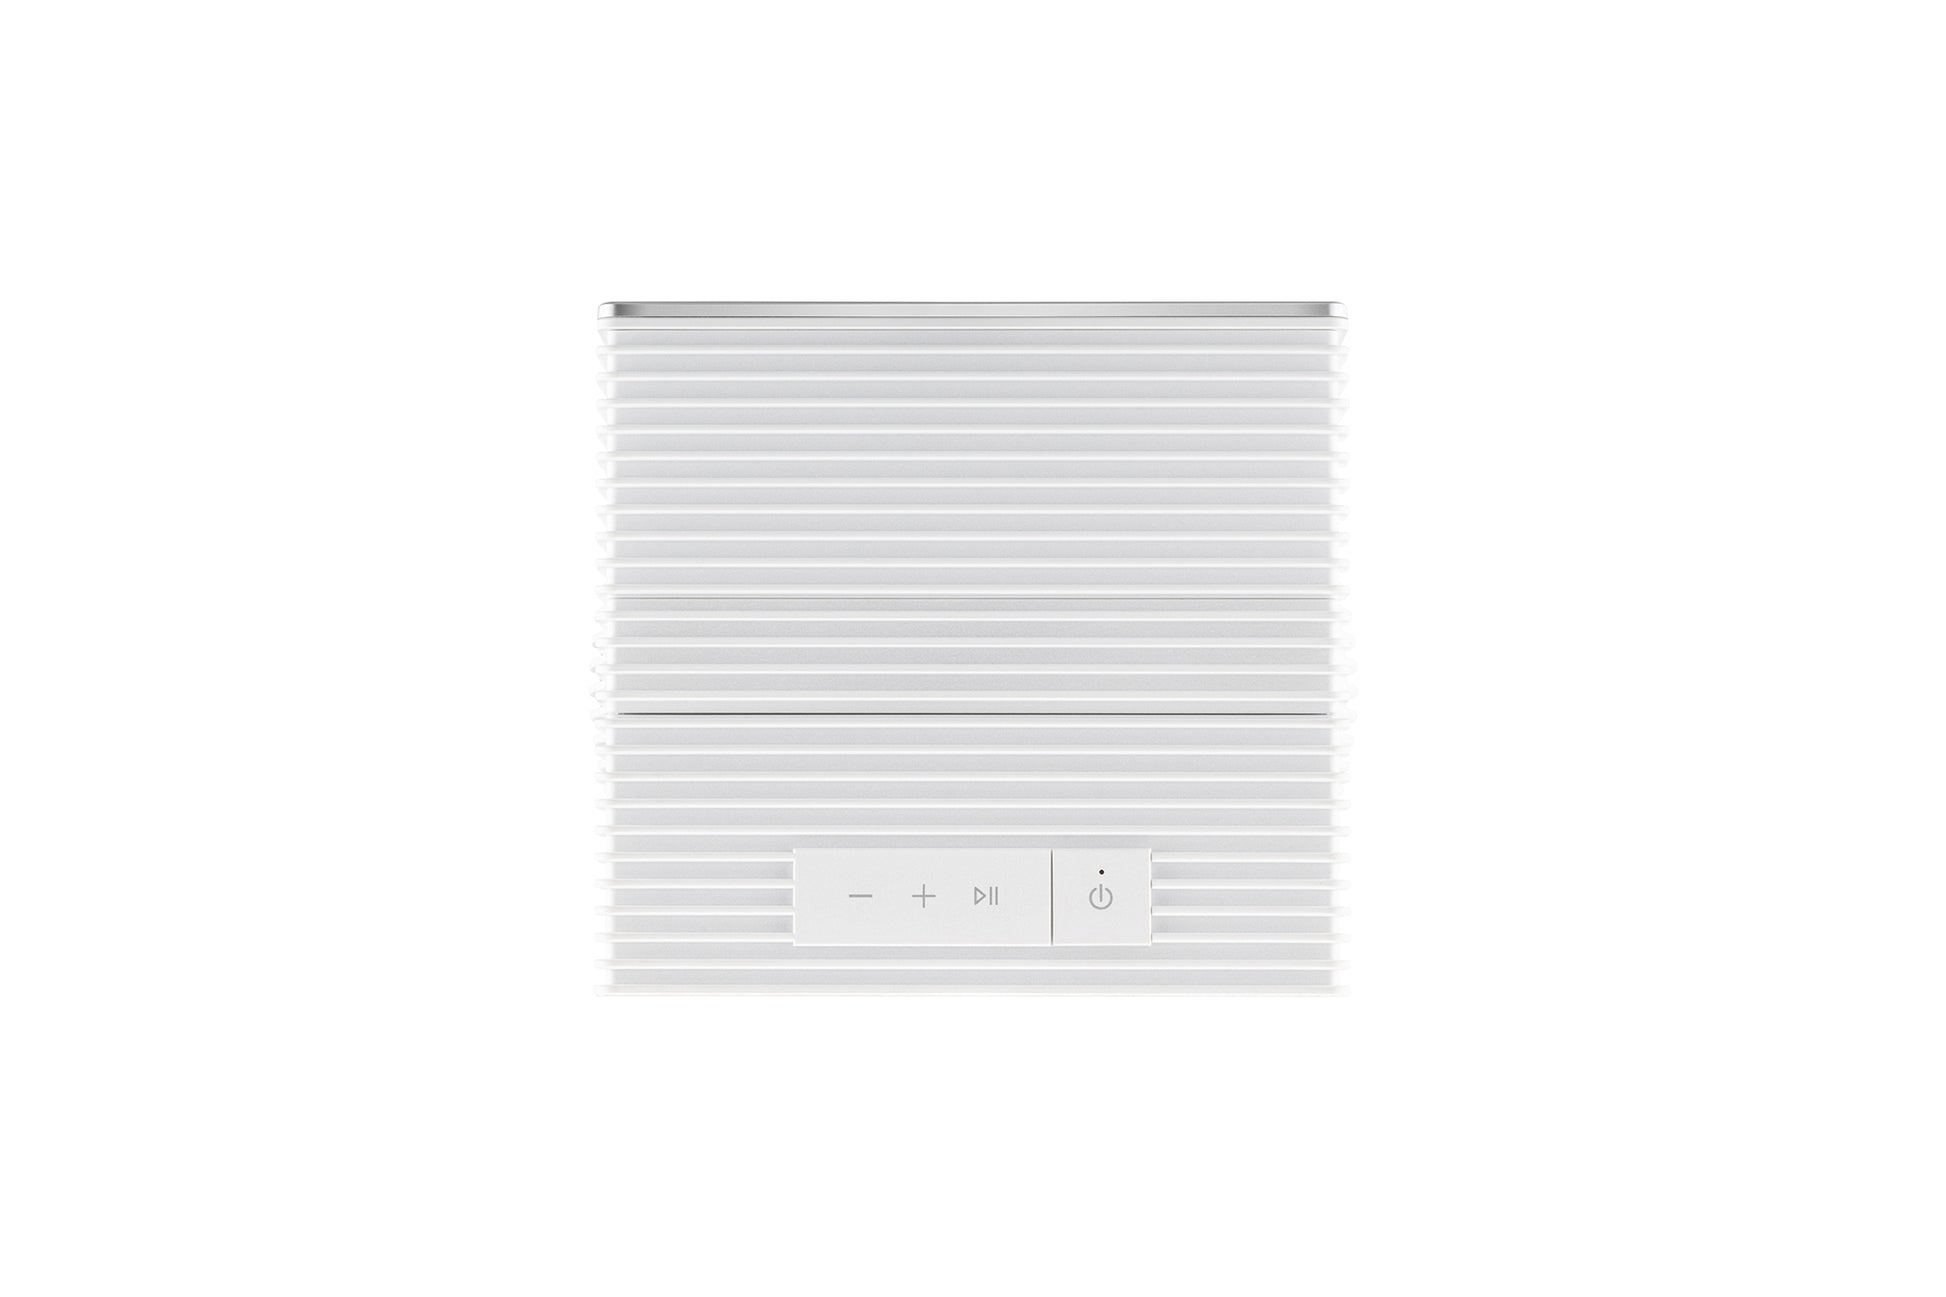
GAME ON as you wish by AiiO technology


Perfect Image Alignment
The P1000 projector features auto H/V keystone correction and 4 corner adjustment, ensuring every image is perfectly aligned, instantly.


Auto, Instant Focus
Setup becomes a breeze with the P1000. Say goodbye to manual adjustments and time-consuming calibrations--with Time of Flight (ToF) sensor, the P1000 achieves automatic and instant focus, allowing you to enjoy sharp and crystal-clear images in just a second.


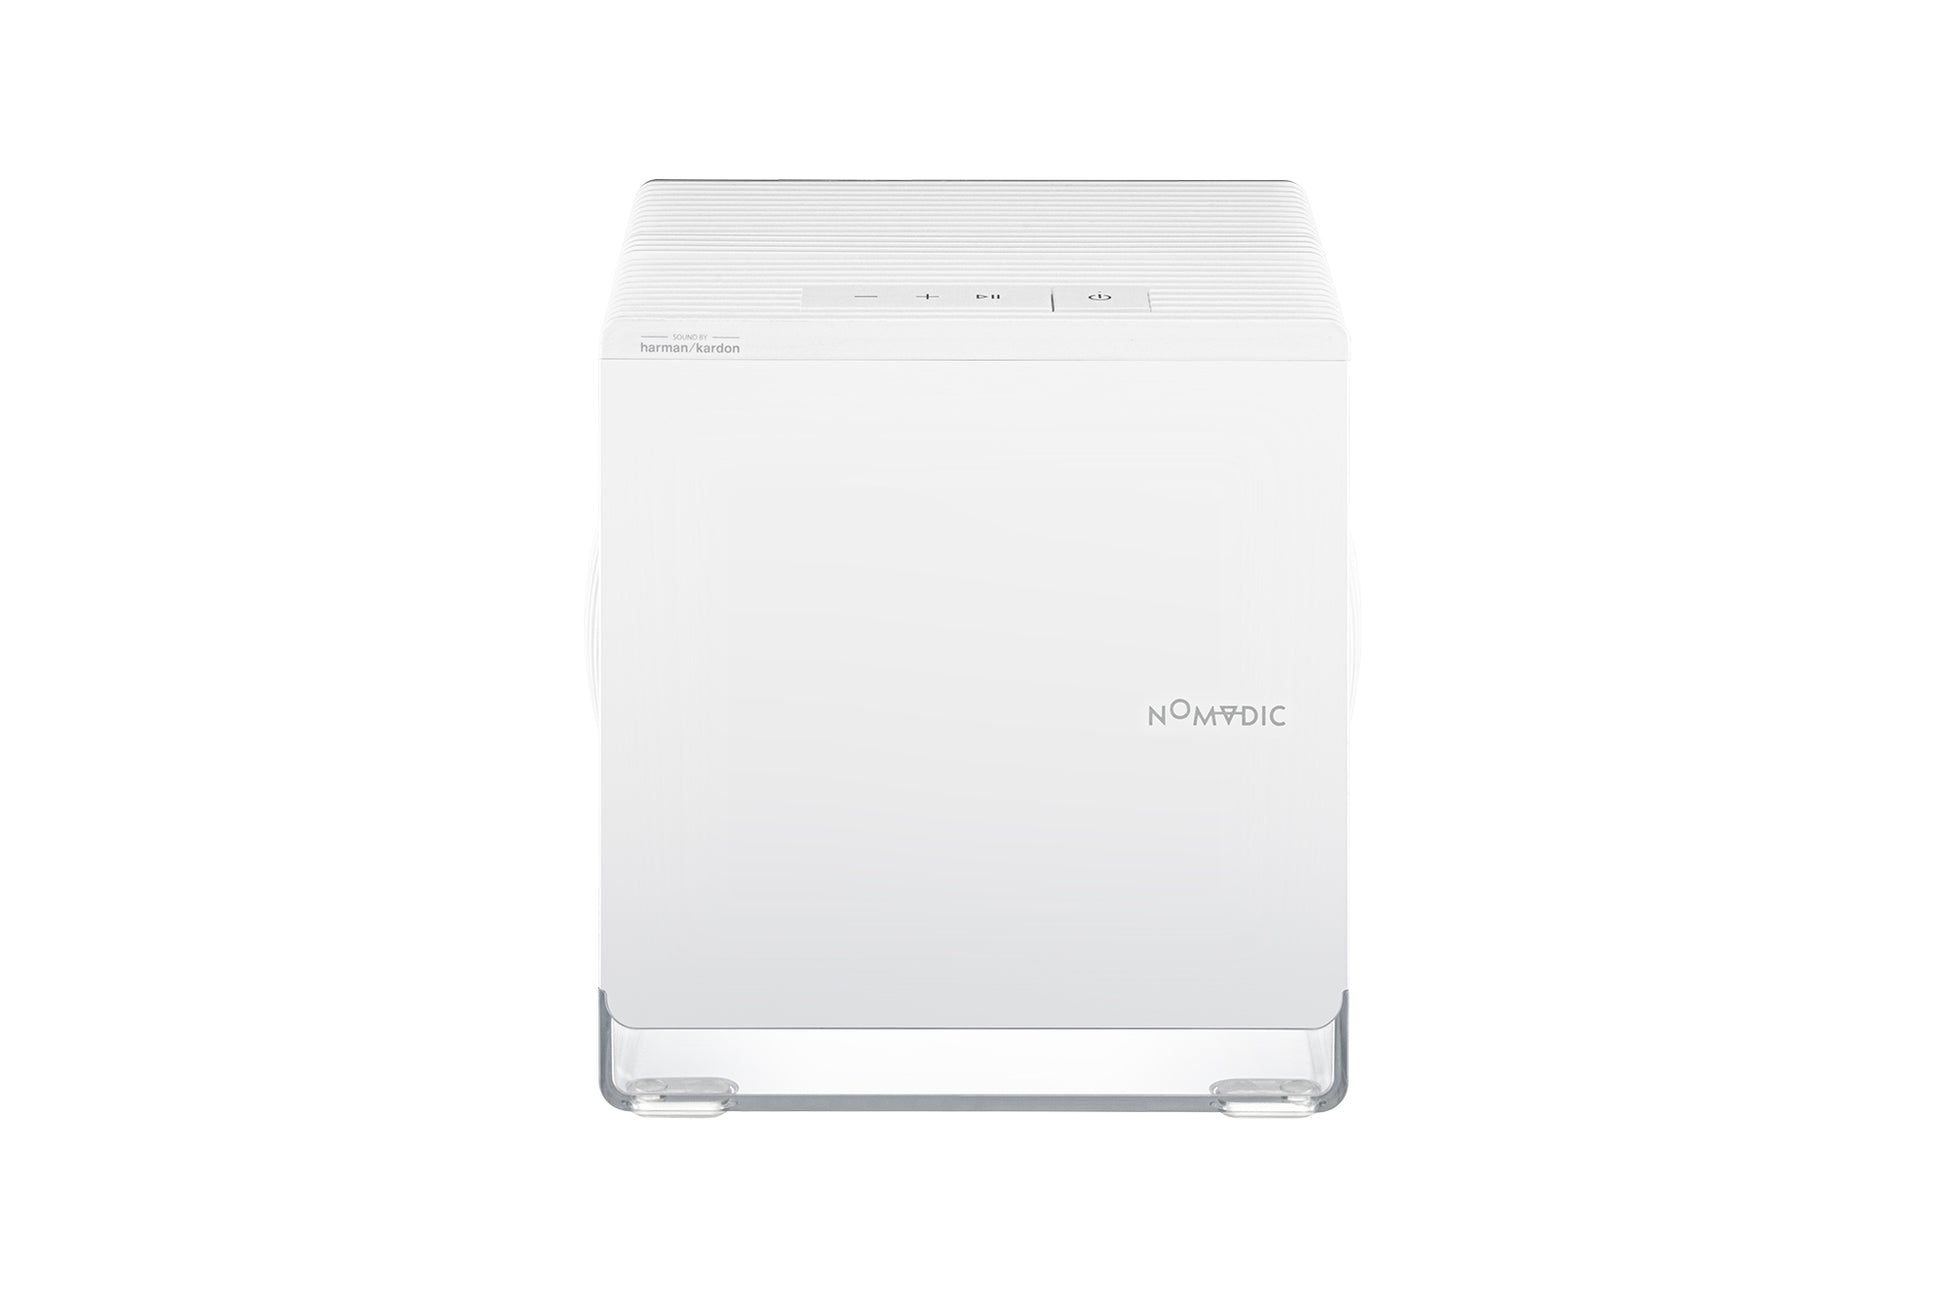
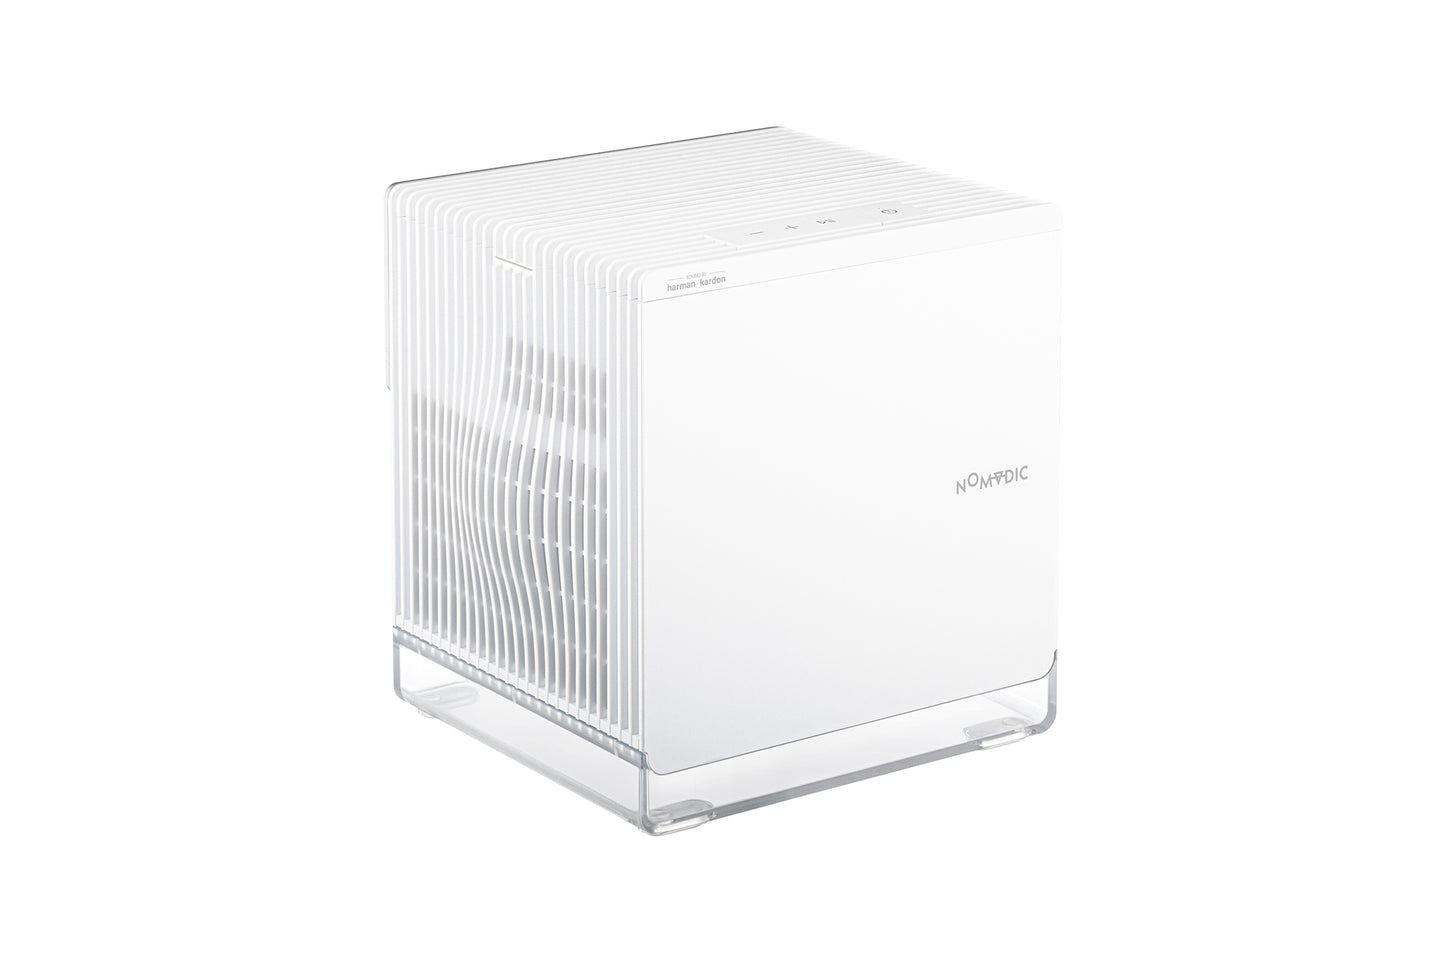
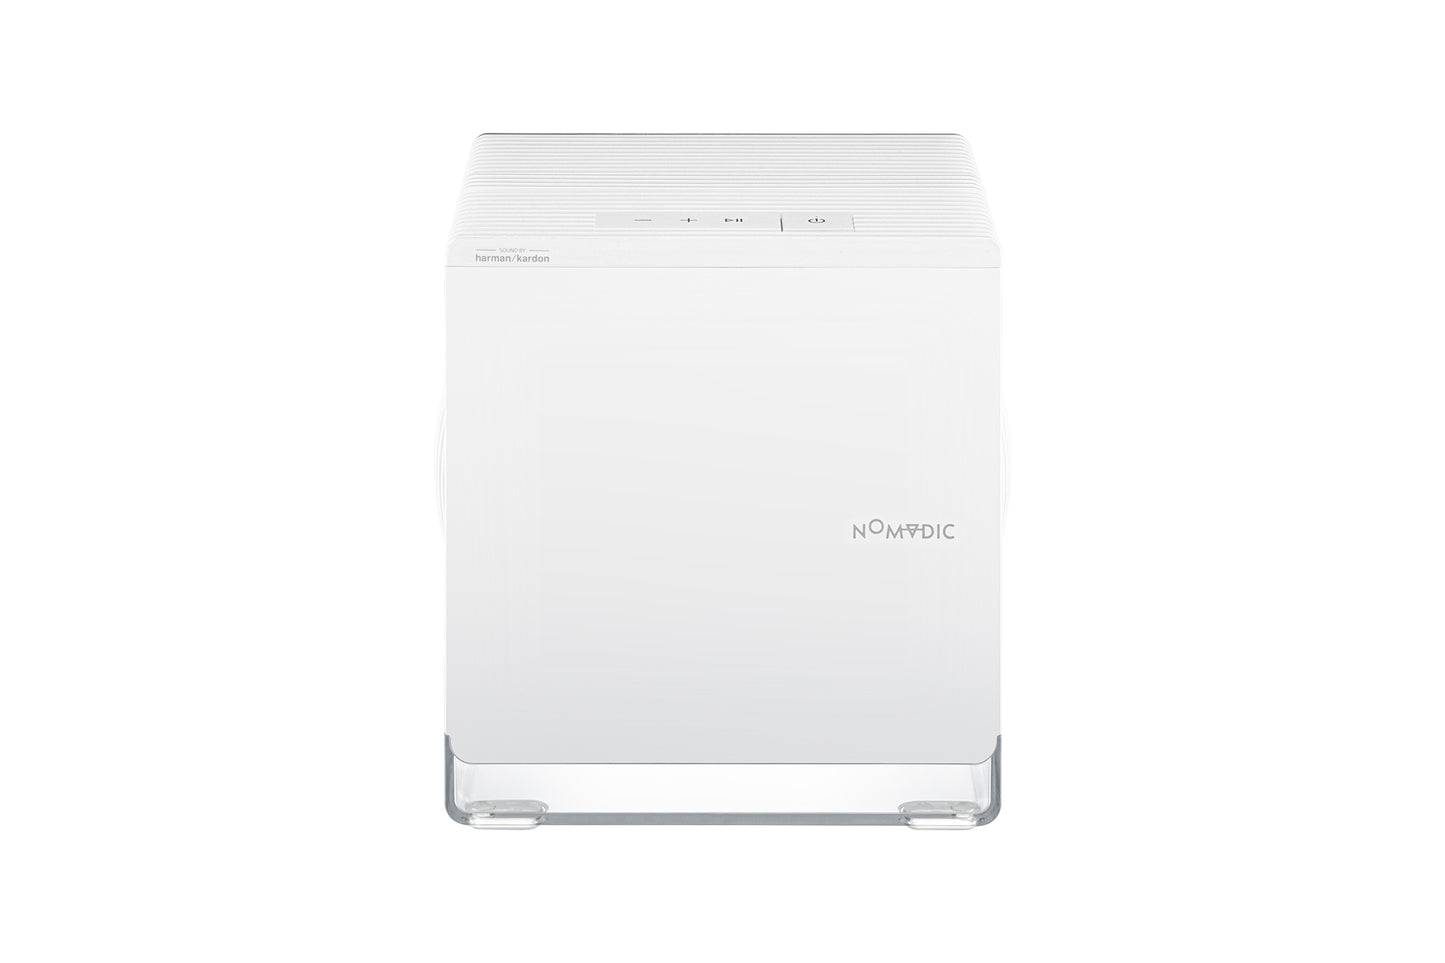
Captivating, Room-Filling Sound

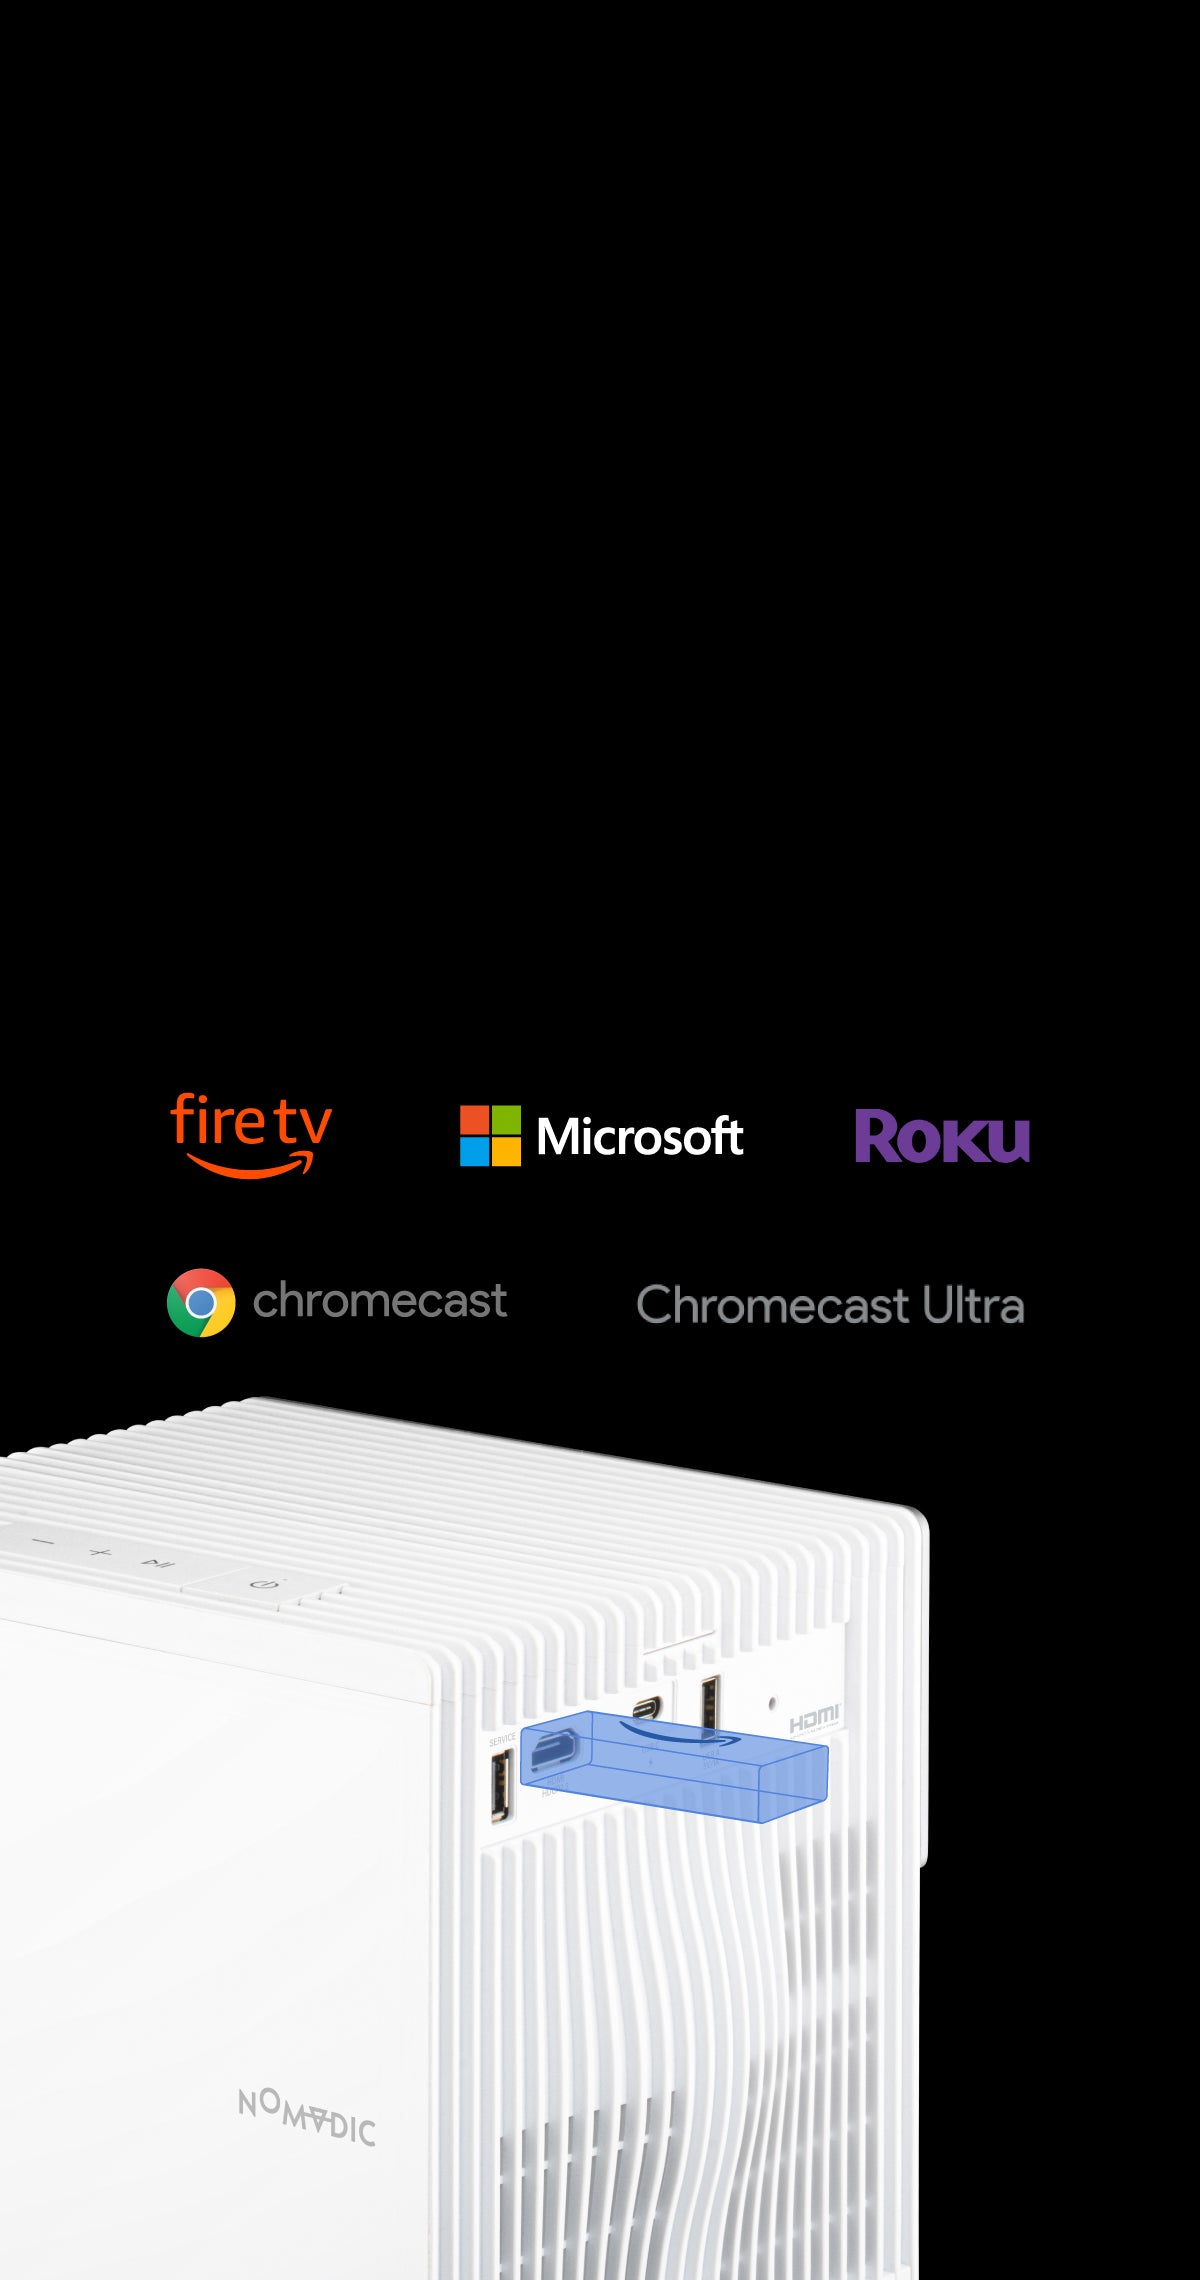
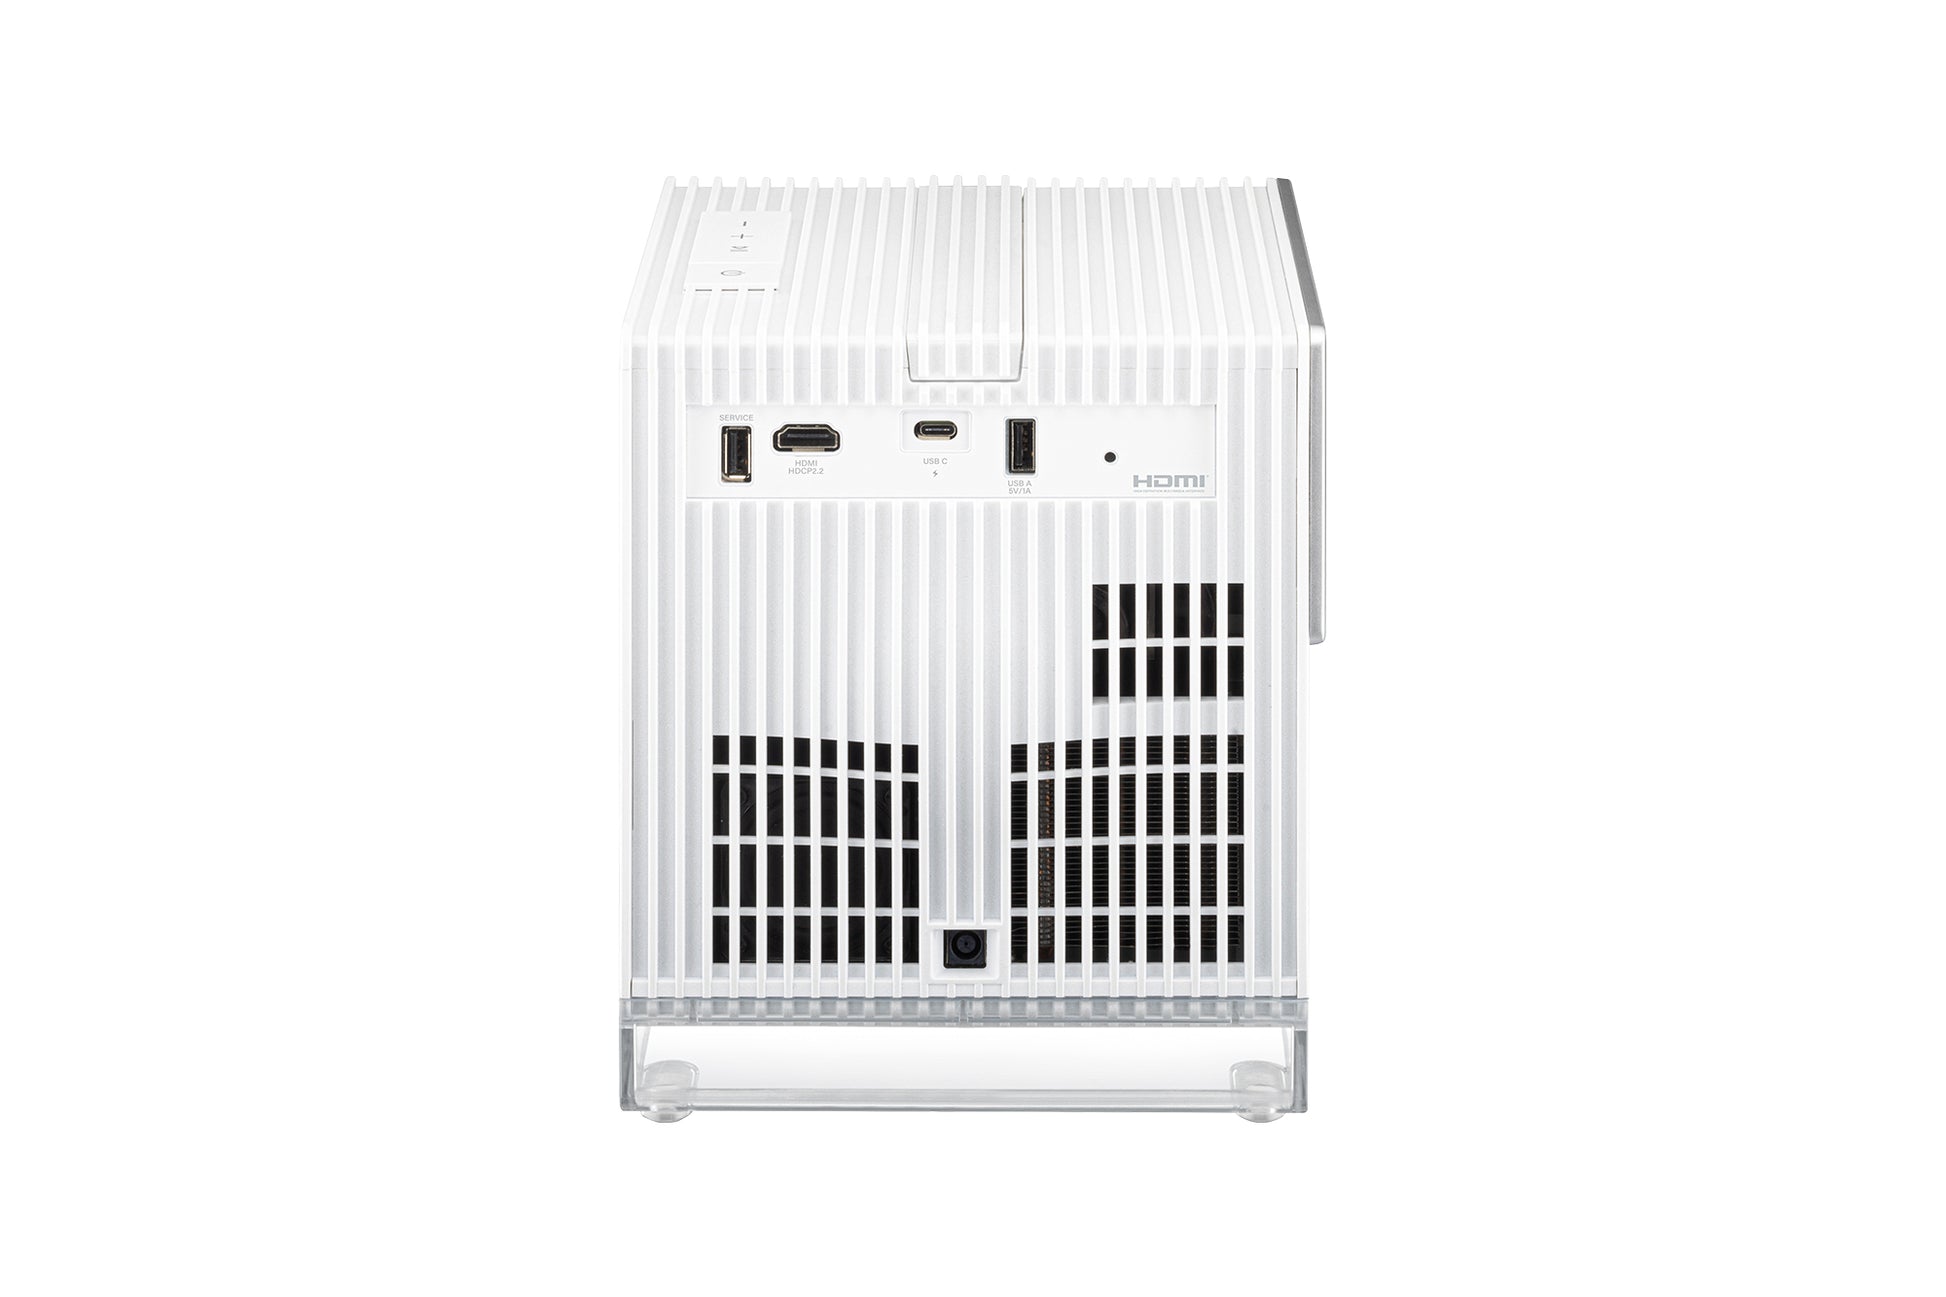
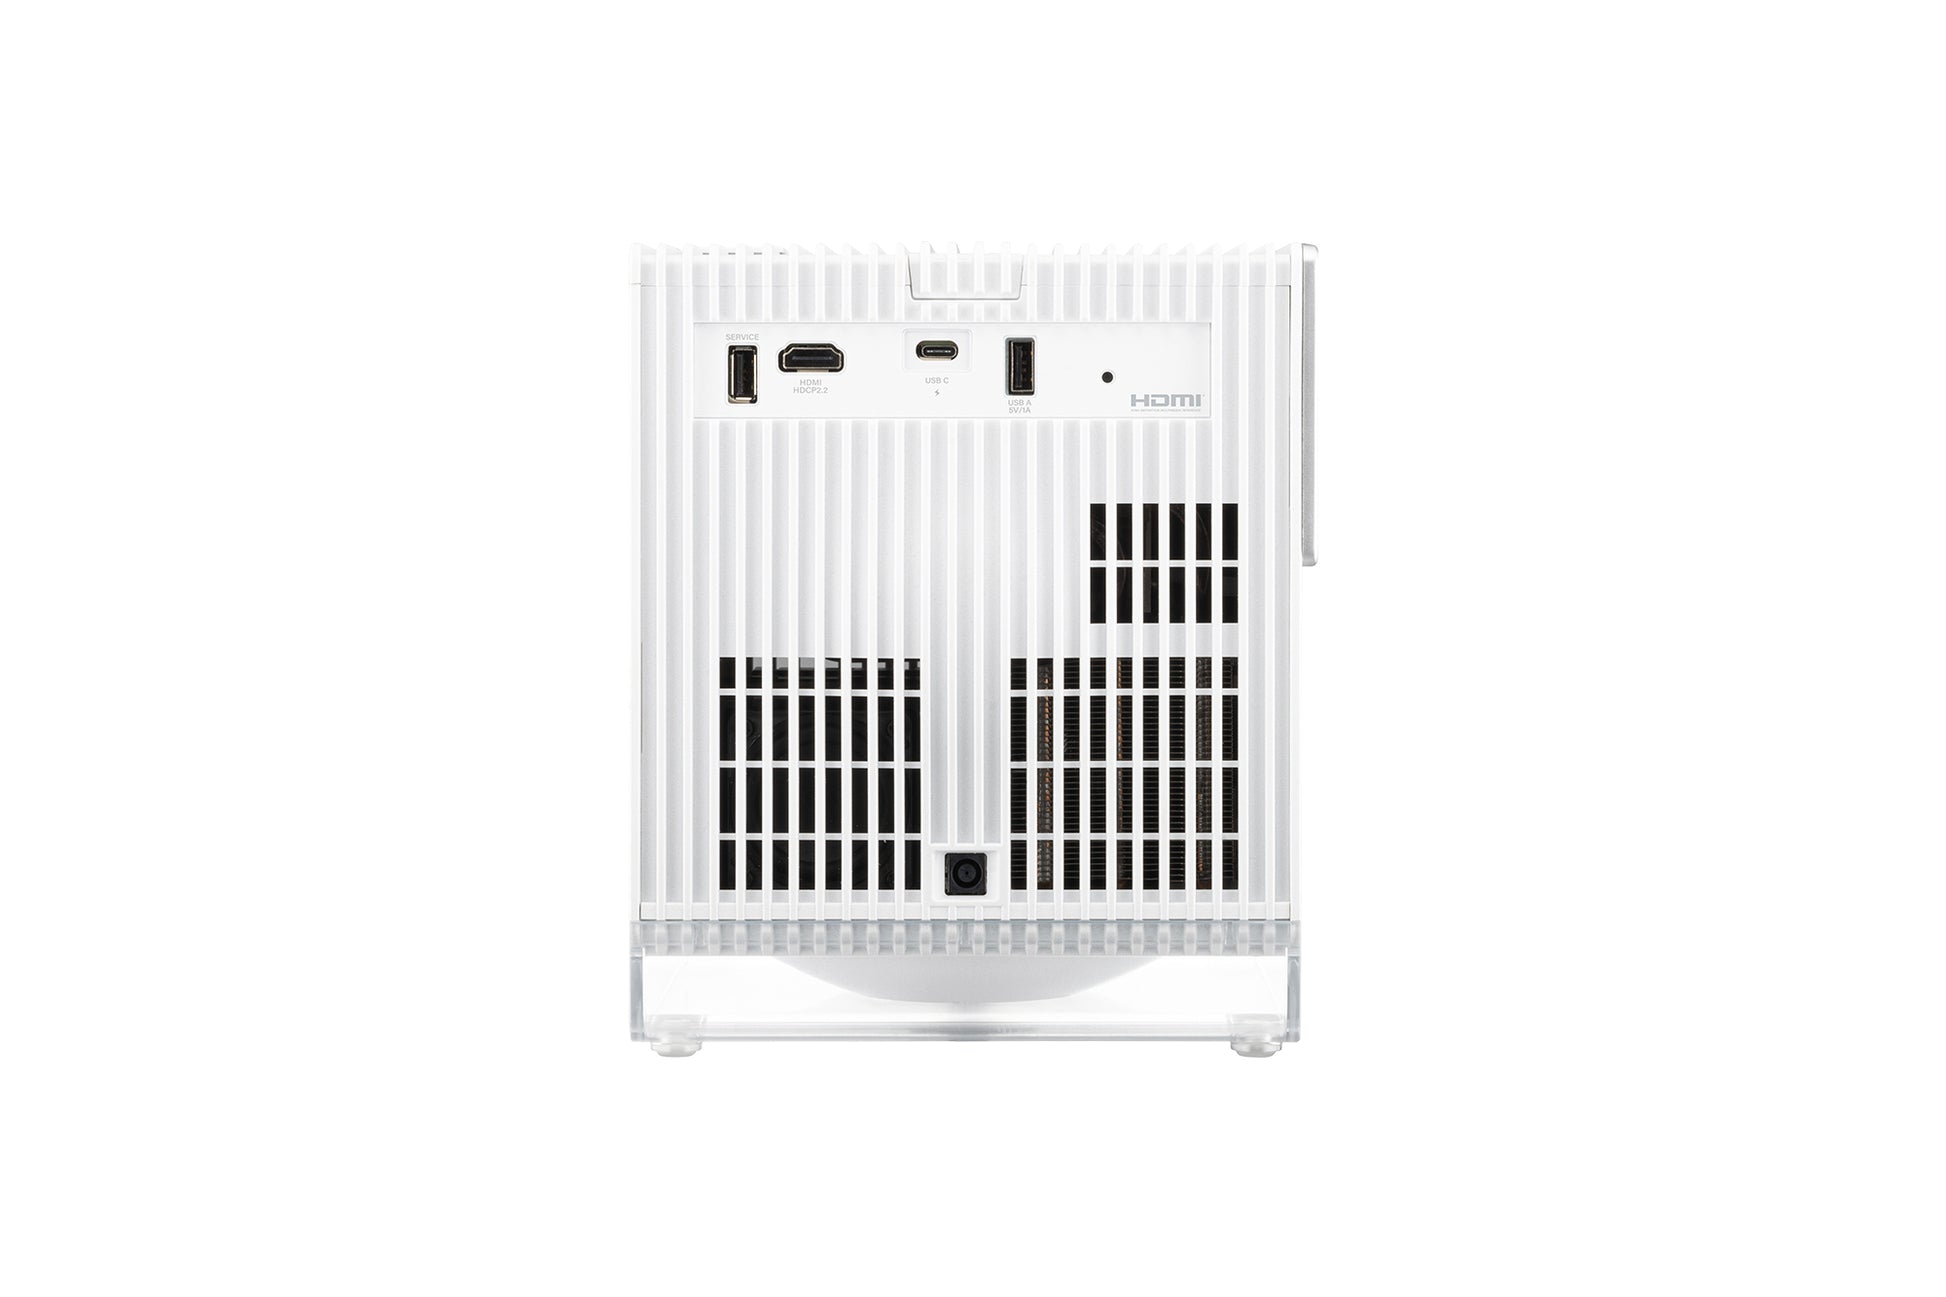
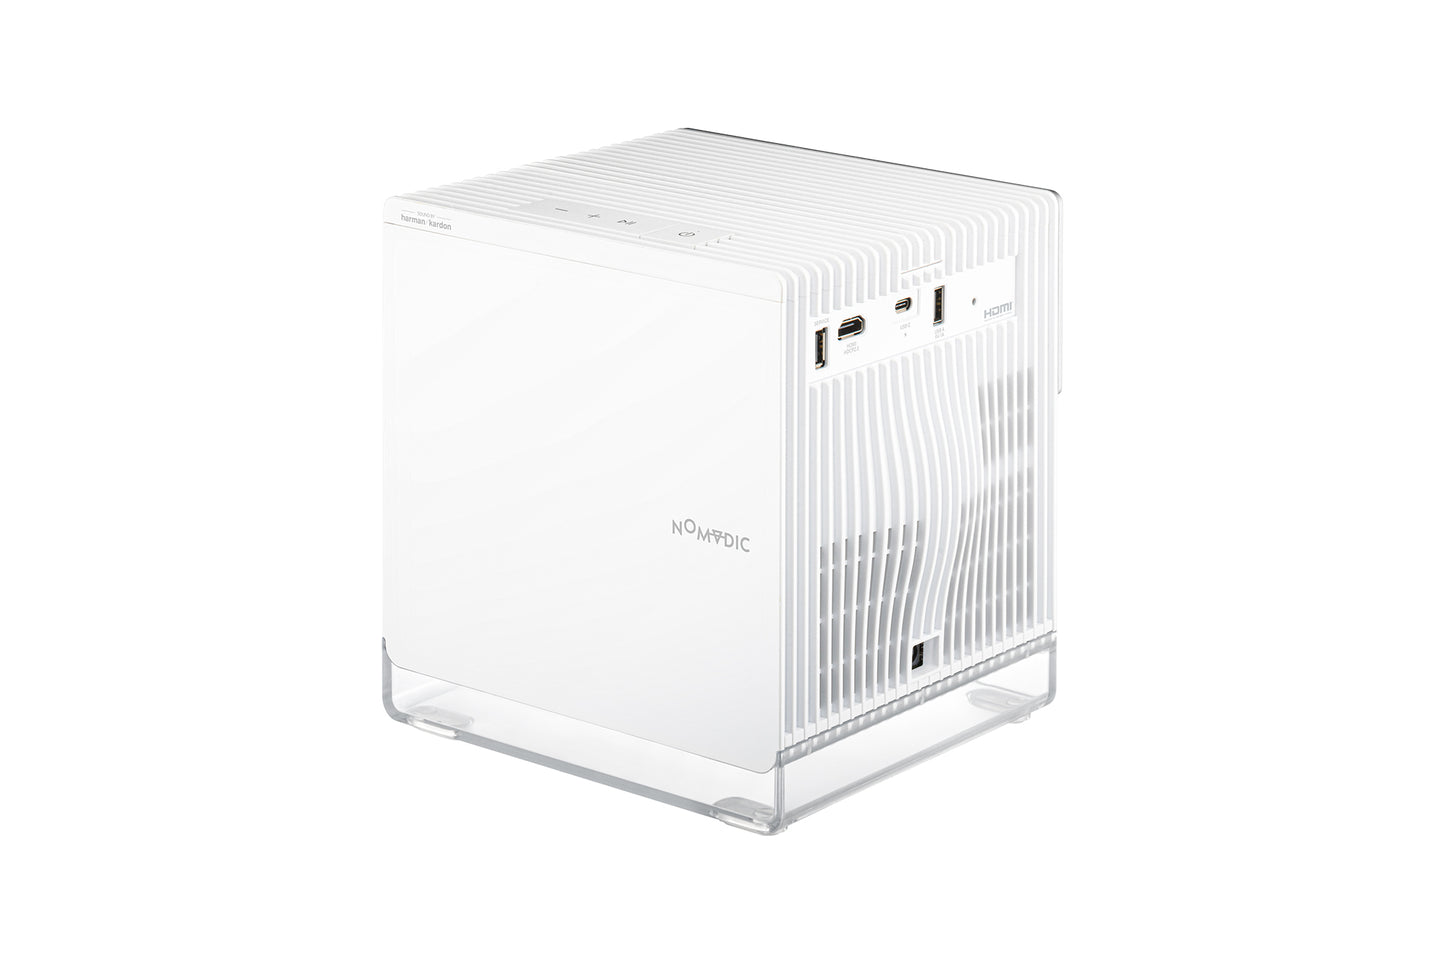
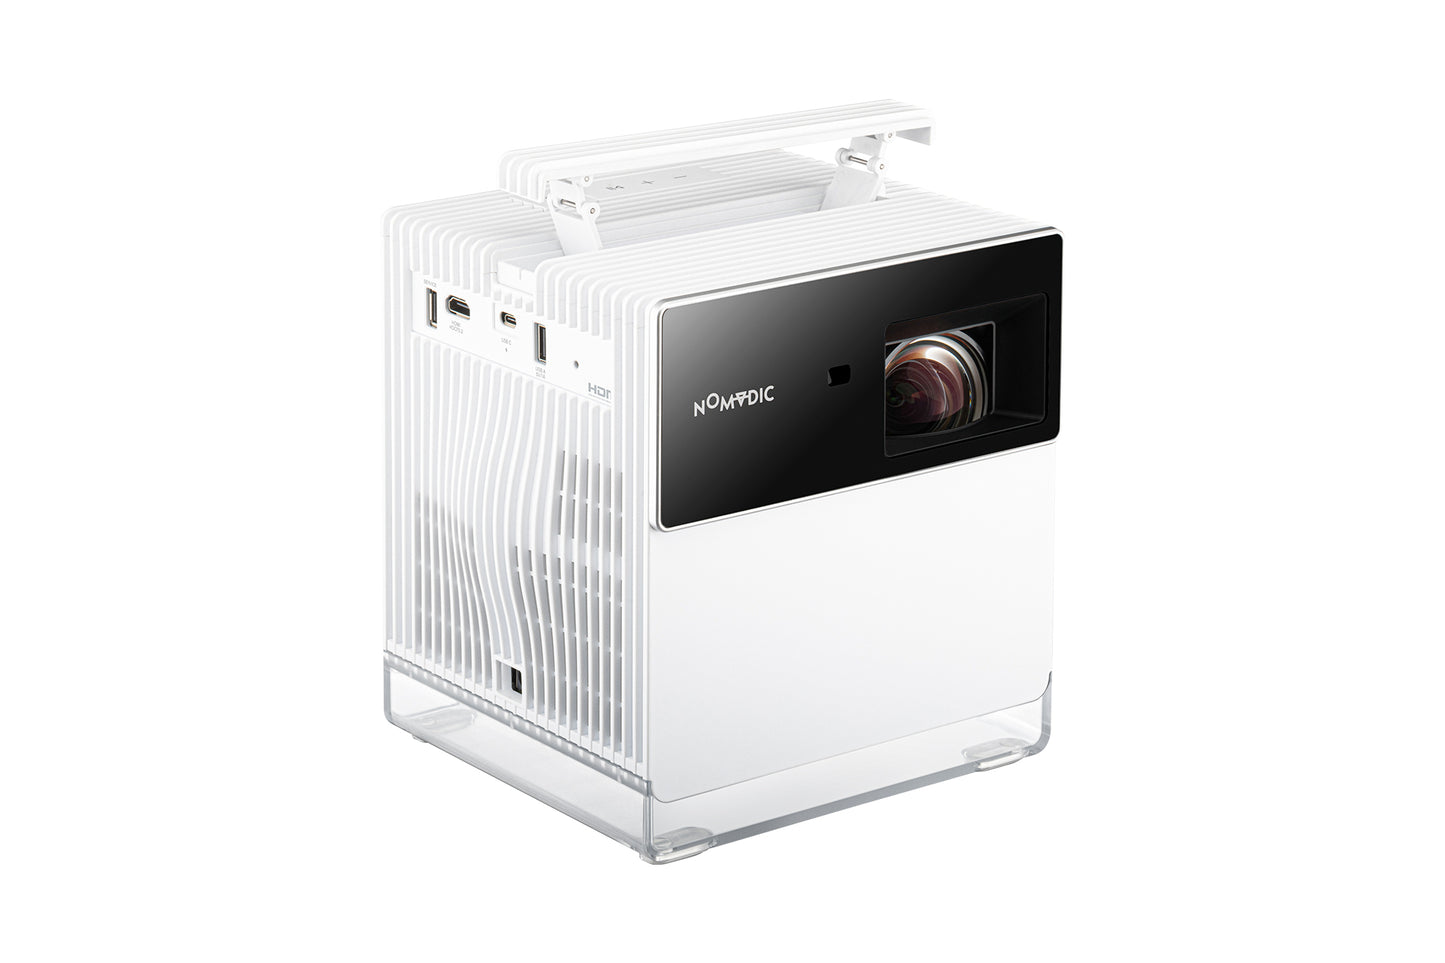
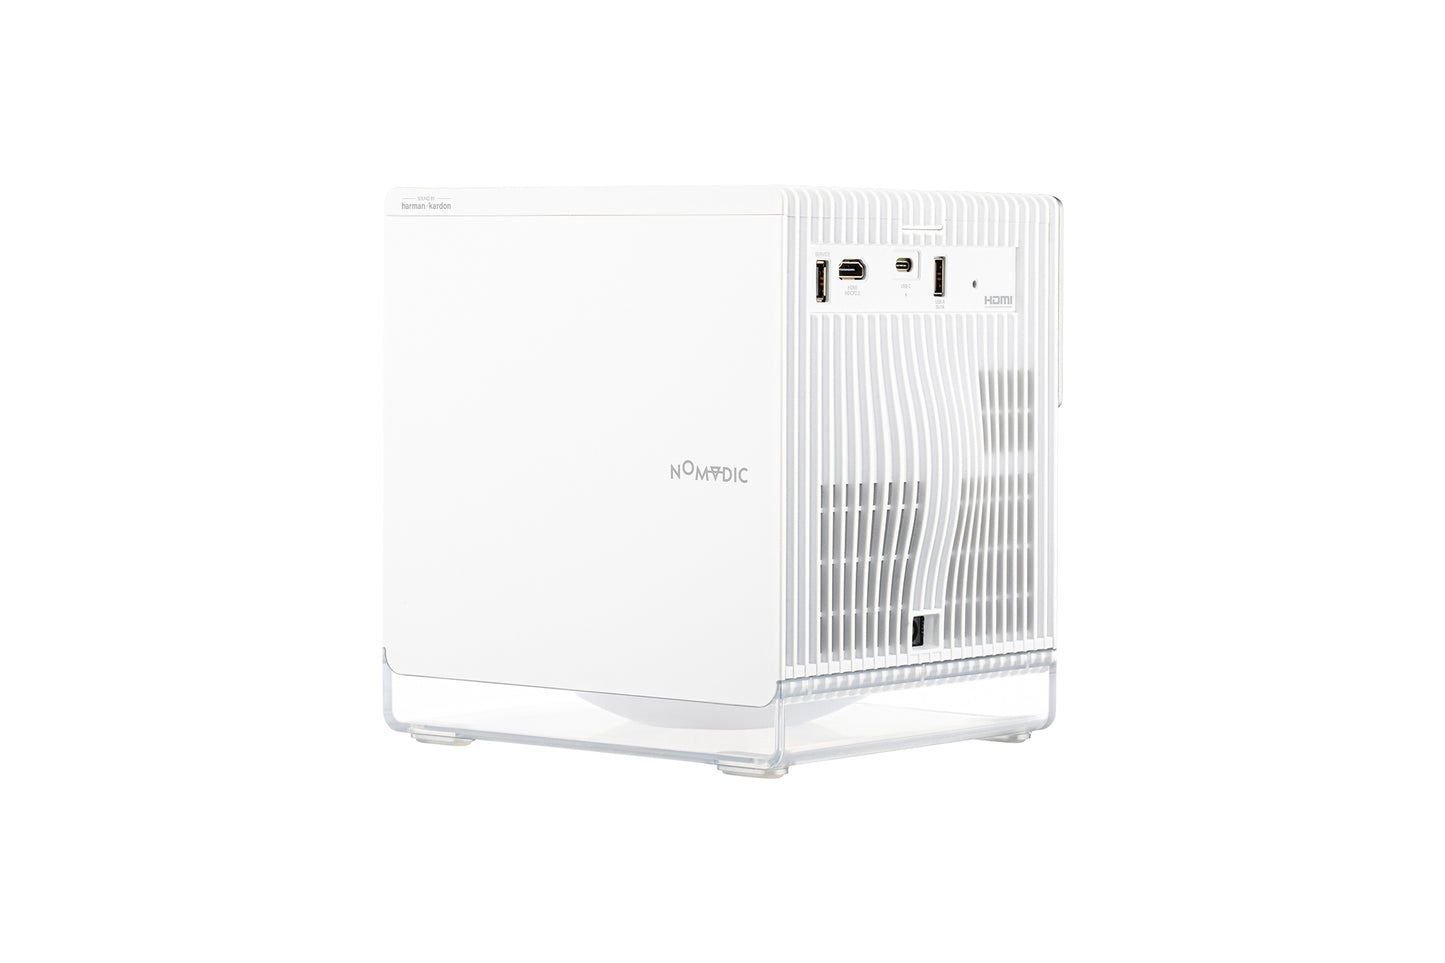
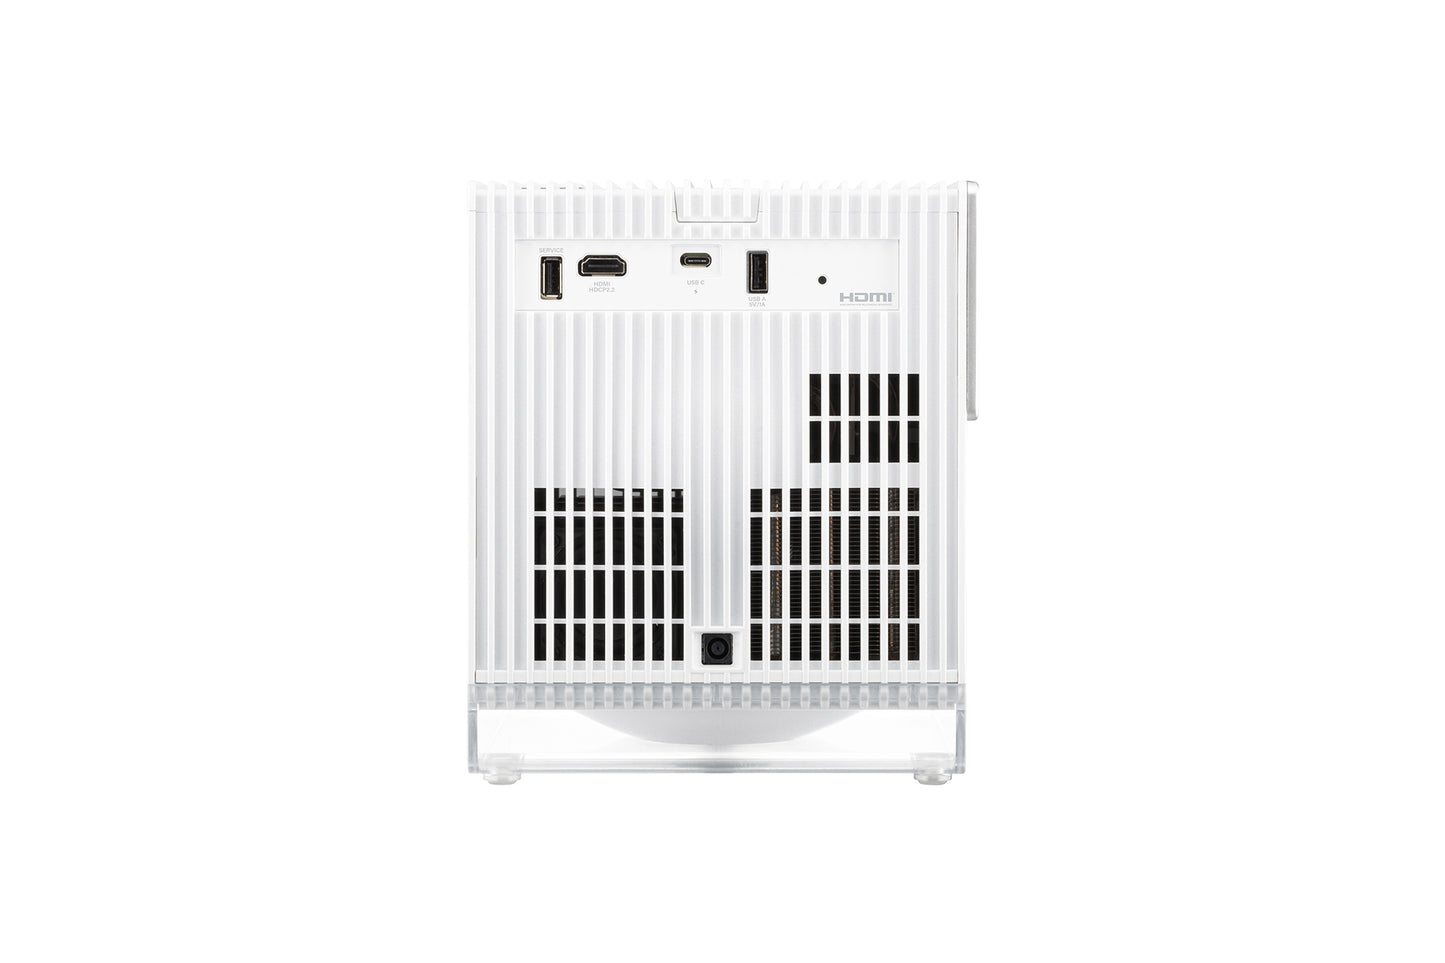
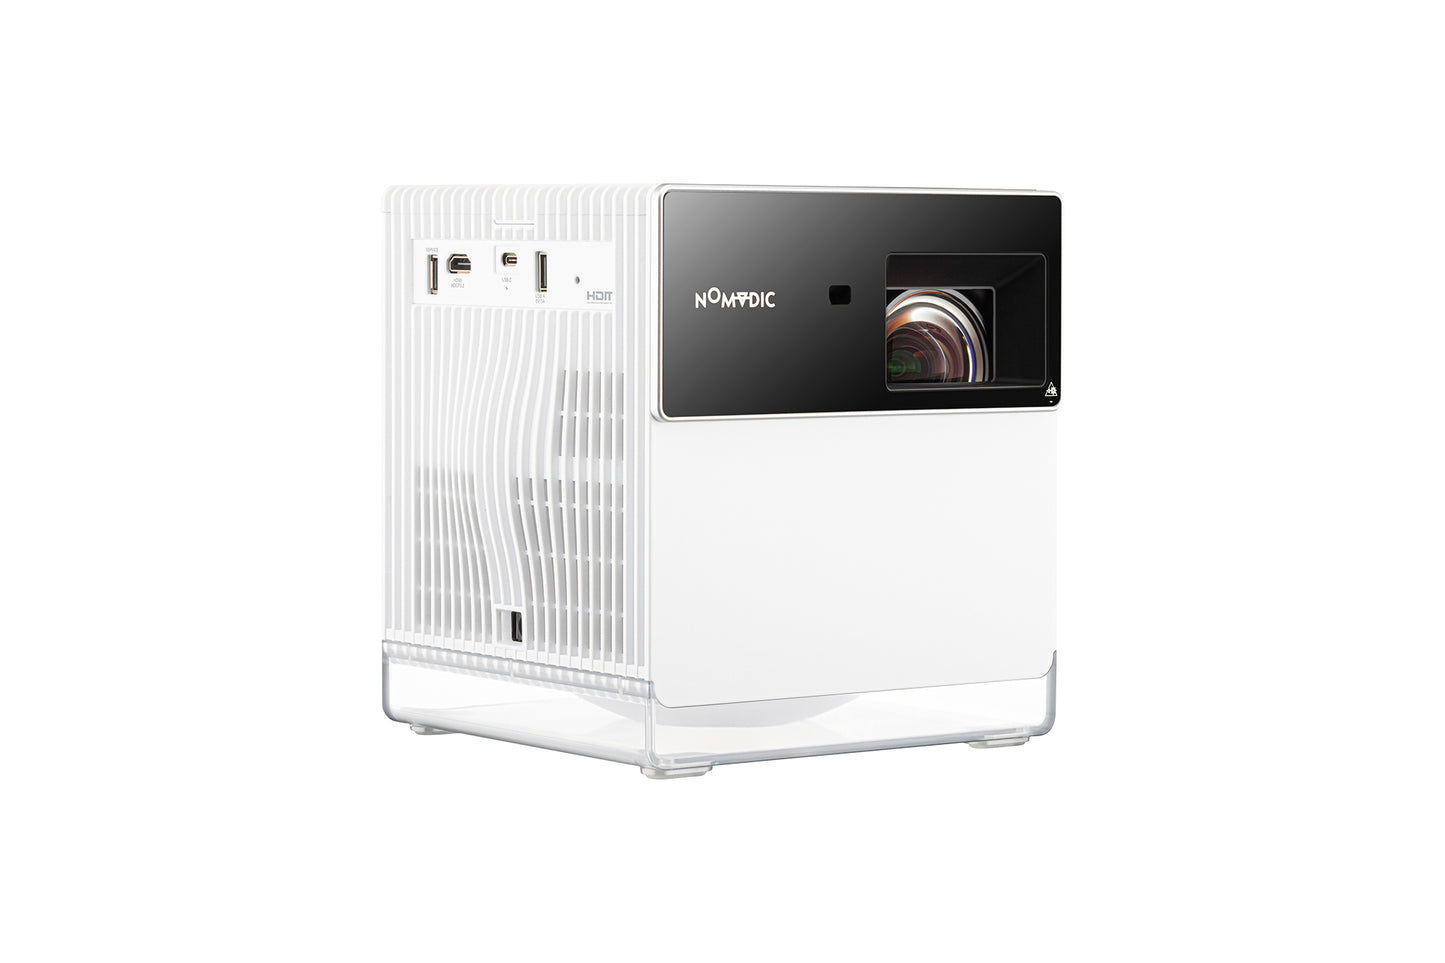
Plug & Play Your Way
Lose yourself in your favorite content by connecting your TV stick with P1000. You can directly charge your devices through the USB-A port on the P1000.


Big Screen Fun for Your iPhone 15
NOMVDIC projectors are highly compatible with the iPhone 15, allowing you to easily connect your phone to the projector through a USB-C cable and enjoy large-screen fun.
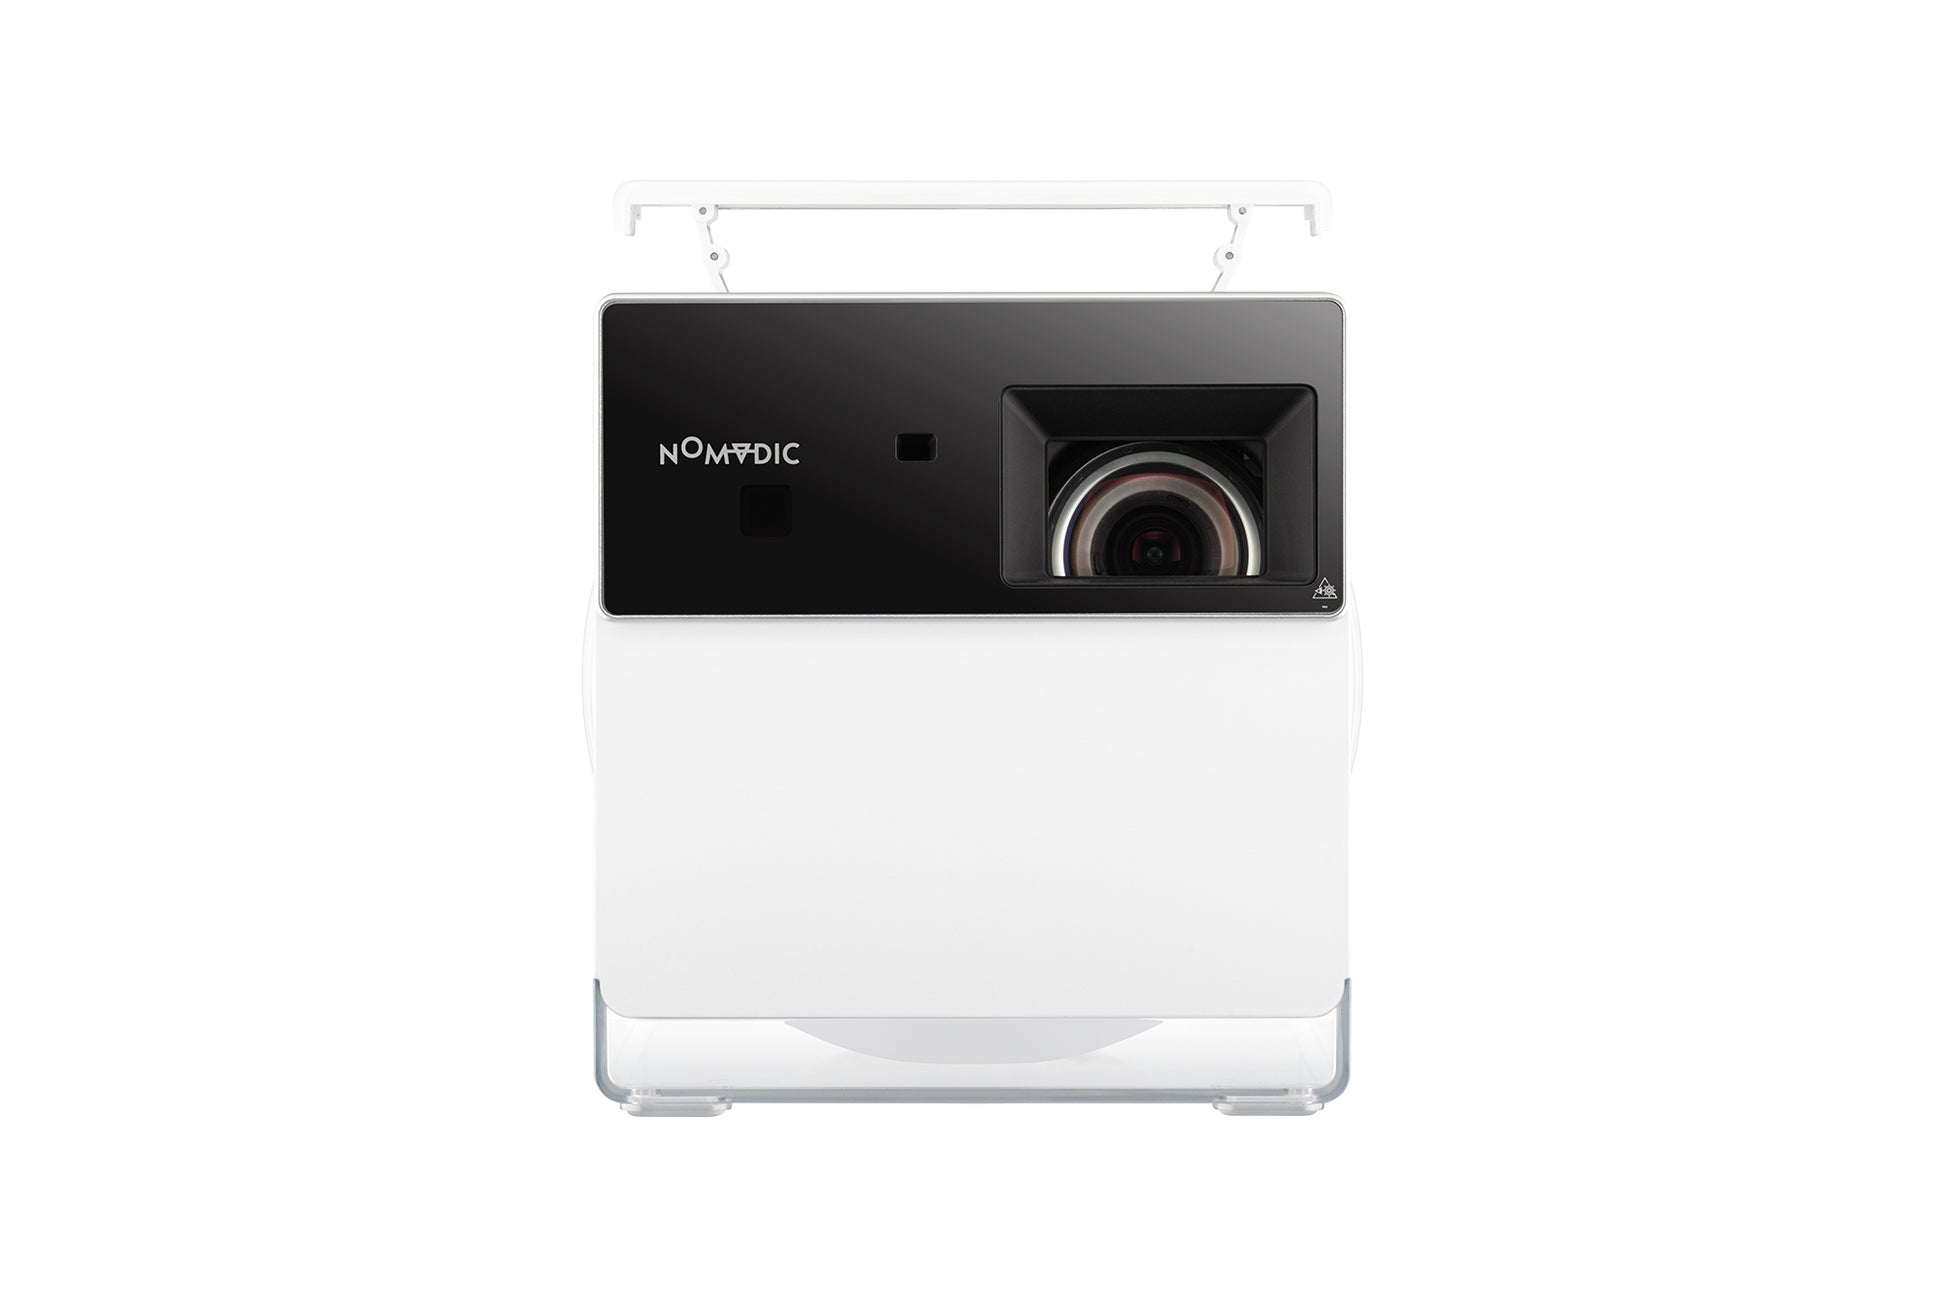
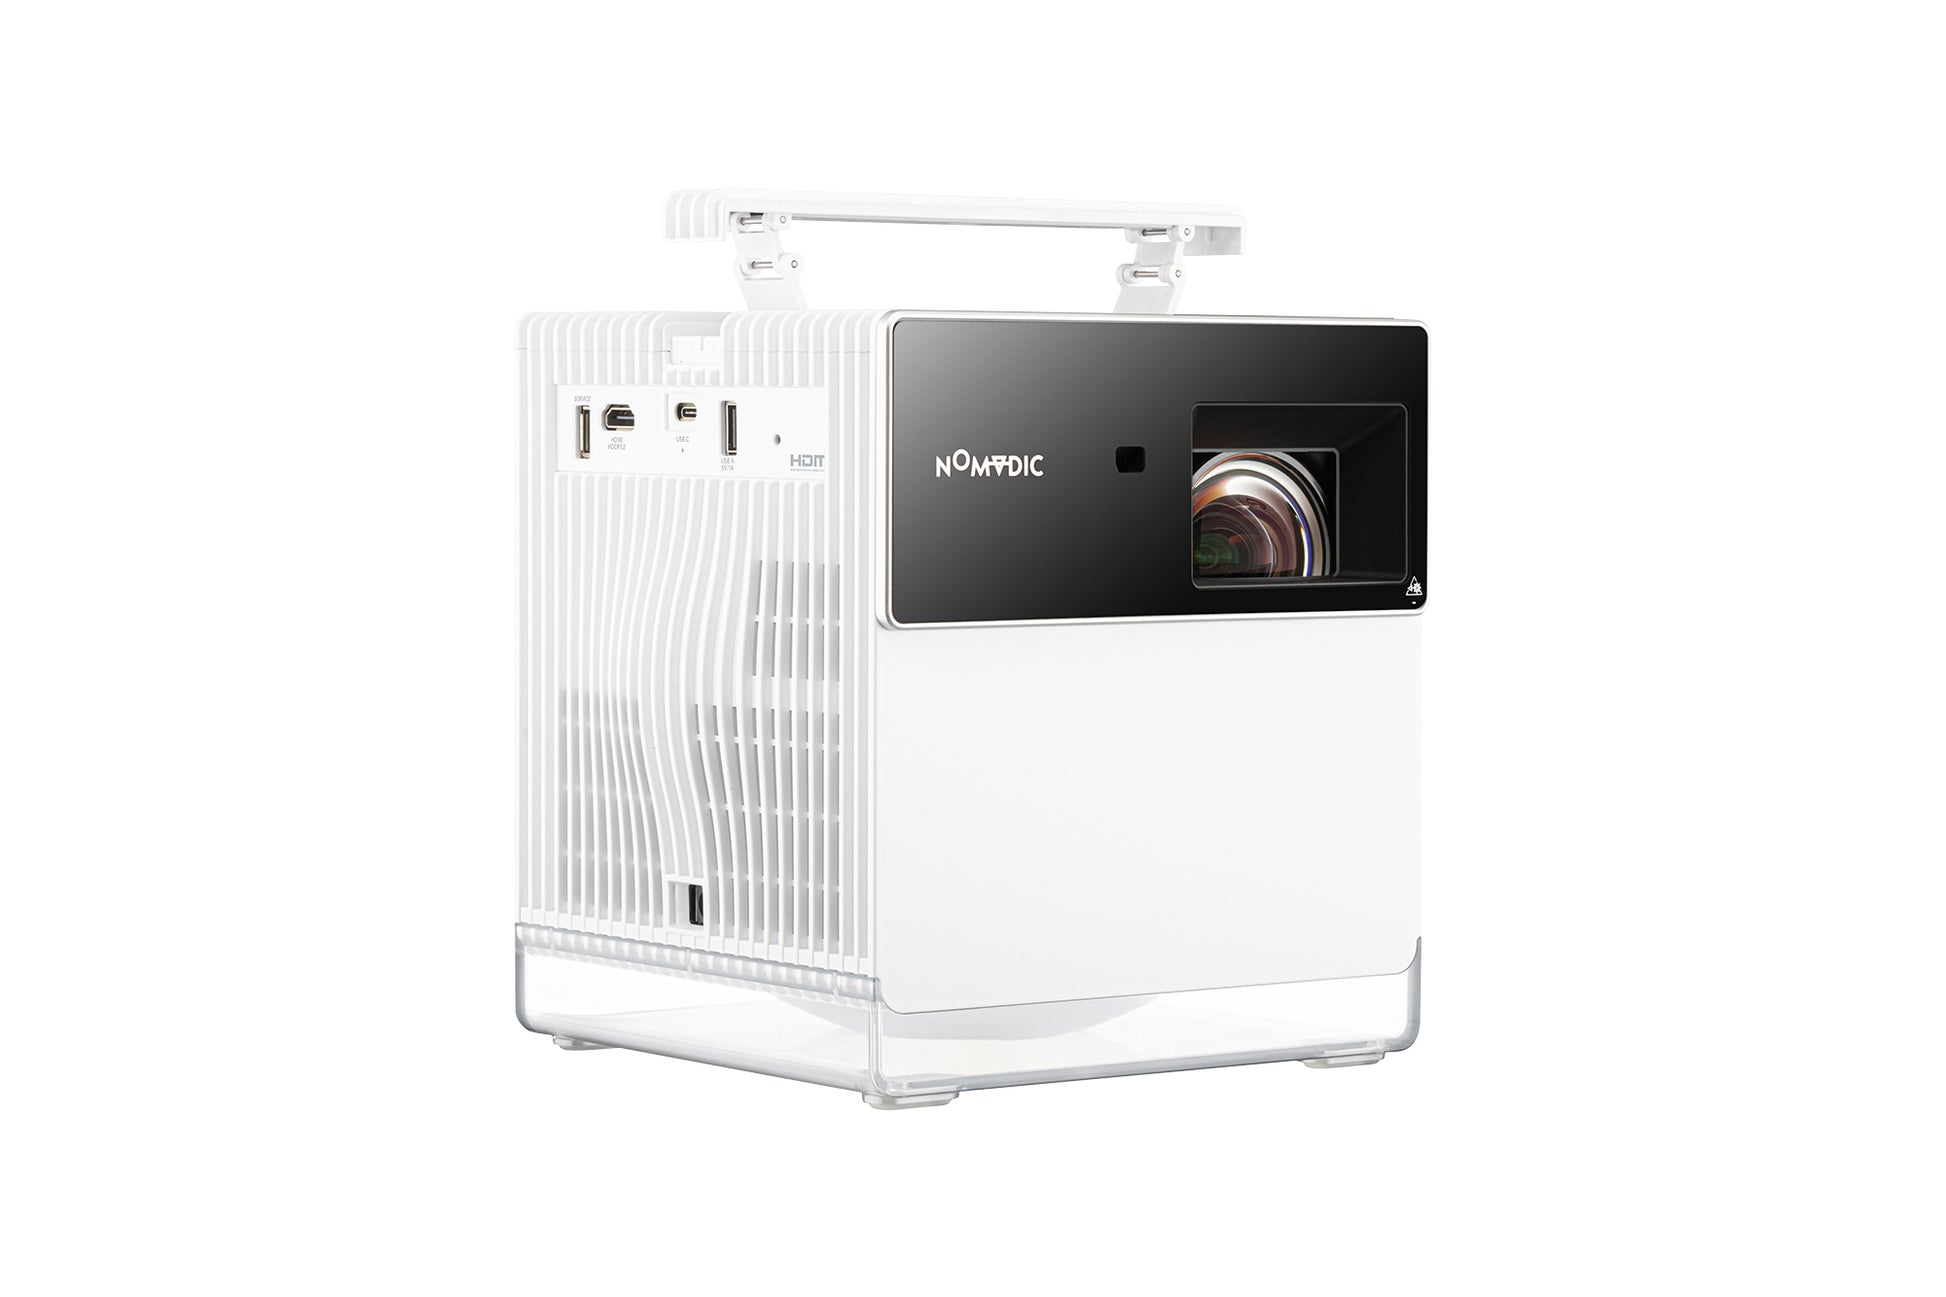
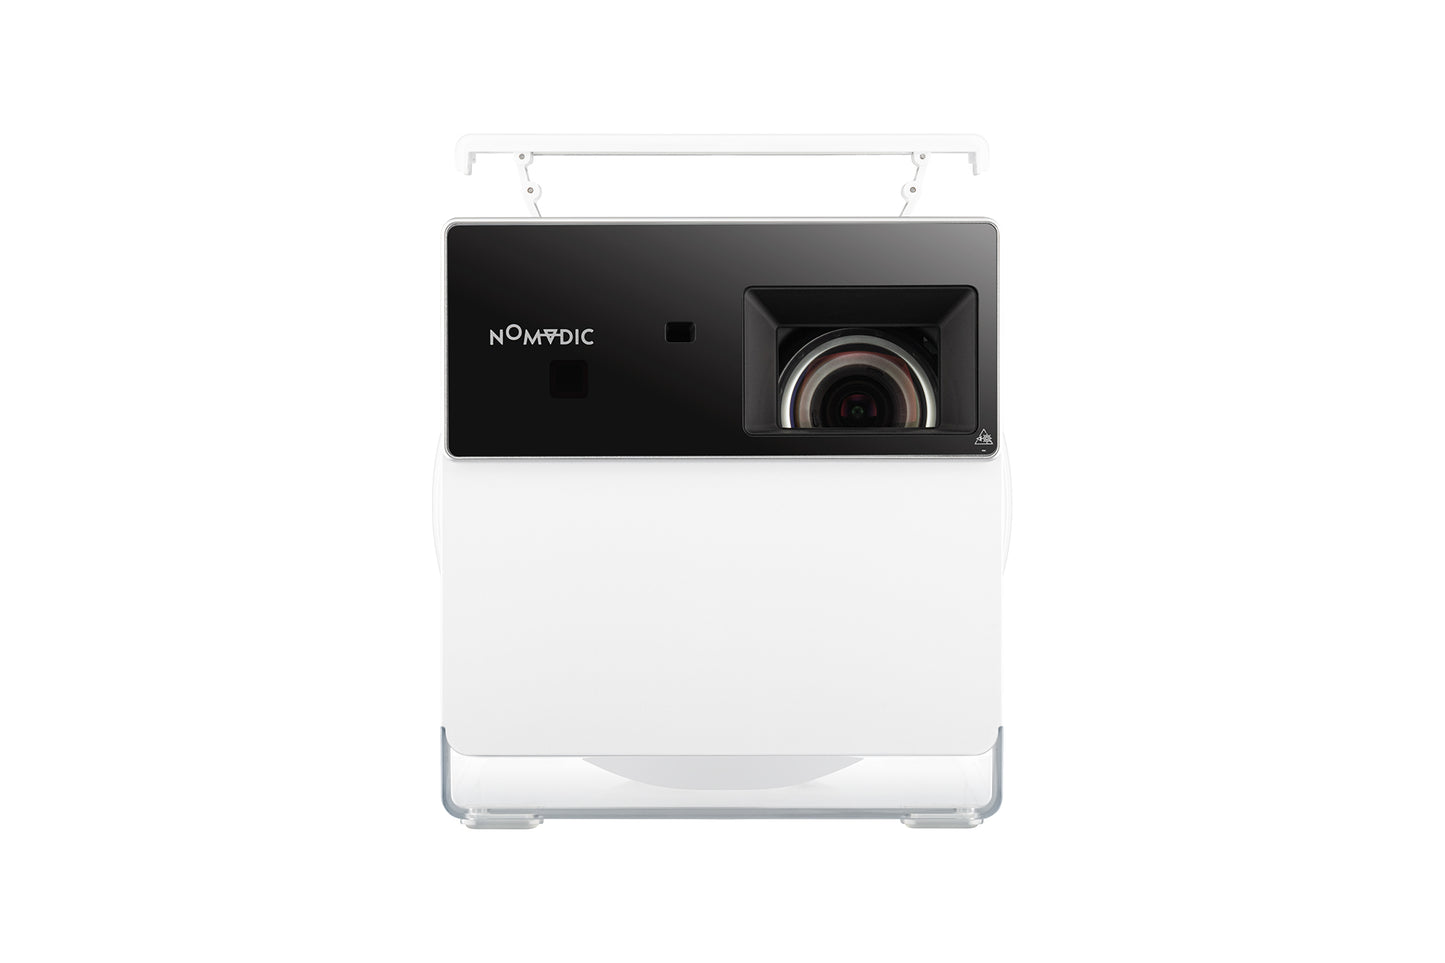
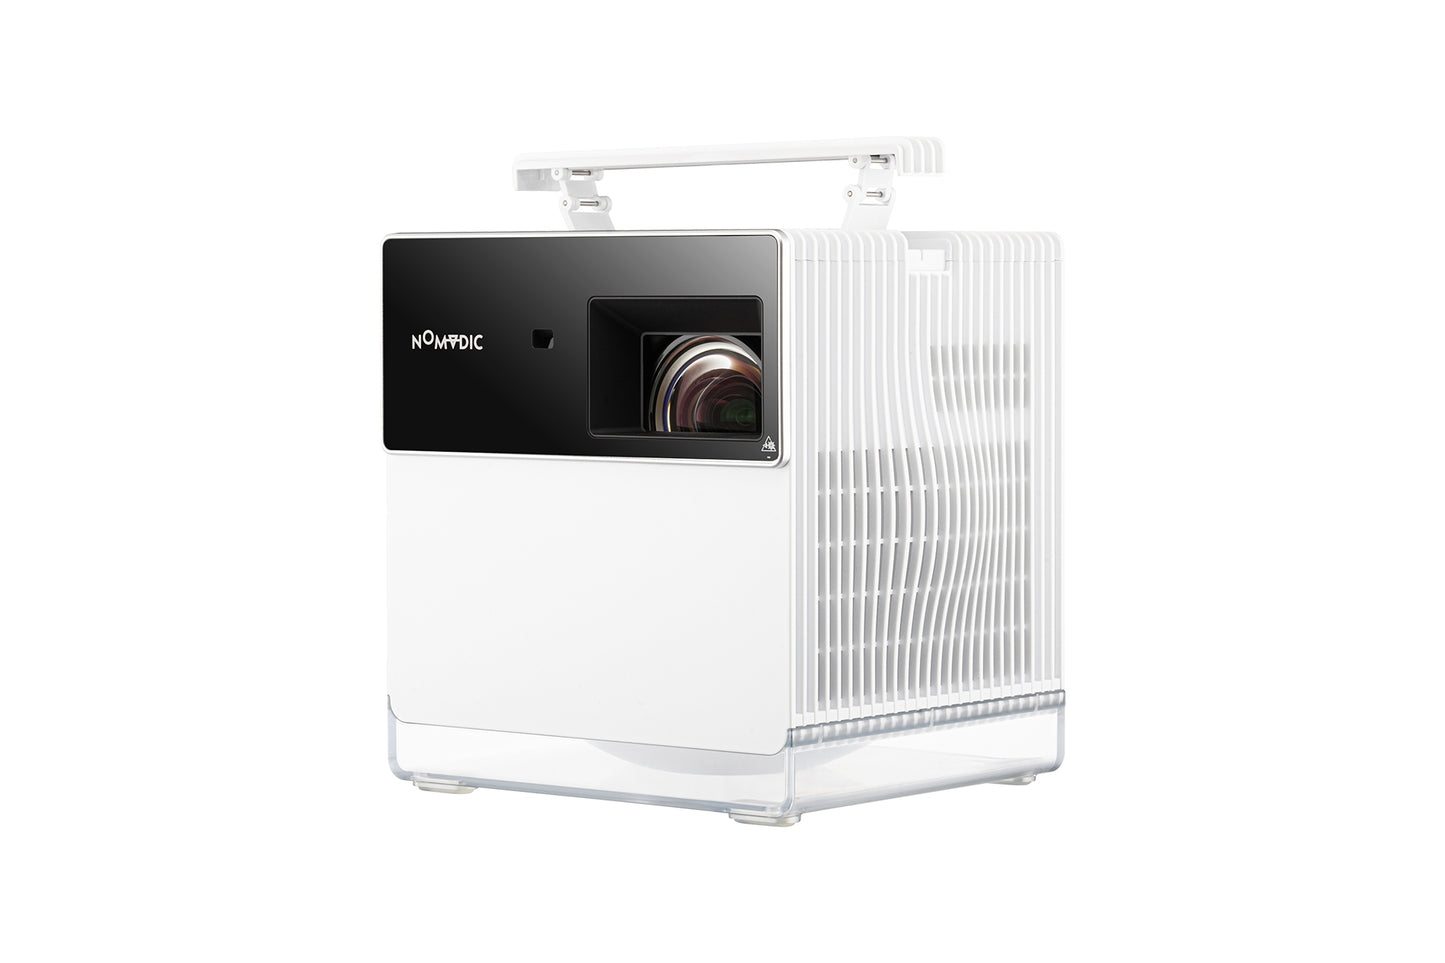
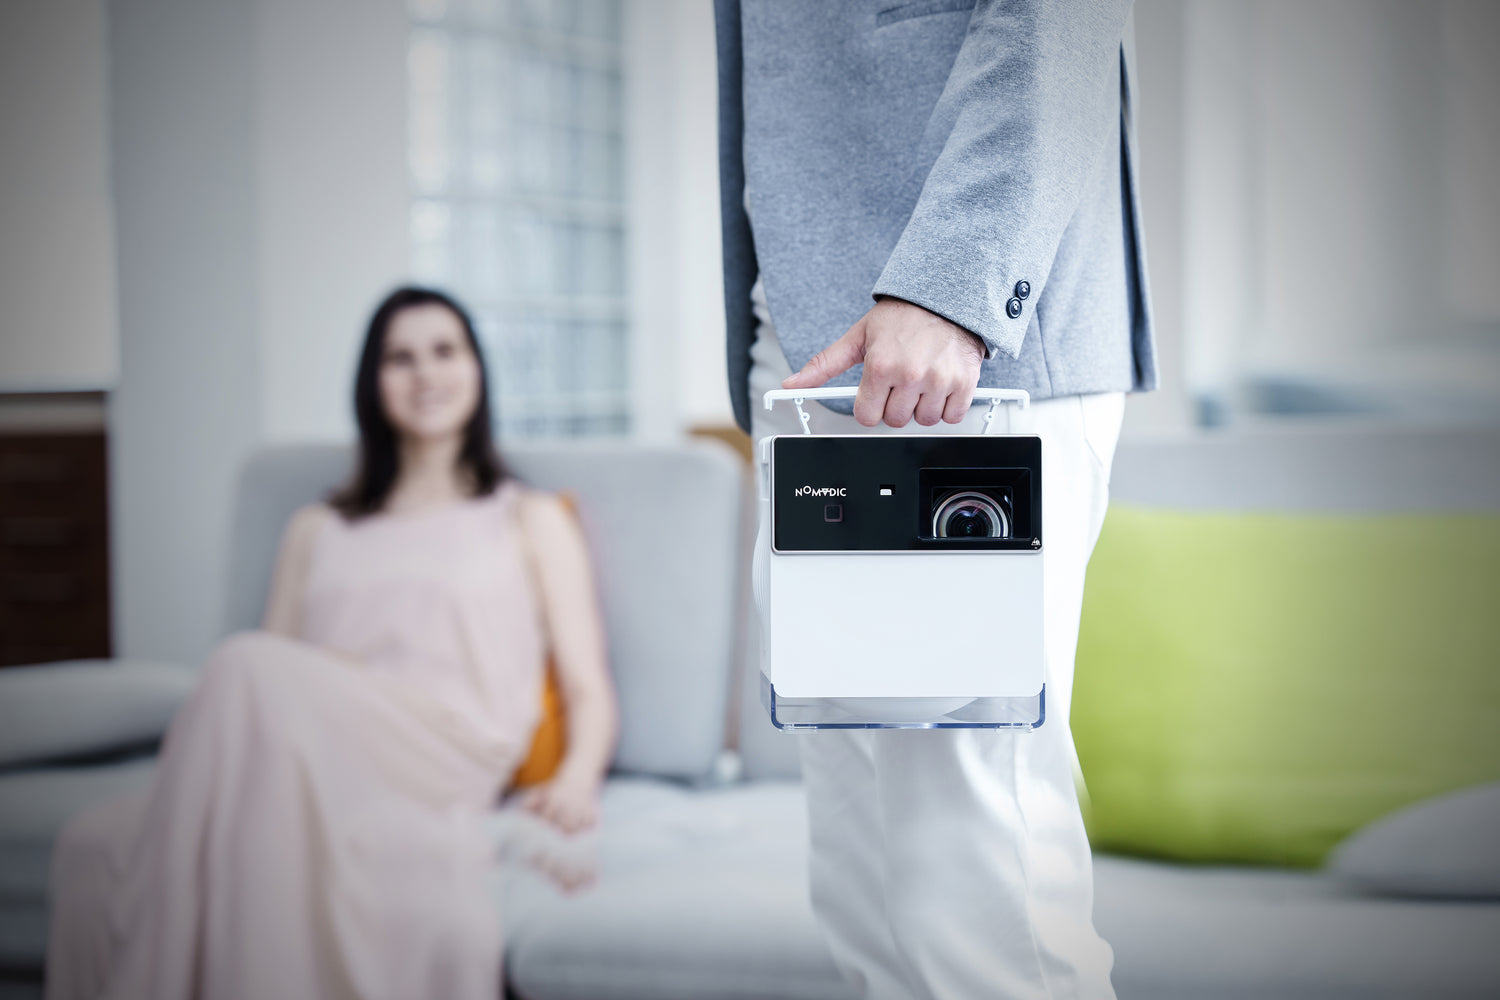
Carry Around Your Lifestyle
What Influencers Say
It's got a relatively short throw and has the fastest auto keystone correction I've seen on a projector.
The colors are not only vivid but also highly accurate. In addition to that, it has super low latency.
NOMVDIC P1000 is super bright and it's got HDR10 support and you can run at 1080p 240 Hz with a latency of just 4.2 m/s which is perfect for gaming projector.
FAQs
So you want to know more? We’ve got you.
What is the best way to watch movies on P1000?
To watch a movie on your P1000 projector, you have a few options:
- Connect a streaming device: The best way to enjoy movies on your P1000 is by connecting a streaming device like an Amazon Fire Stick, Roku Stick, or Chromecast. Simply plug the streaming device into the projector's HDMI port, follow the setup instructions, and access streaming services directly through the device's interface.
- Connect your laptop: If you have a laptop or computer with movie files saved on it, you can connect it to the P1000 projector using an HDMI or USB-C cable. Simply connect one end of the HDMI/USB-C cable to your laptop and the other end to the projector's HDMI/USB-C port. Set the projector to the correct HDMI/USB-C input source, and you should see your laptop's screen displayed on the projector. Play your movie files on the laptop, and they will be projected onto the big screen.
- Use a flash drive: If you have movie files stored on a flash drive, you can plug the flash drive directly into the USB port on the P1000 projector. The projector should recognize the files, and you can navigate through the projector's interface to select and play the movie files from the flash drive.
It's important to note that streaming copyrighted content wirelessly from services like Amazon Prime Video, Netflix, and Disney+ might not be supported due to HDCP (High-bandwidth Digital Content Protection) restrictions. Therefore, connecting a streaming device directly to the projector is recommended for a reliable movie-watching experience.
How do I AirPlay/Screen Mirroring the content on my phone to P1000?
To AirPlay or screen mirror content from a phone (iPhone or Android) to a P1000 wirelessly, you can follow these steps:
For iPhone:
- Ensure that both your iPhone and the projector are connected to the same Wi-Fi network.
- On your iPhone, swipe down from the top-right corner to open the Control Center.
- Tap on the "Screen Mirroring" or "AirPlay" icon.
- A list of available devices will appear. Select NOMVDIC.
Your iPhone's screen will now be wirelessly mirrored on the projector, and you can play videos, display photos, or stream content from apps directly on the projector.
For Android
- Ensure that both your Android device and the projector are connected to the same Wi-Fi network.
- Download and install the “Google Home” application and open it.
- Pull-to-refresh the app and wait for 30 seconds.
- NOMVDIC will now be visible, select it.
Please be aware that popular streaming services like Netflix, Amazon Prime Video, and Disney+ no longer support AirPlay and Screen Mirroring due to HDCP restrictions. If you wish to use your mobile devices to stream these services on your projector, please connect a compatible streaming device (such as Fire Stick, Chromecast, or Roku Stick) to the projector. This will allow you to access and enjoy the streaming services seamlessly.
How do I optimize the P1000 for the best gaming experience?
NOMVDIC introduced “Ultra Fast Input” mode to enhance gaming performance. Ultra Fast Input mode improves framerate while playing a game. As such, a quick response time in the 1080p,1440p, and native timing can be achieved.
To enable Ultra Fast Input mode:
- Press the menu button on the remote control
- In Menu > Advanced, go to “Ultra Fast Input” and press to enable.
Please note that when enabled, the following settings (if applicable) will return to factory preset values: Aspect Ratio, Zoom, OverScan, Keystone, 4 Corner, Warping.
How do I adjust the projected image for P1000?
To adjust the projected image on the P1000 projector, follow these steps:
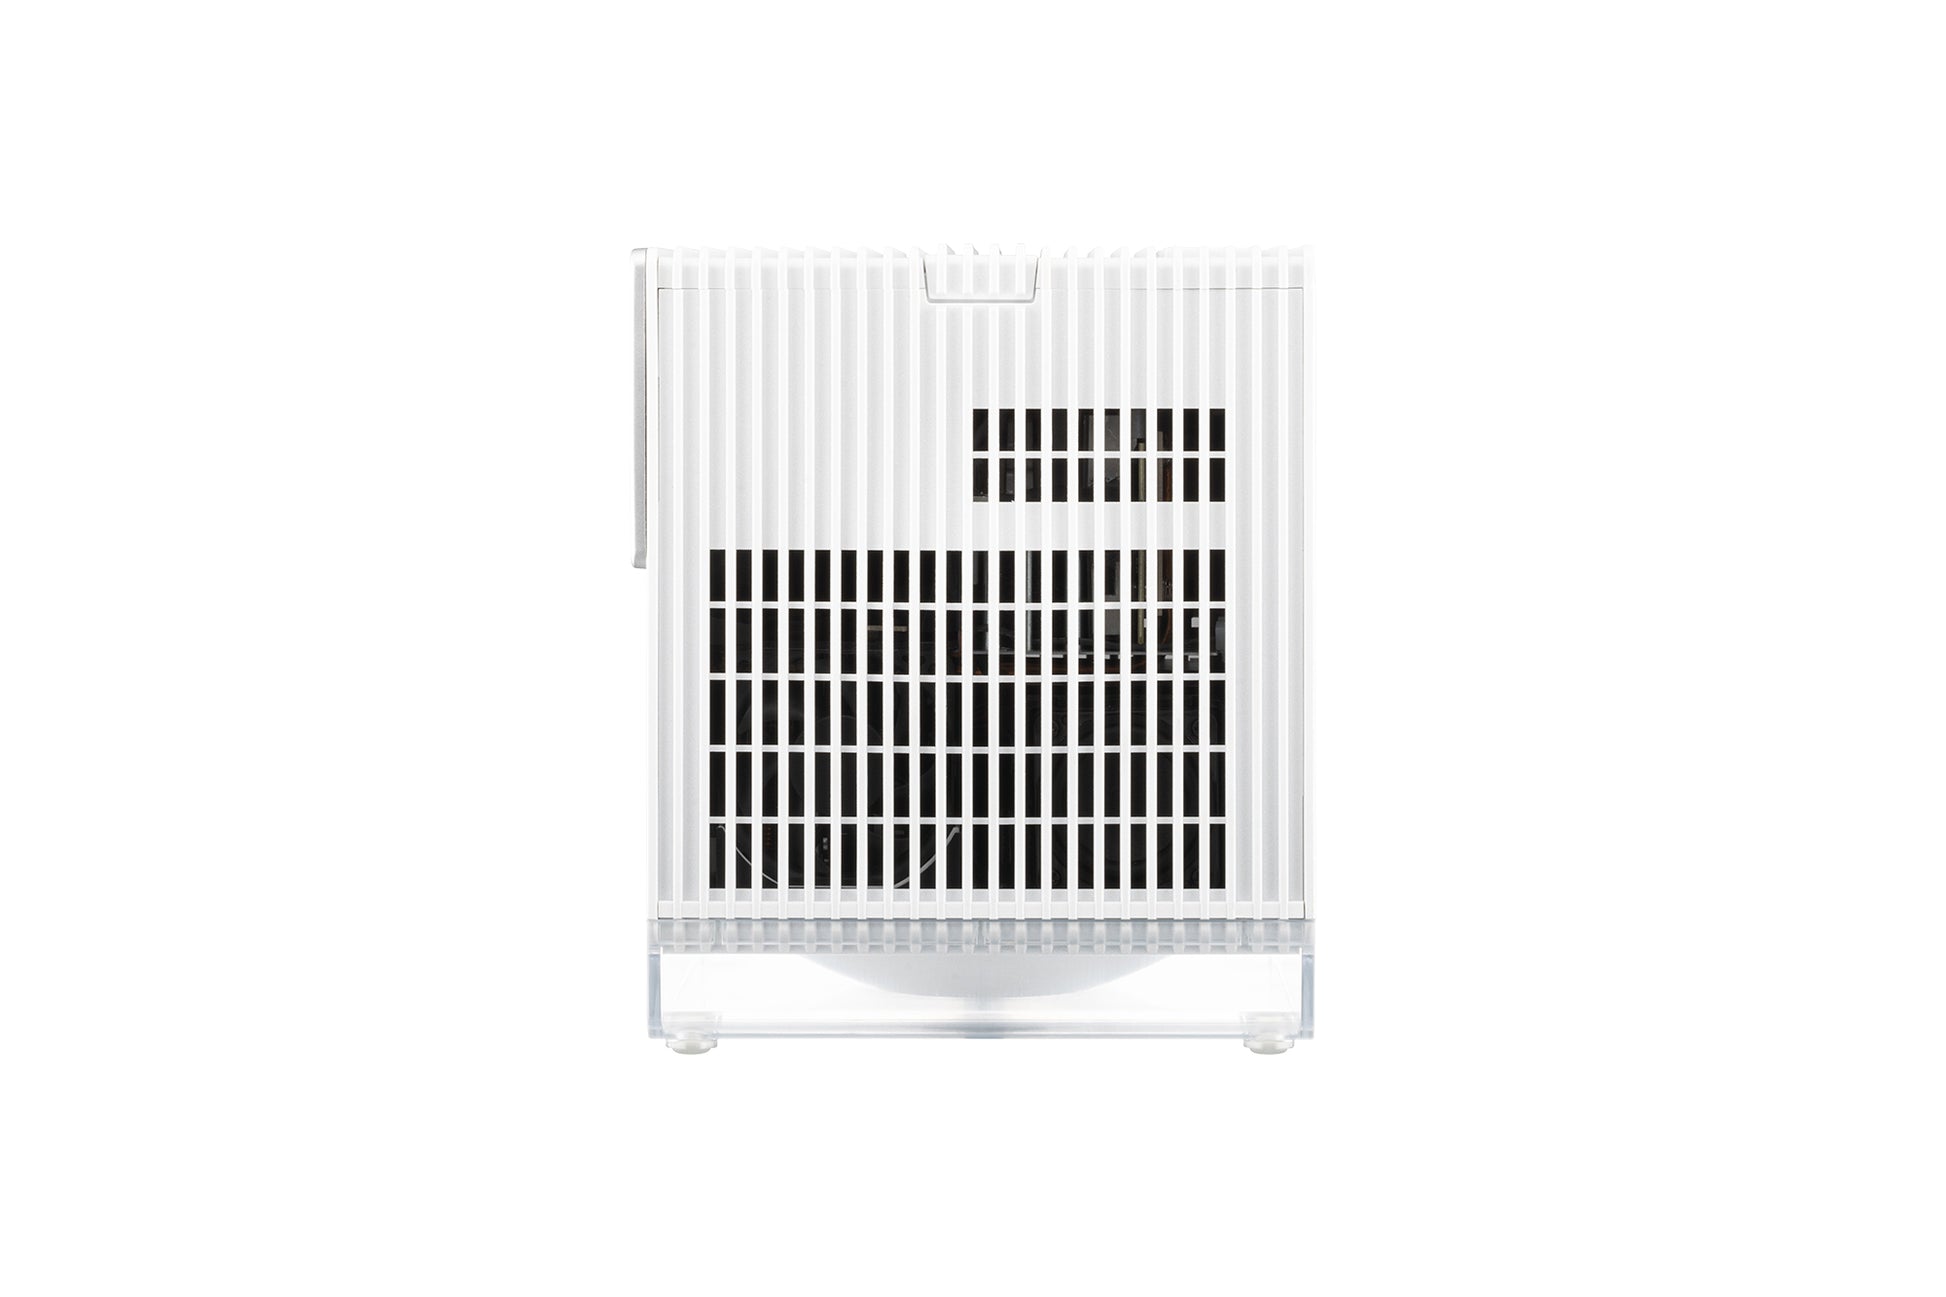
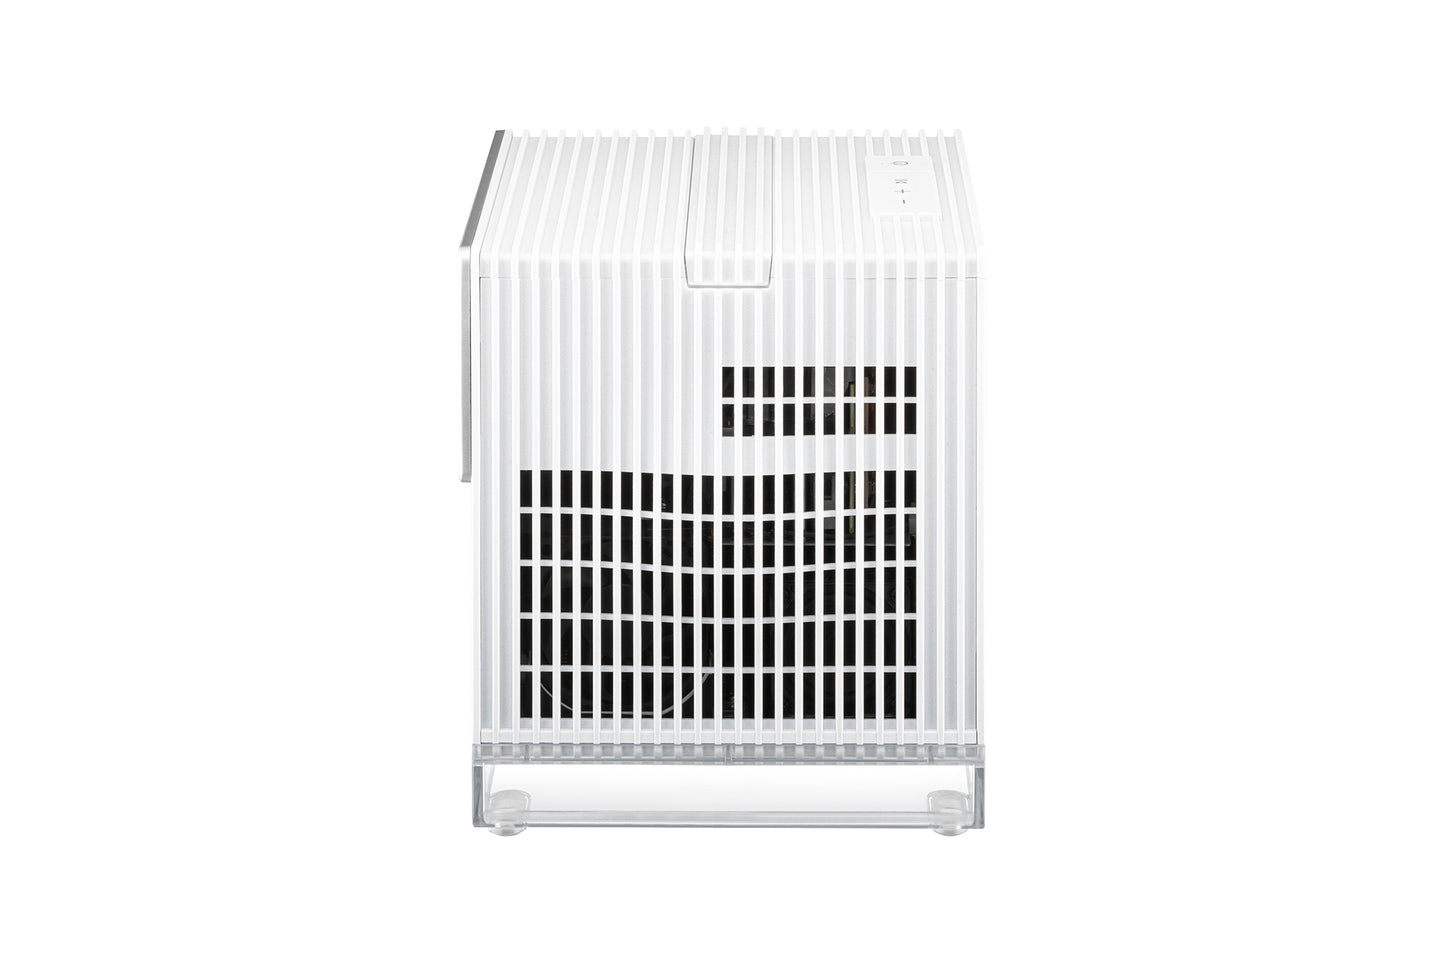
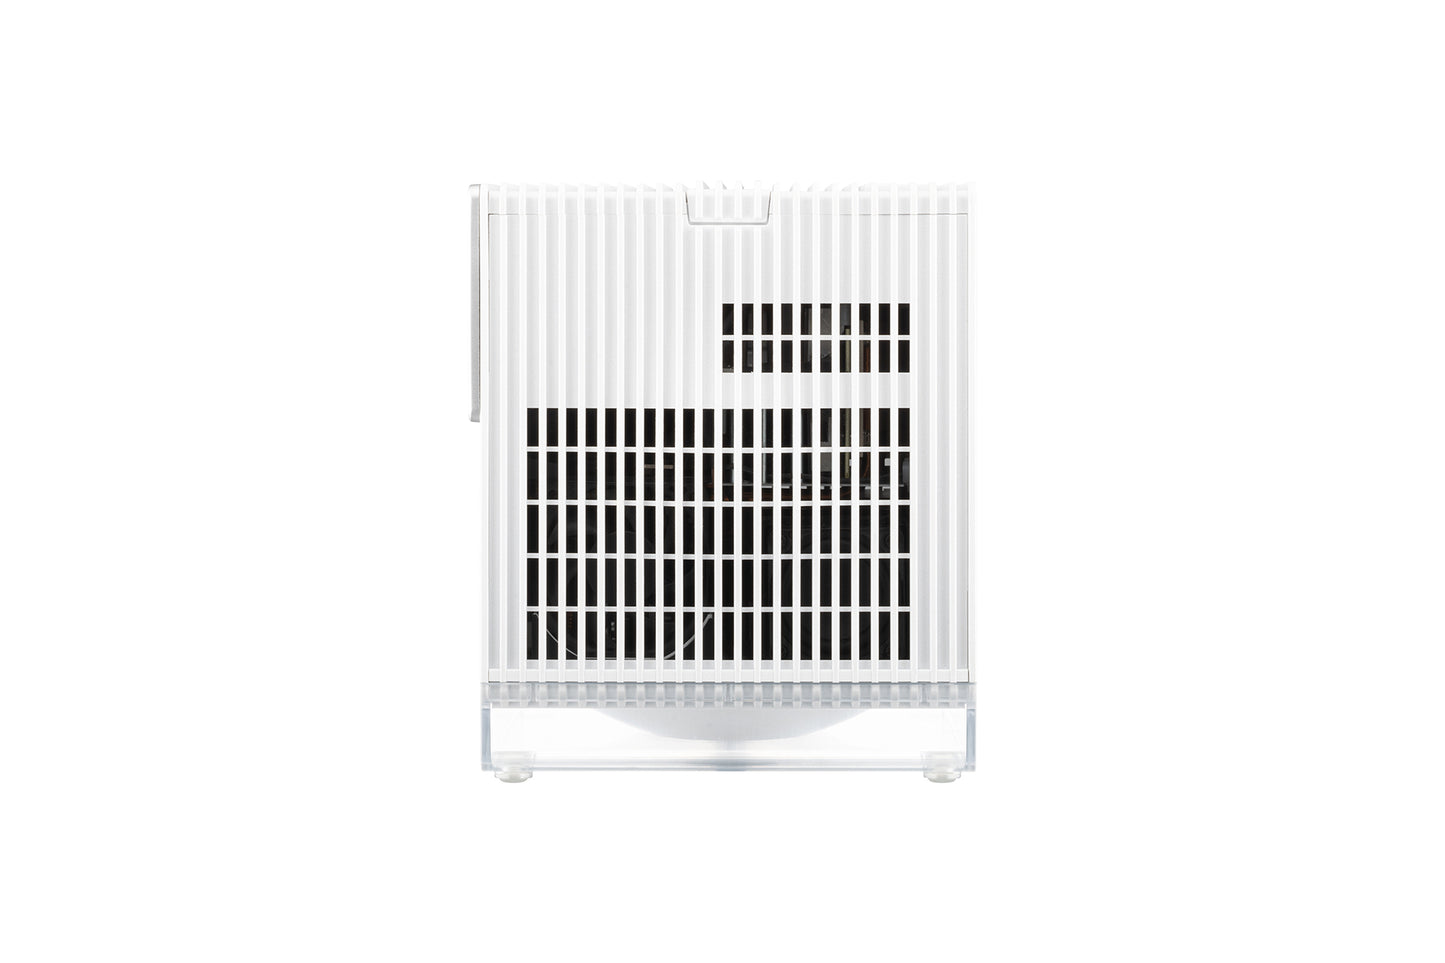
- Placing the projector: Position the projector in a suitable location, ensuring at least 20 inches (50cm) of space between the side ventilation fan and nearby surfaces for proper cooling.
- Adjusting keystone: The P1000 has an auto keystone feature that automatically adjusts the horizontal and vertical keystone settings for a rectangular image. If manual adjustments are needed, access the menu, navigate to "DISPLAY," select "Corner Adj.," and adjust the corners as desired. Note that manual adjustments disable the auto keystone feature.
- Fine-tuning image focus: The projector has an auto-focus feature for easy setup. To manually adjust focus, access the menu, go to "DISPLAY," select "Focus," choose "Manual," and use the left/right buttons on the remote control to refine the focus until the image appears sharp and clear.
How do I adjust the color settings of P1000?
To adjust the color settings on your P1000 projector, you have a couple of options:
- Color mode presets: The P1000 projector offers five color mode presets to choose from: Brightest, TV, Gaming, Movie, and Low Blue Light. These presets are designed to optimize the color settings for specific viewing scenarios. You can access these presets through the projector's menu though the remote control. In IMAGE, select the color mode that best suits your preference or the content you are watching.
- User mode: If you prefer more control over the color settings, you can use the User mode. In this mode, you can manually adjust various parameters such as brightness, contrast, color temperature, and saturation to fine-tune the colors to your liking. Access the projector's menu through the remote control, navigate to the IMAGE, and in Color Mode select User. From there, you can make adjustments to individual color settings as desired.
By utilizing the preset color modes or the User mode with manual adjustments, you can tailor the color settings on your P1000 projector to achieve the desired visual experience. If you have any further questions or require additional assistance, please feel free to reach out to us.
What gaming consoles are compatible with P1000?
The P1000 projector is compatible with gaming consoles that support HDMI or USB-C audio/video output. Most modern gaming consoles, including PlayStation, Xbox, and Nintendo Switch, offer HDMI connectivity, making them easily compatible with the P1000 projector. To connect your gaming console, simply use an HDMI cable to connect the console's HDMI output to the HDMI input of the P1000 projector. Select the corresponding HDMI input source on the projector, and you're ready to enjoy gaming on a larger screen.
It's important to note that the P1000 is designed to work with various gaming consoles if they have HDMI or USB-C output capabilities. These connections ensure that you can enjoy your gaming sessions on a larger display with enhanced visuals and immersive gameplay.
What is the eye protection feature? How do I adjust the setting?
The eye protection feature on the P1000 projector is designed to automatically trigger when a person walks in front of the projector, preventing direct exposure to the strong light source and avoiding potential damage to the eyes. This feature ensures a safer viewing experience, especially when there are people, particularly children, in the vicinity of the projector.
To adjust the range of the eye protection sensor or disable it, follow these steps:
- Press the menu button on the remote control to access the projector's menu.
- Navigate to the "DISPLAY" section using the arrow buttons on the remote control.
- Within the "DISPLAY" menu, look for “Eye Protection".
- Select the option and choose from the available settings. You will have options like "50cm," "100cm," and "Off." These settings determine the distance at which the eye protection feature will be activated when someone approaches the projector.
- If you select "50cm," the eye protection feature will trigger when someone comes within 50cm of the projector.
- If you select "100cm," the feature will activate when someone comes within 100cm of the projector.
- If you choose "Off," the eye protection feature will be disabled entirely.
Select the desired setting based on your preference and viewing environment.
By adjusting the range of the eye protection sensor or disabling it, you can customize the behavior of this feature to suit your needs. However, it's important to prioritize safety, especially when young children are present, by keeping the eye protection feature enabled or setting it to an appropriate distance.
How do I clean my P1000?
To clean your P1000 projector, follow these steps:
- Make sure the projector is powered off and unplugged from the power source before cleaning.
- Avoid using any chemical-based cleaners, as they may damage the projector's surfaces. Instead, opt for a slightly dampened microfiber cloth.
- Gently wipe the exterior of the projector with the microfiber cloth to remove any dust or smudges. Be careful not to apply excessive pressure or scrub the surface, as it may cause scratches.
- For more stubborn stains or dirt, you can slightly increase the moisture on the microfiber cloth by moistening it with water. Again, ensure the cloth is only slightly damp and not dripping wet.
- If there are vents or openings on the projector, use a soft brush or compressed air to remove any dust or debris. This helps maintain proper ventilation and prevents overheating.
- Take extra care when cleaning the lens of the projector. Use a clean, dry microfiber cloth specifically designed for lenses or camera lenses. Gently wipe the lens in a circular motion to remove any dust or smudges.
- Avoid touching the lens with your fingers, as oils from your skin can leave smudges or damage the lens coating. If necessary, use a lens cleaning solution specifically designed for optical lenses.
Remember to follow the guidelines and instructions provided in the P1000's user manual for cleaning and maintenance. If you have any specific concerns or questions about cleaning your P1000 projector, it's recommended to consult customer support for further guidance.
My question isn’t here. What should I do
Let us help. If you have any questions regarding your NOMVDIC R150, please visit hello.nomvdic.io or contact us at hello@nomvdic.io.
Specs
Native Resolution
3840 x 2160 4K UHD
Brightness (ANSI Lumens)
2300
Light Source Type & Life
LED RGB, 30,000 hrs
Throw Ratio
0.68-0.83 (100"@1.52m)
Throw Distance
0.91m-3.27m
Image Size
60"-180"
Input Lag
4.2ms (1080P/240hz)
Keystone Correction
H: +/-40°, V: +/-40°, Auto H/V Keystone
HDMI
1 (HDMI 2.0/ HDCP 2.2)
USB Type C (video/audio/power)
1 (5V/1A)
USB Type A (video/audio/power)
1 (USB 2.0 Reader, share with 5V/1A power output)
Wi-Fi Input
1 (5GHz)
Bluetooth
Input & Output (BT4.2)
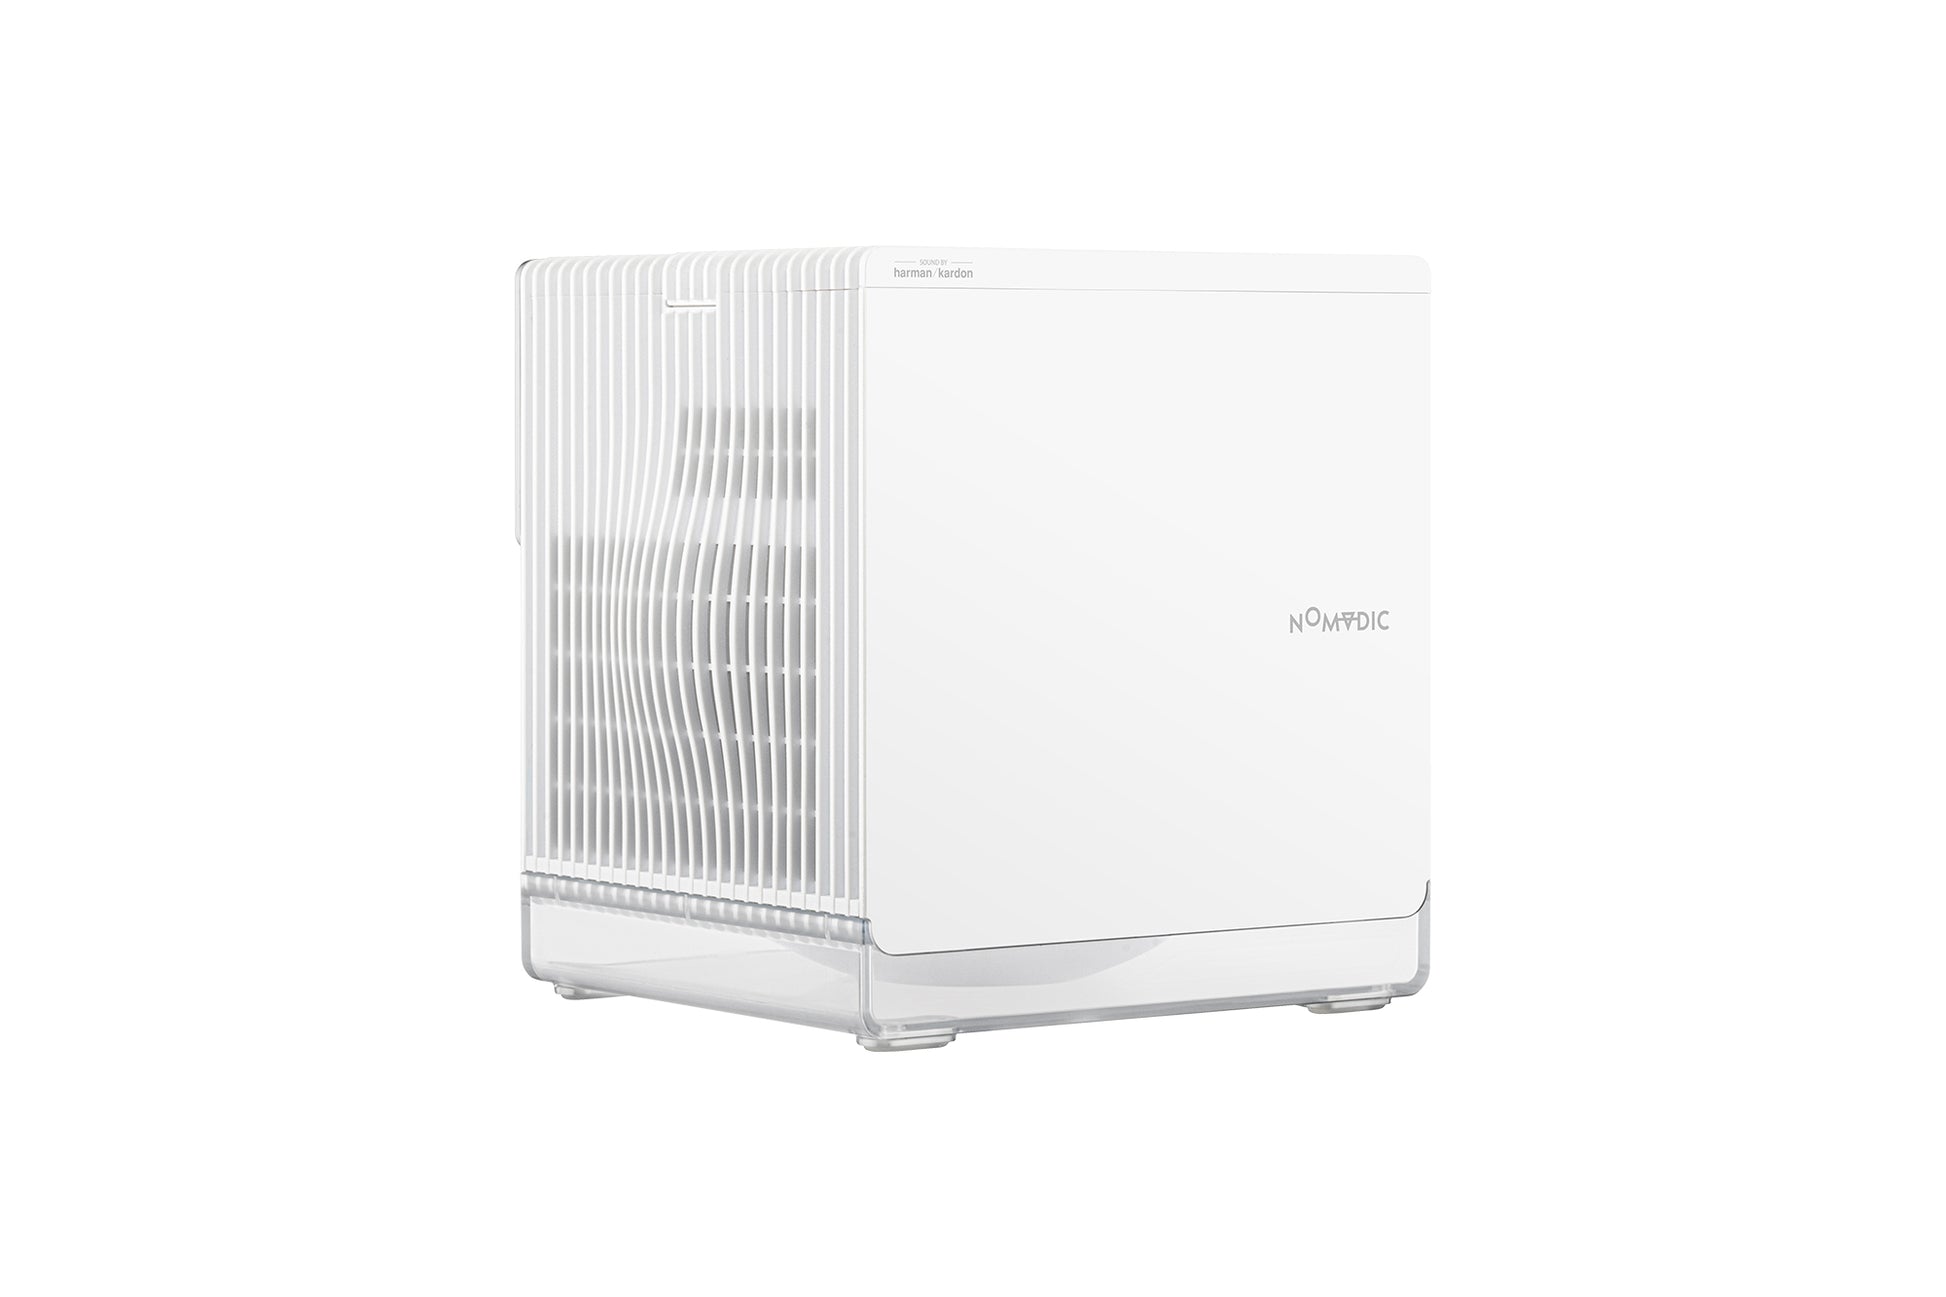
Speaker
Harman Kardon 6W Cube x2
Power Supply & Consumption
Power adaptor:
Input: 100~240V
Output: 20VDC / 9A
Power consumption: Normal 160W, Standby < 0.5W
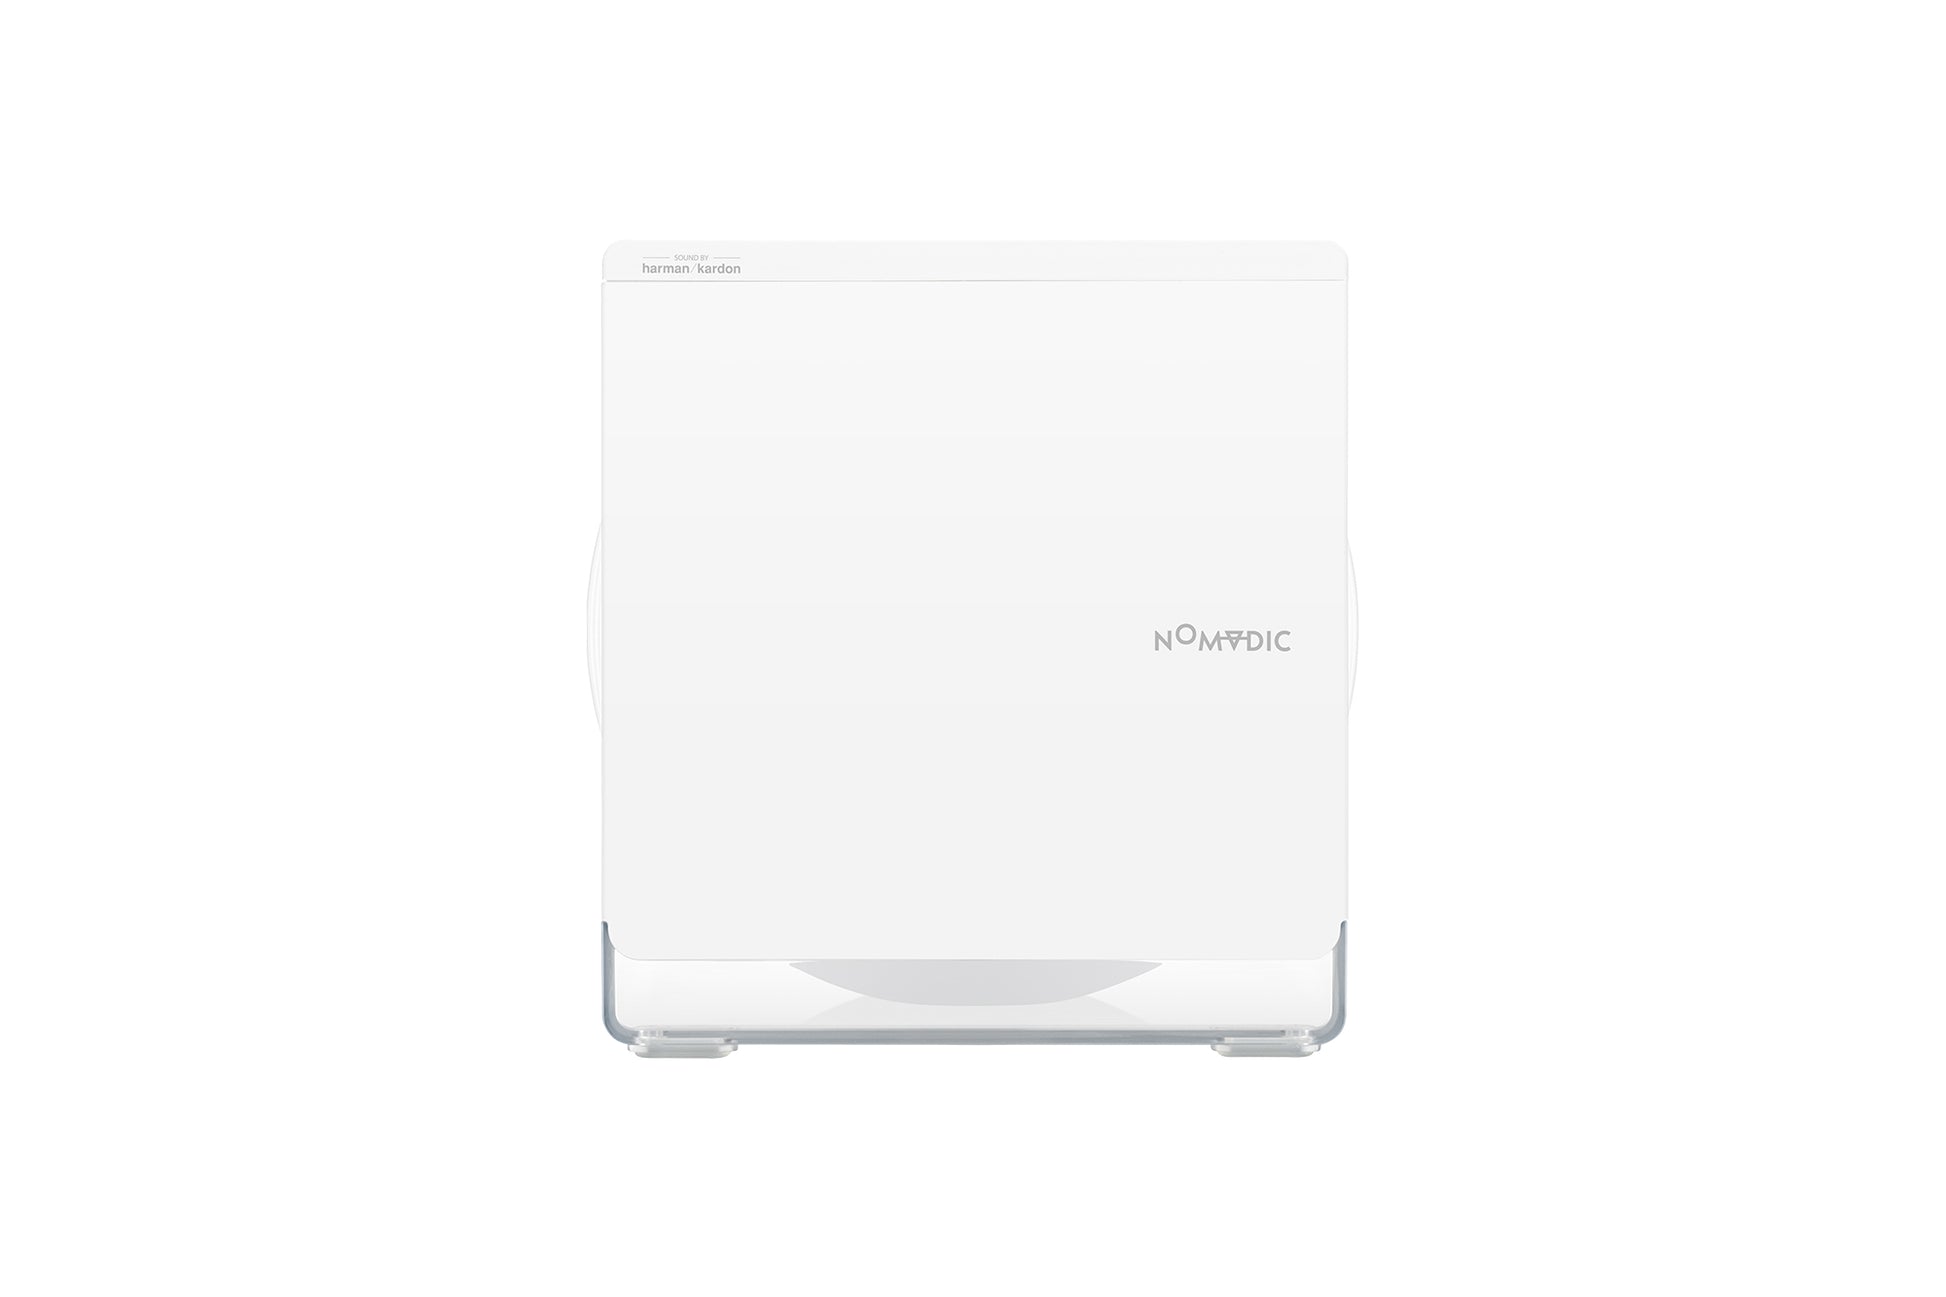
Net Weight & Dimensions (WxDxH)
3.1 kg, 210*177*210 mm